
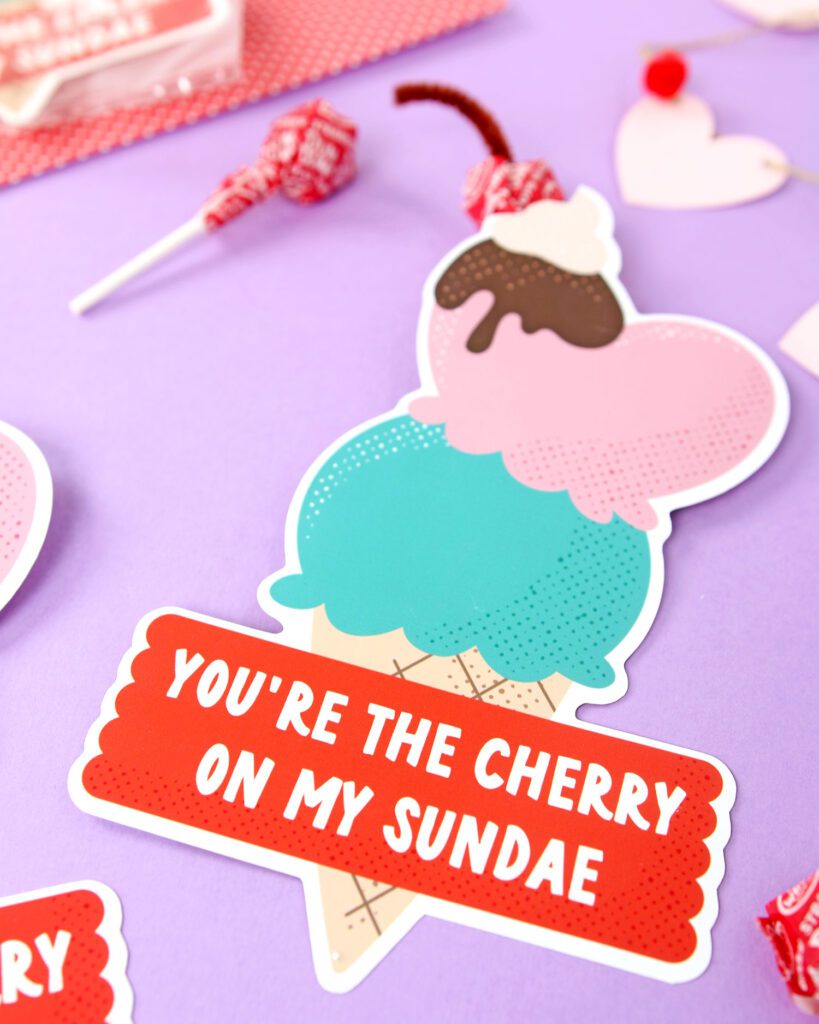
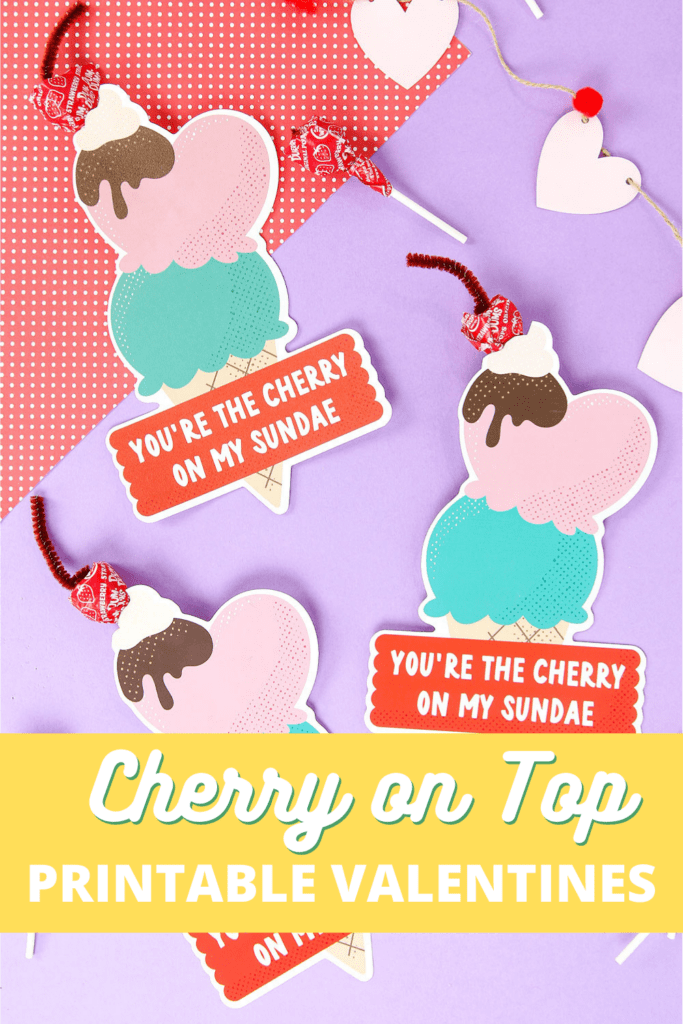
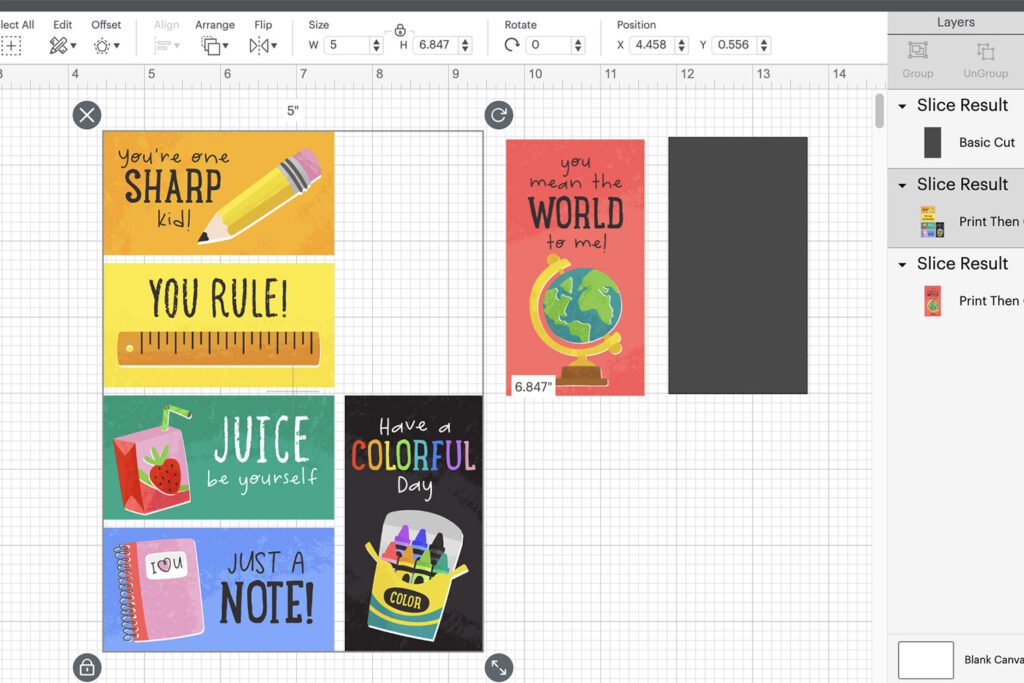
Valentine’s Day is right around the corner which means frantically running around trying to find valentines for kids to take to their classroom parties. This year get a head-start with these printable valentines! We used designs from the Yay Day Be Mine Planner and Stationery Bundles and separated the designs to create unique and ADORABLE valentines that will certainly be a hit at this year’s classroom party!
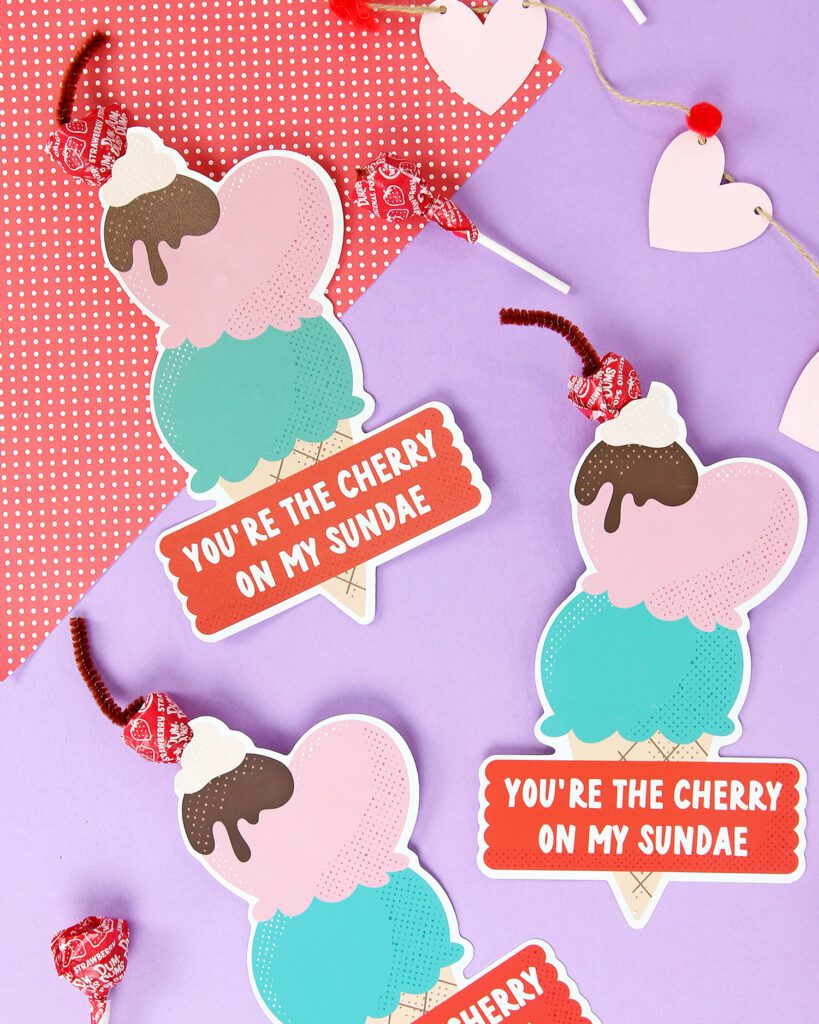
All of these ideas are easy to complete and only require printing, cutting and adding a sweet treat. The red Dum Dum suckers, M&M’s, efruitti gummi pizzas, and sprinkle donut holes are the stars of the show. I mean, pizza in candy form? Yes, PLEASE! These simple treats are just what these printable valentine cards need to up the cuteness factor. Check out all of the video tutorials below to see how you can get creative with these free valentine printables from Yay Day Paper Co!
Materials for the Cherry on Top Printable Valentines
- YayDay Be Mine Planner Bundle
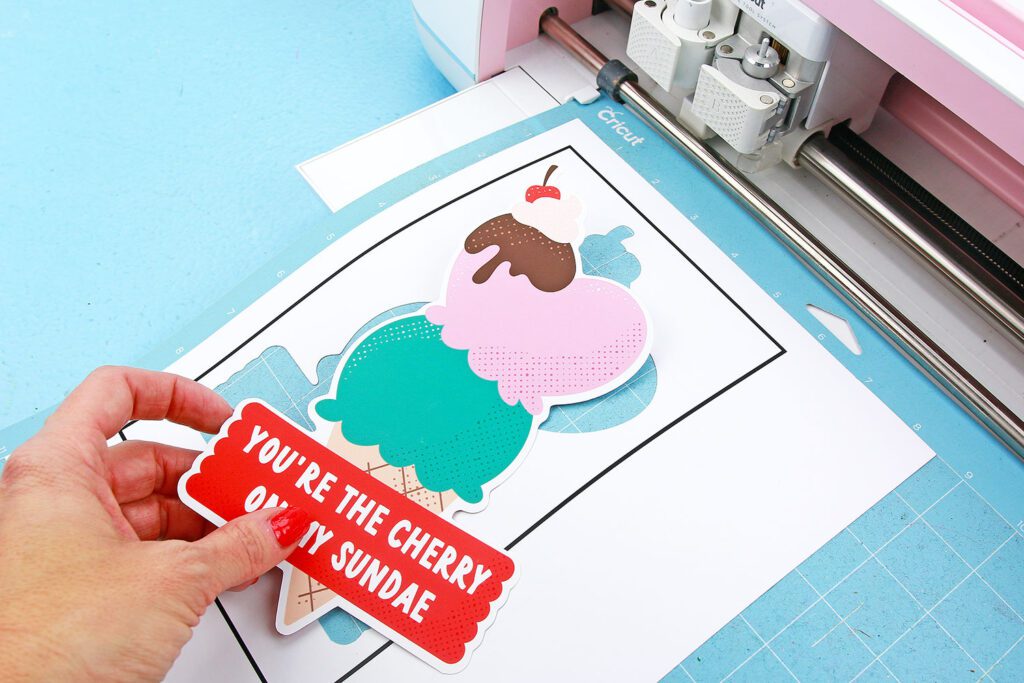
- Electric Cutting Machine and Cutting Mat – like a Cricut
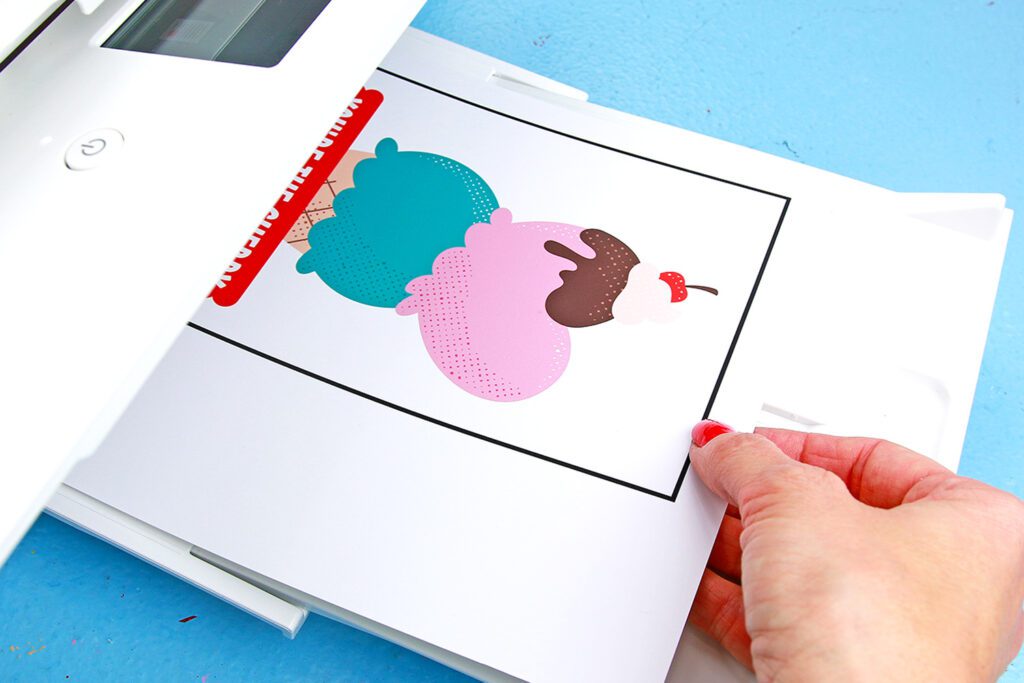
- Ink Jet Printer (we used the Canon TS9521C All-In-One Wireless Crafting Photo Printer)
- Polar Matte 88lb White Cardstock
- Double Sided Tape 1/4″ (a tape runner would work as well)
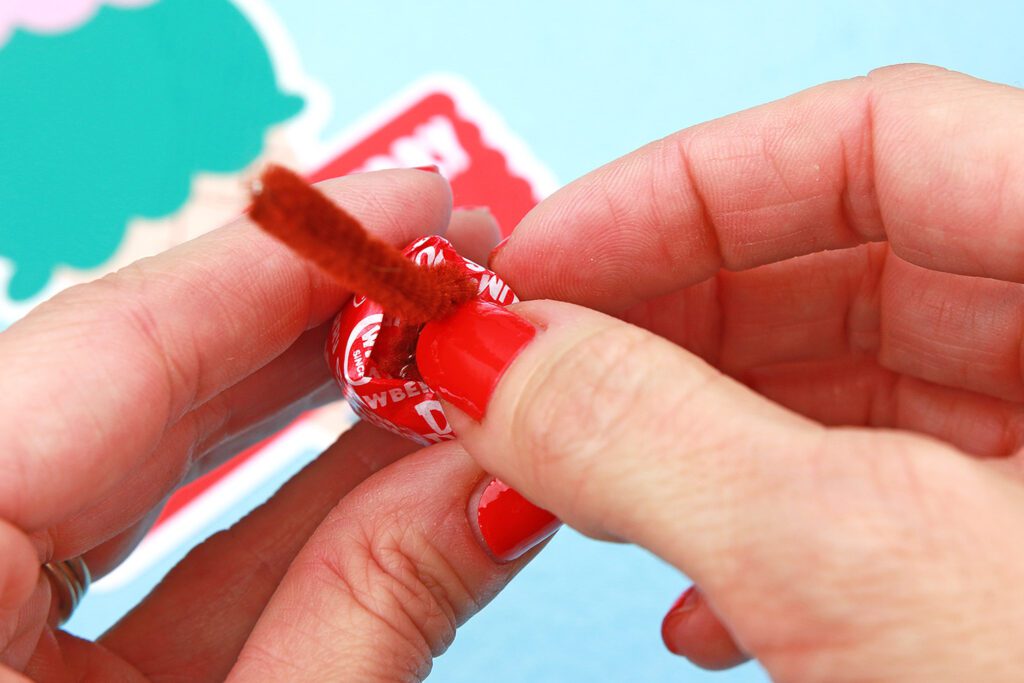
- Strawberry Dum Dums
- Mini Glue Dot
- Brown Pipe Cleaners
- Wire Cutters
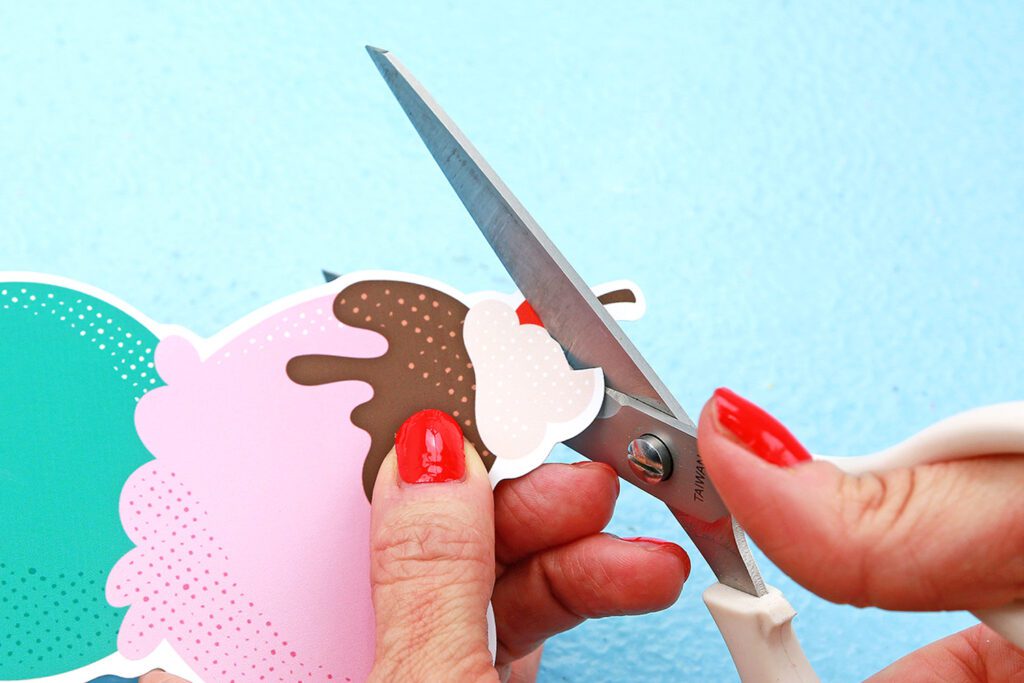
- Scissors
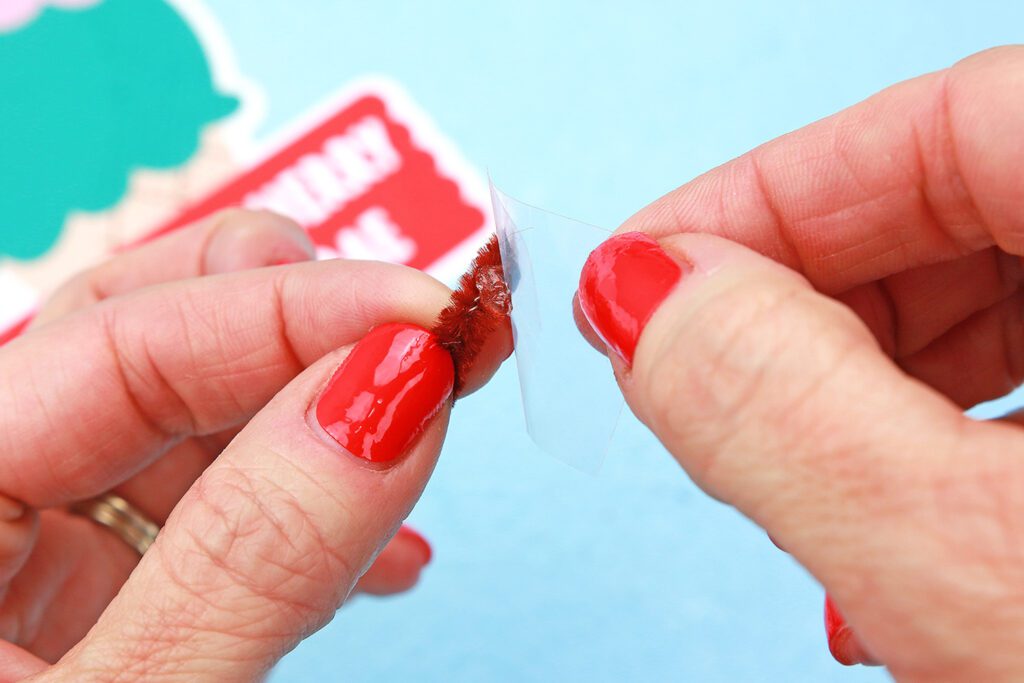
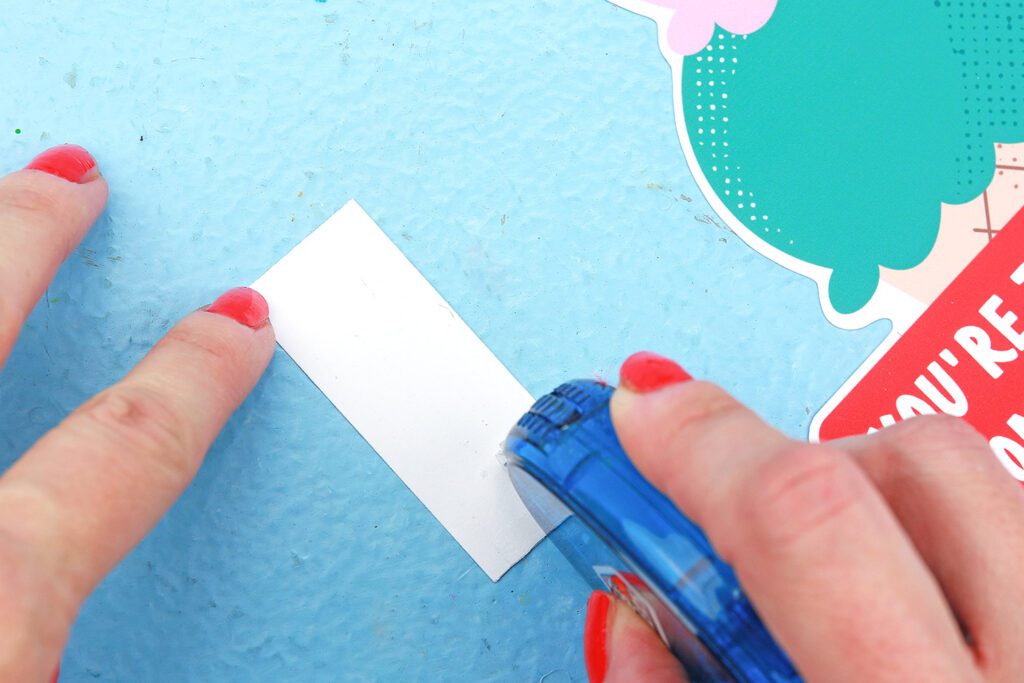
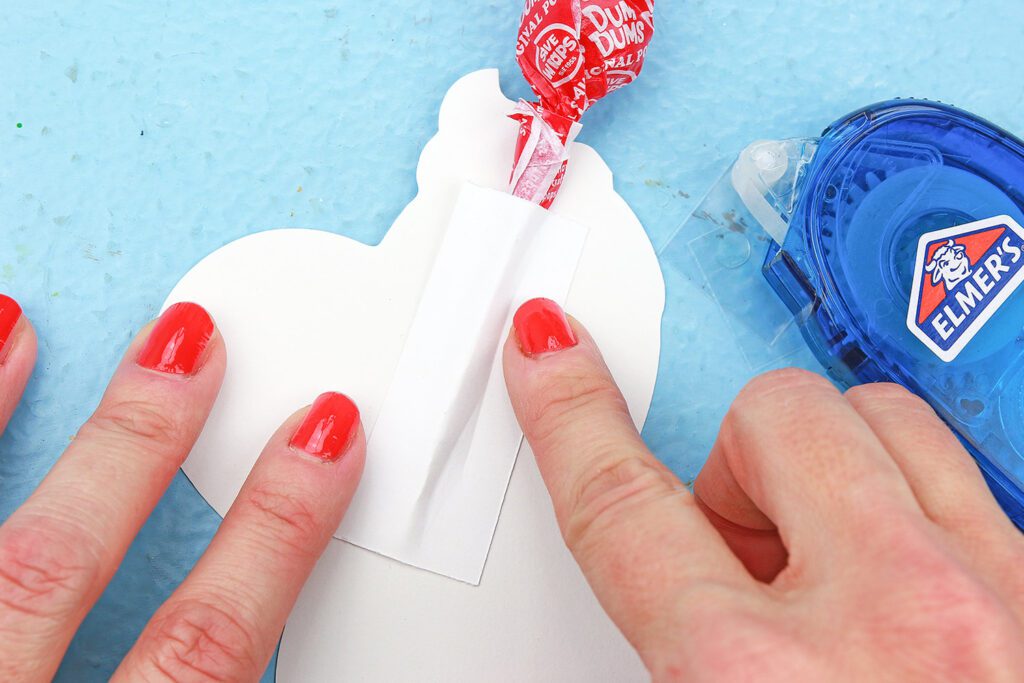
How to Make the Cherry on Top Printable Valentines
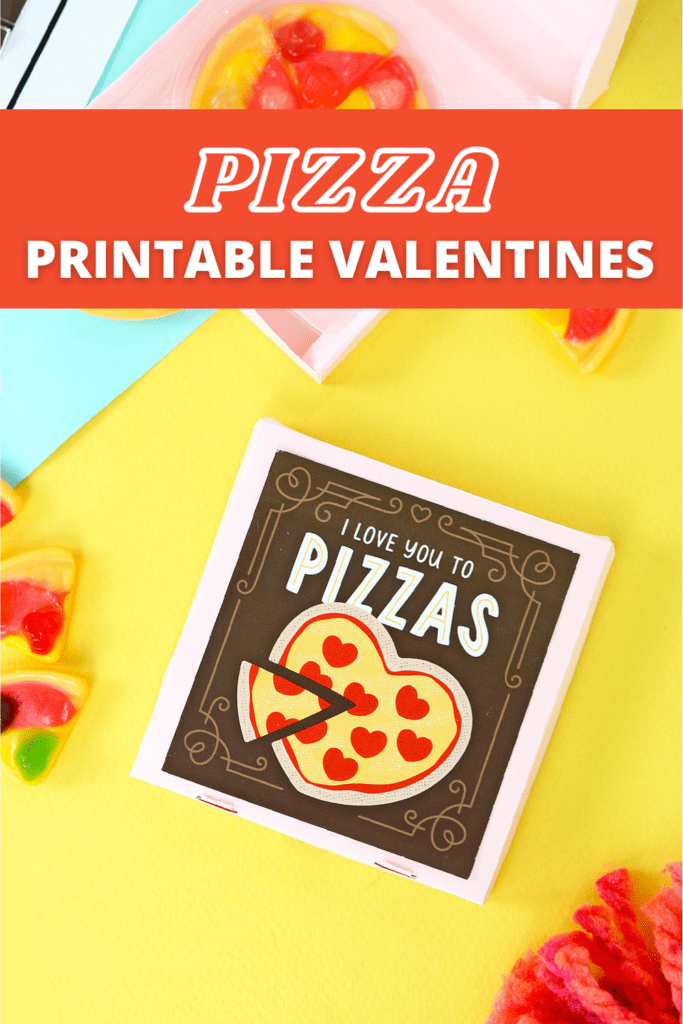
Pizza Printable Valentines
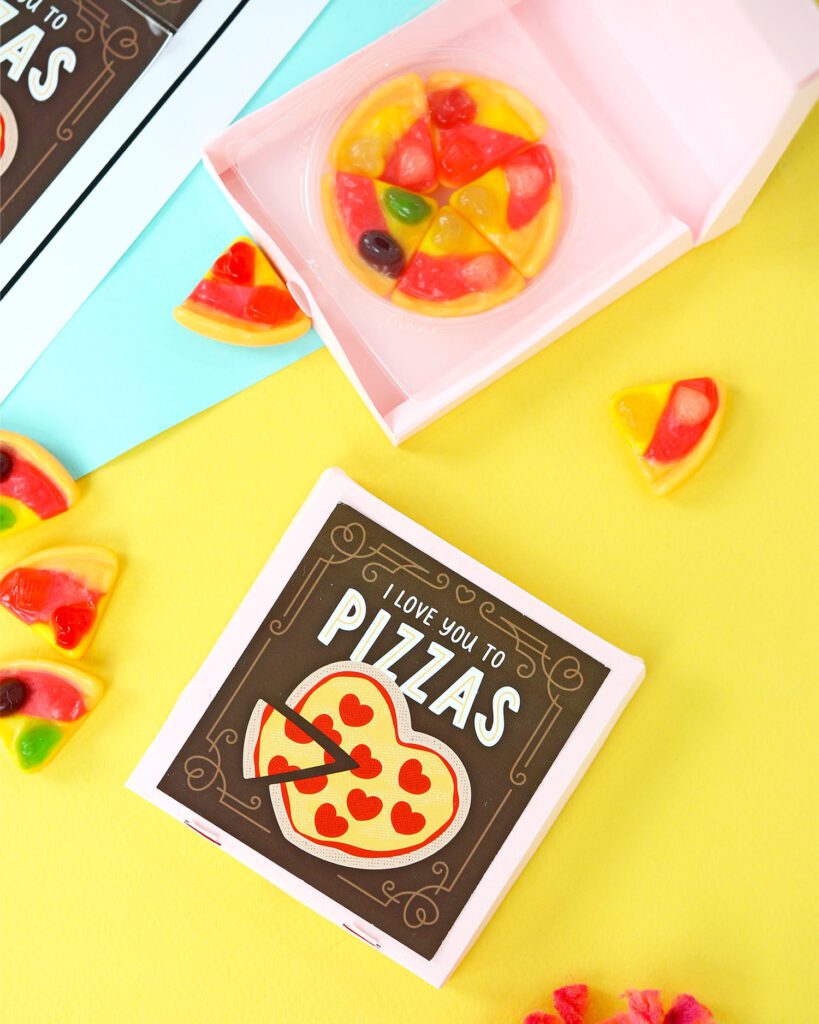
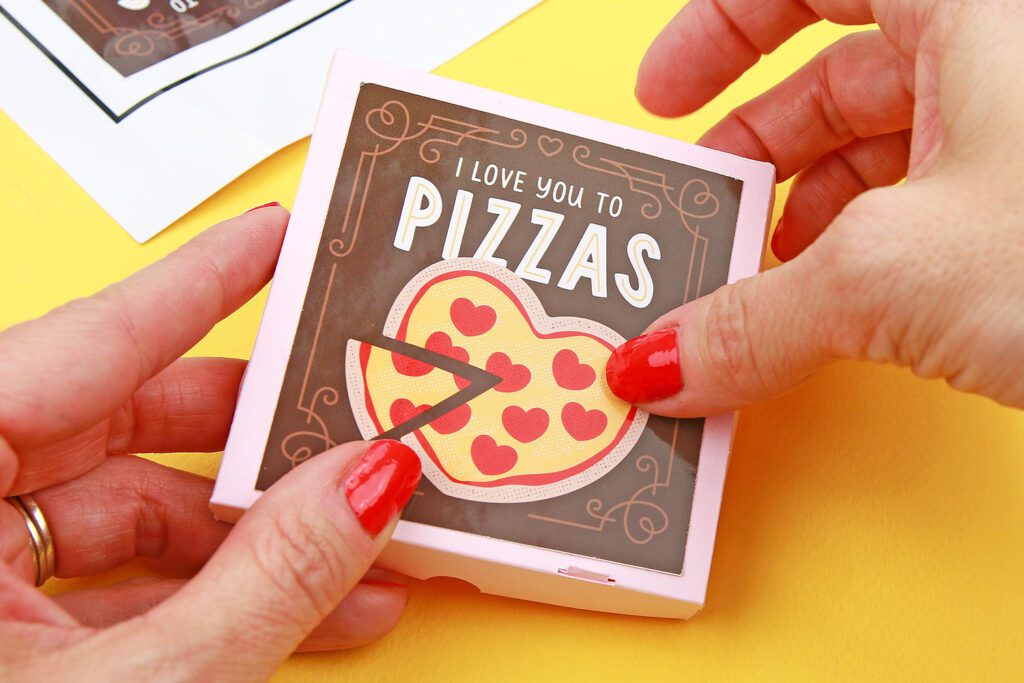
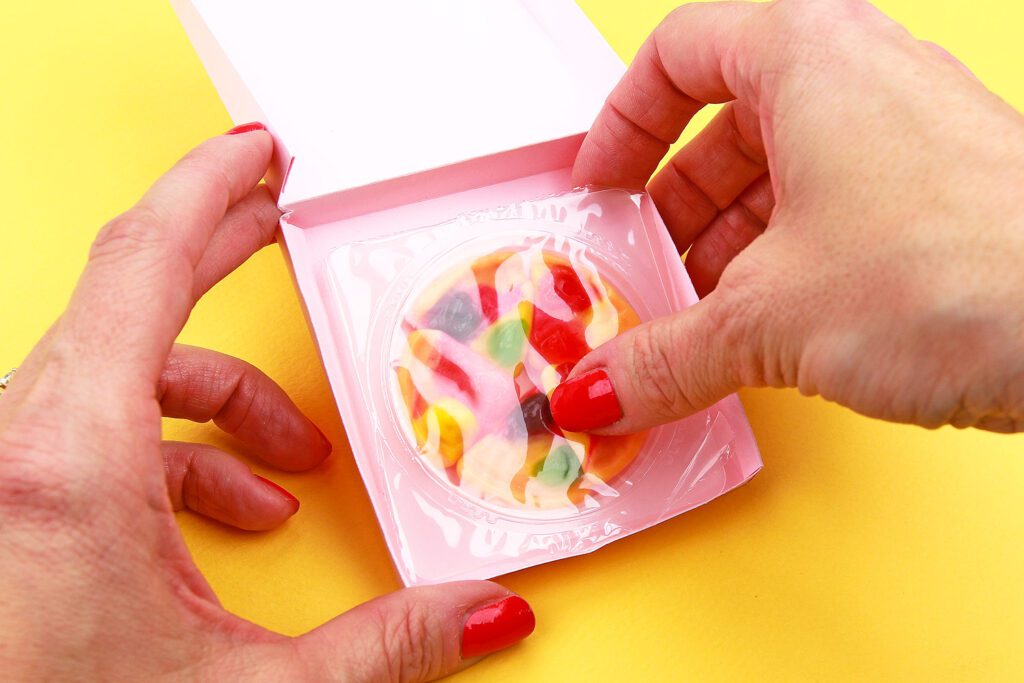
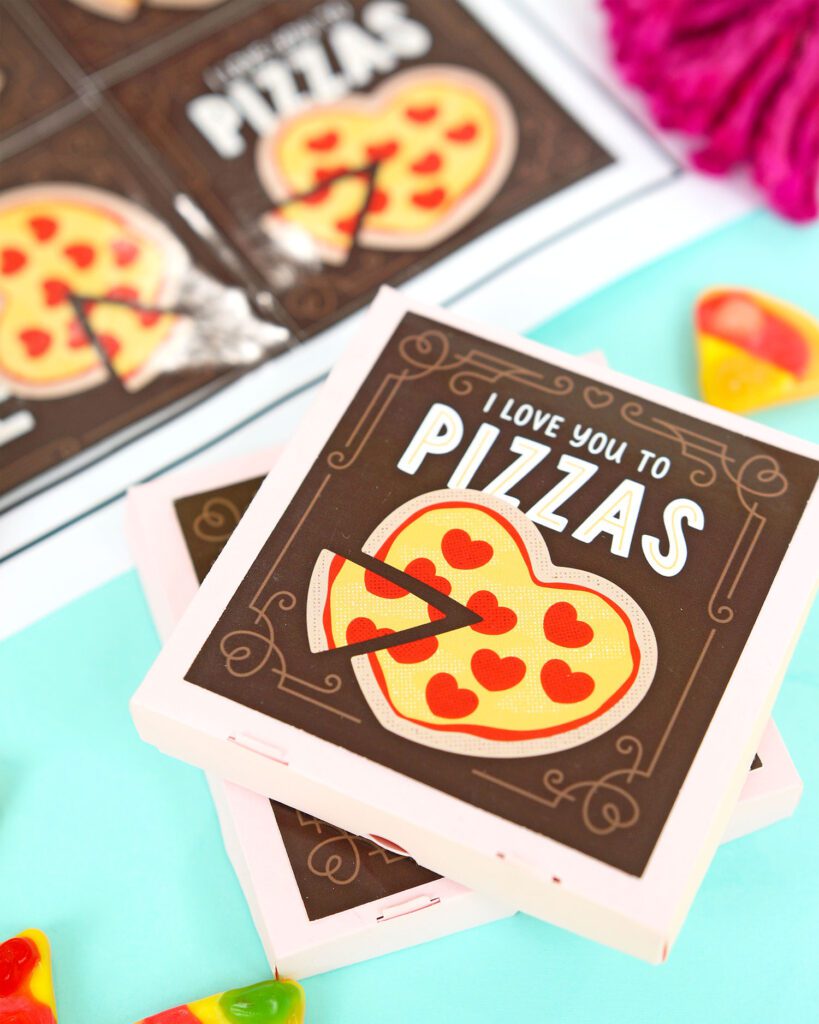
Now that you know how to make your own cherry on top valentines, it’s time to see how to send some love in the form of candy pizza! These mini candy pizza printable valentines cards are sure to put a smile on anyone’s face.
Materials for Pizza Printable Valentines
- Yay Day Be Mine Stationery Bundle
- Electric Cutting Machine and Cutting Mat – like a Cricut
- Ink Jet Printer (we used the Canon TS9521C All-In-One Wireless Crafting Photo Printer)
- Glossy Vinyl Sticker Paper
- Tape Runner
- eFruitt Gummi Pizza
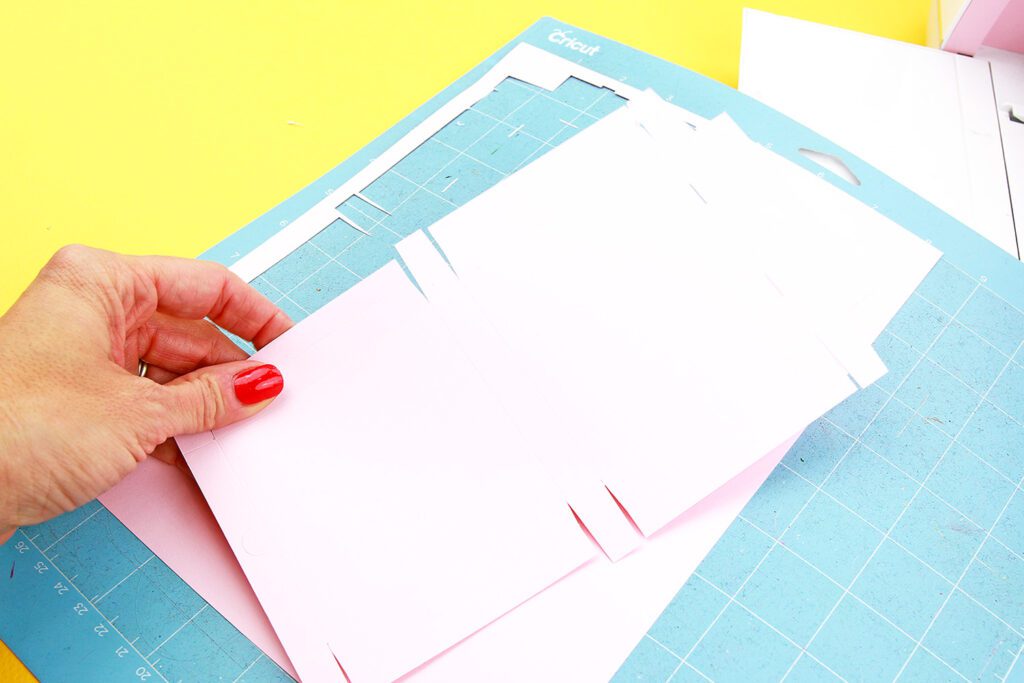
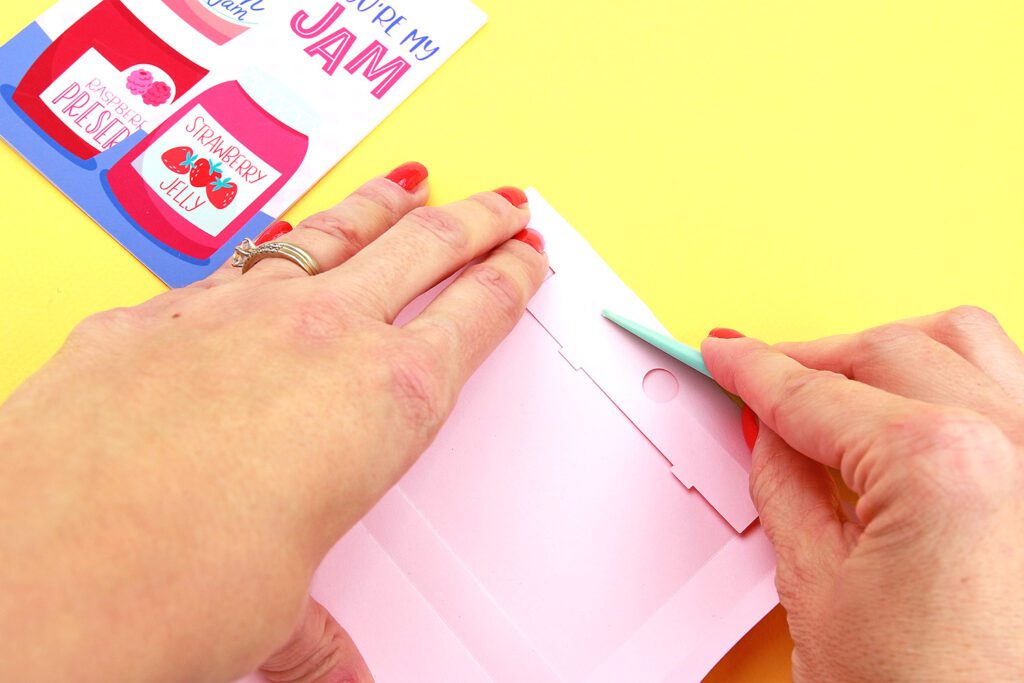
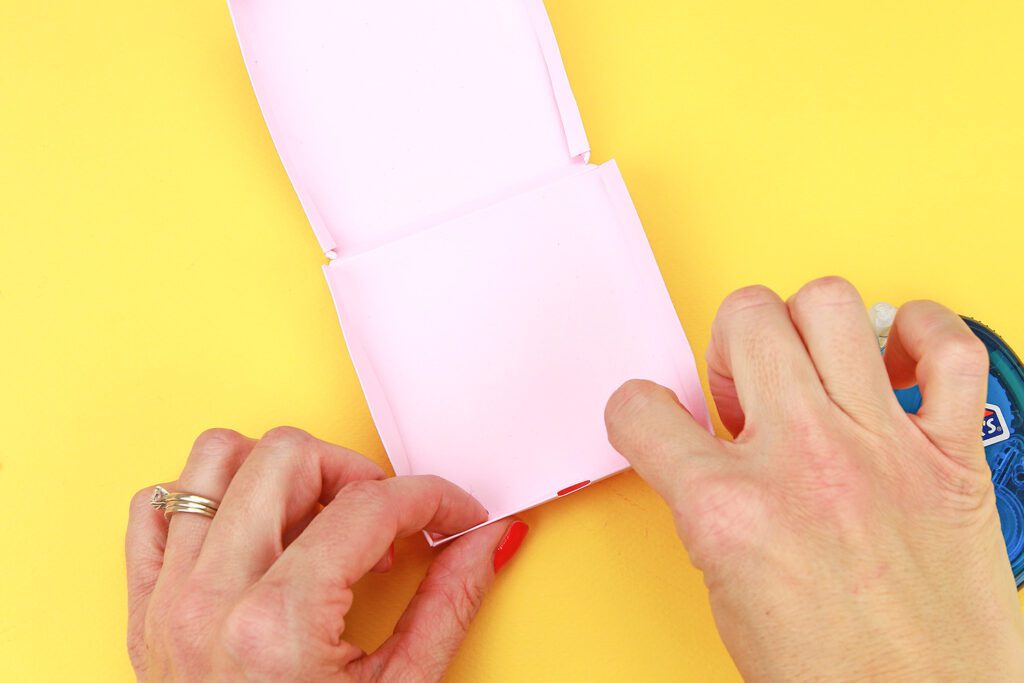
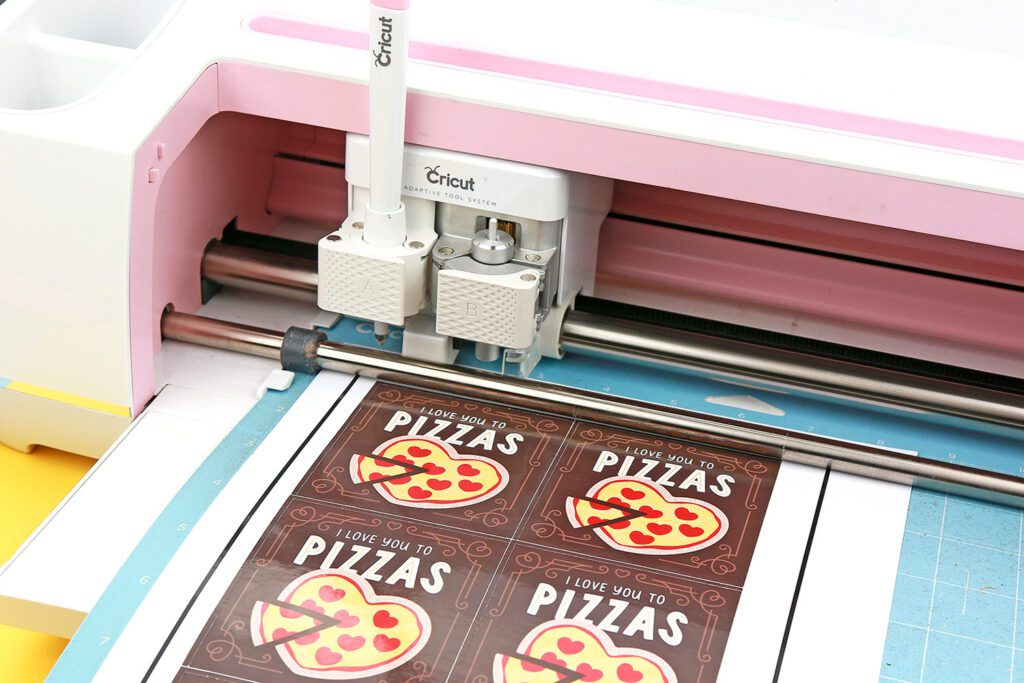
How to Make Pizza Printable Valentines
You’ll be shocked at how surprisingly easy these are to make! A little printing here, folding there, and lastly popping in the most adorable candy pizza
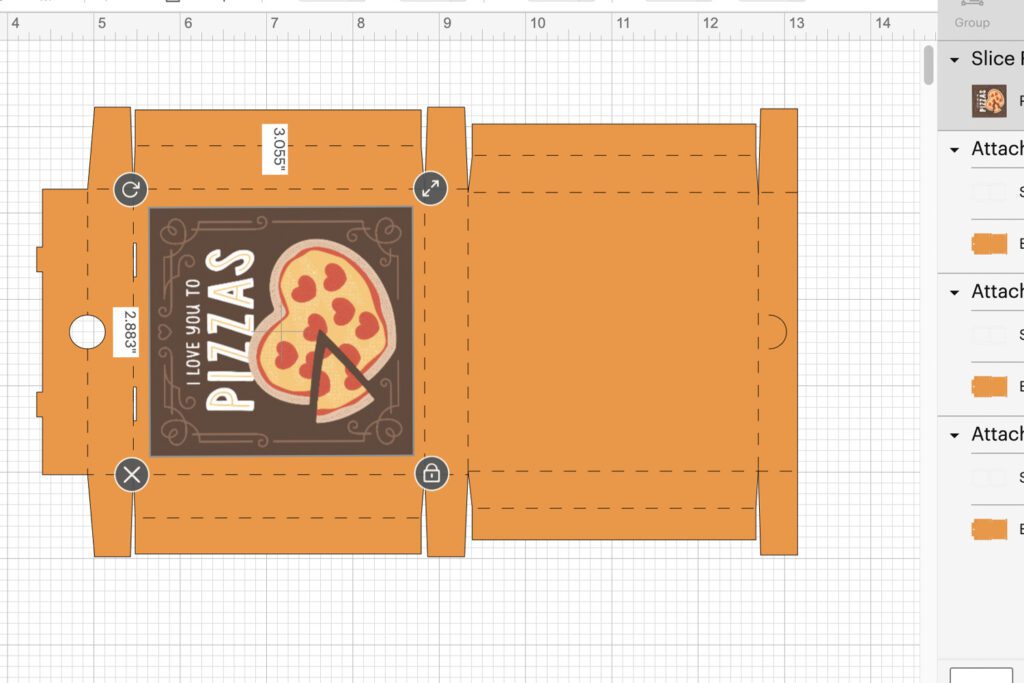
#M466DC. Resize it to 8.814” x 5.206”. Select ‘cardstock’ from the material options and add it to your machine to cut.
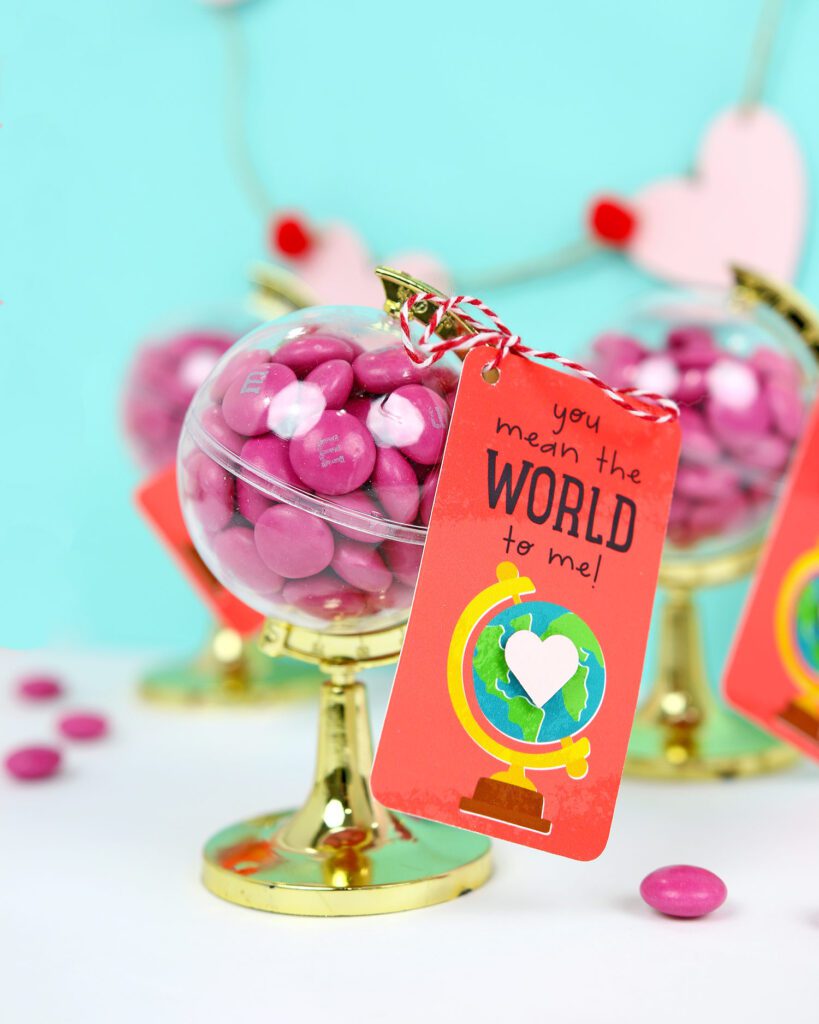
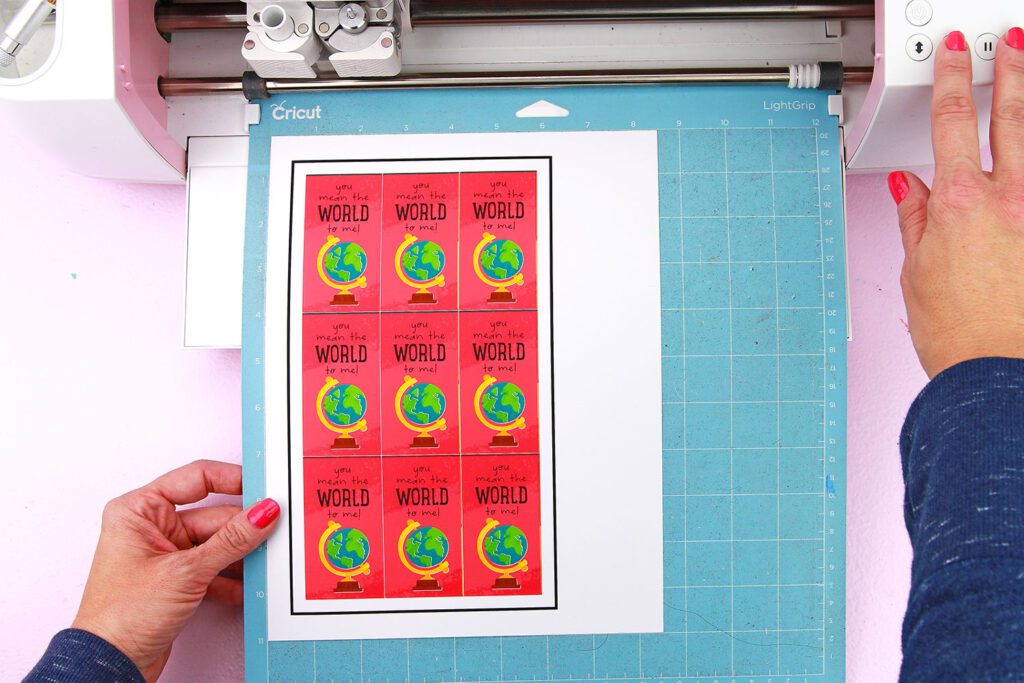
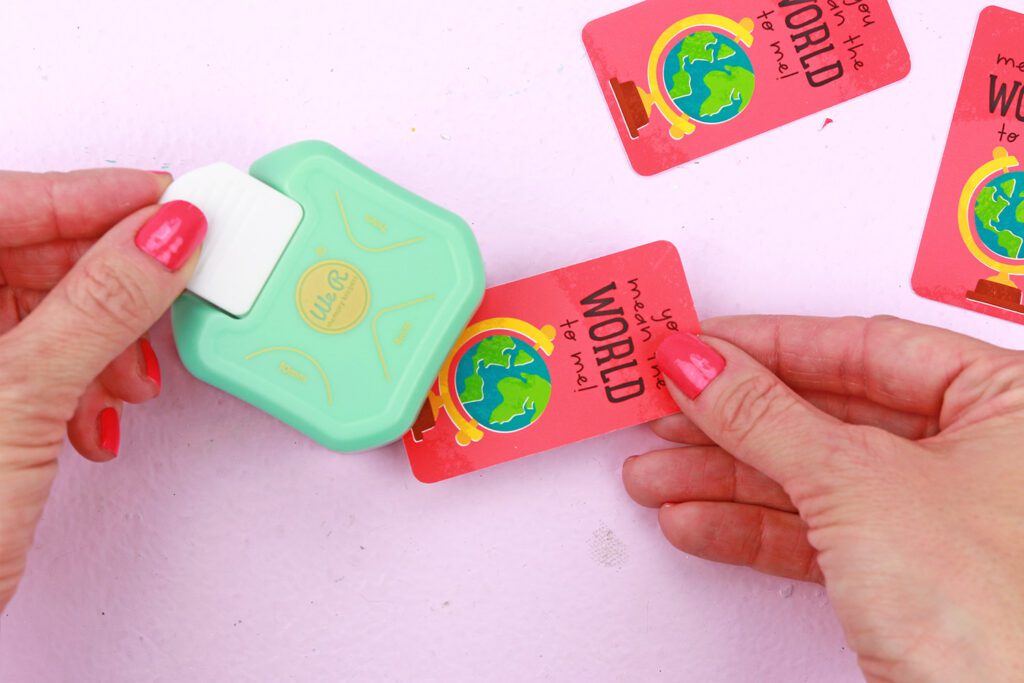
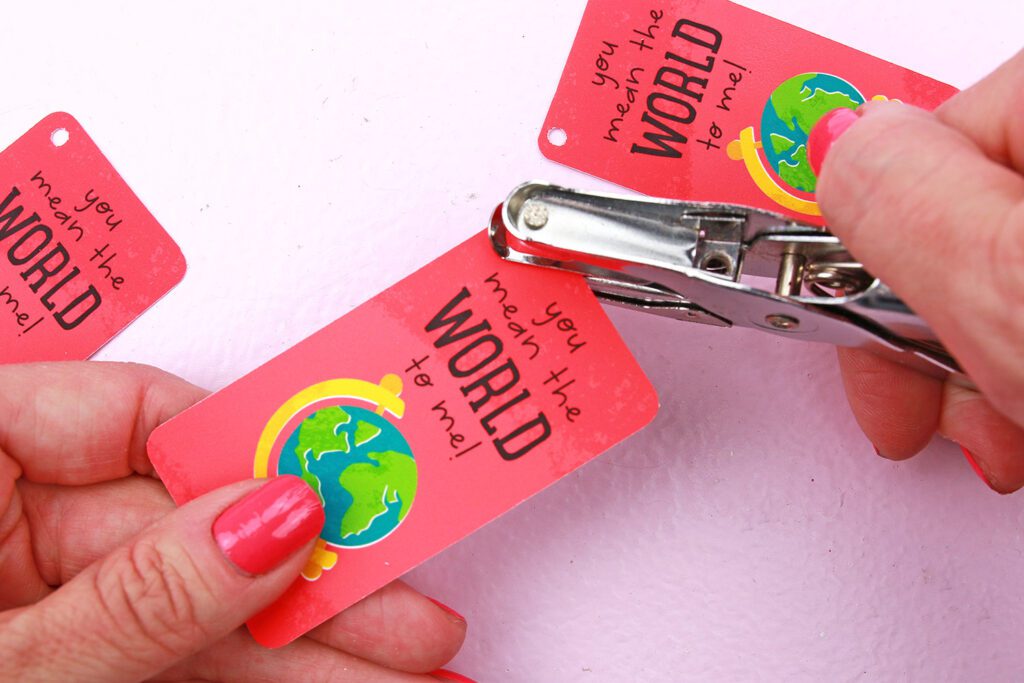
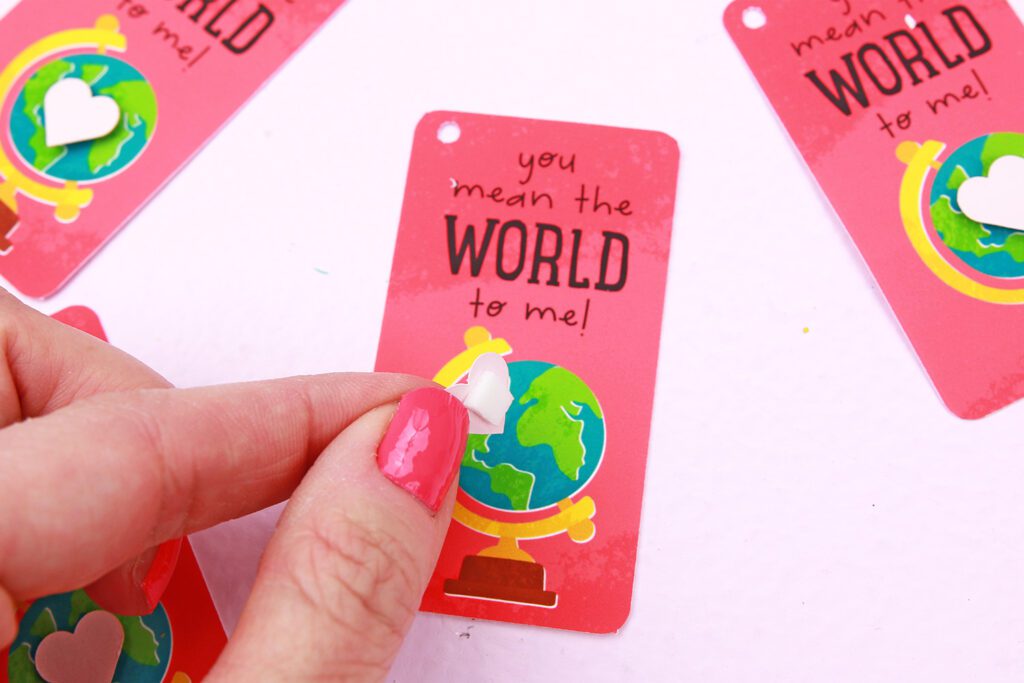
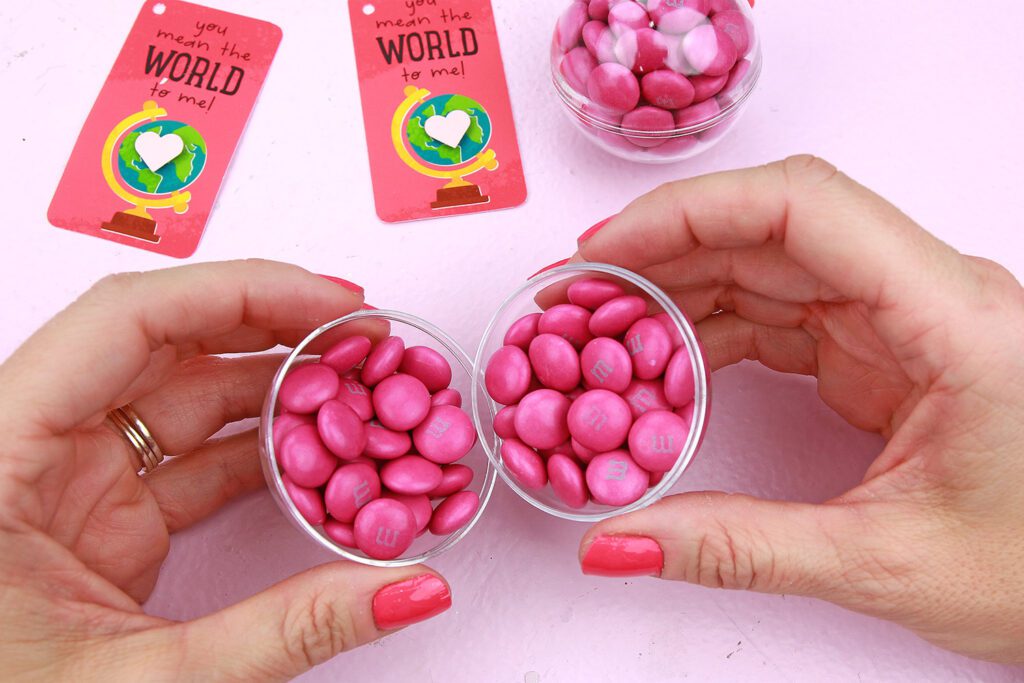
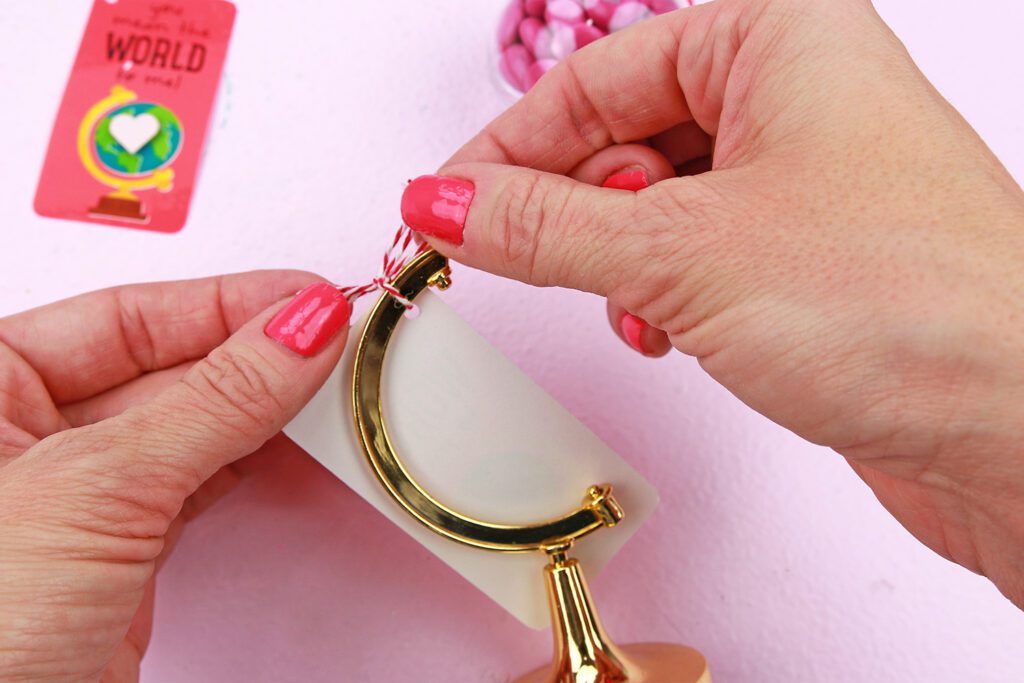
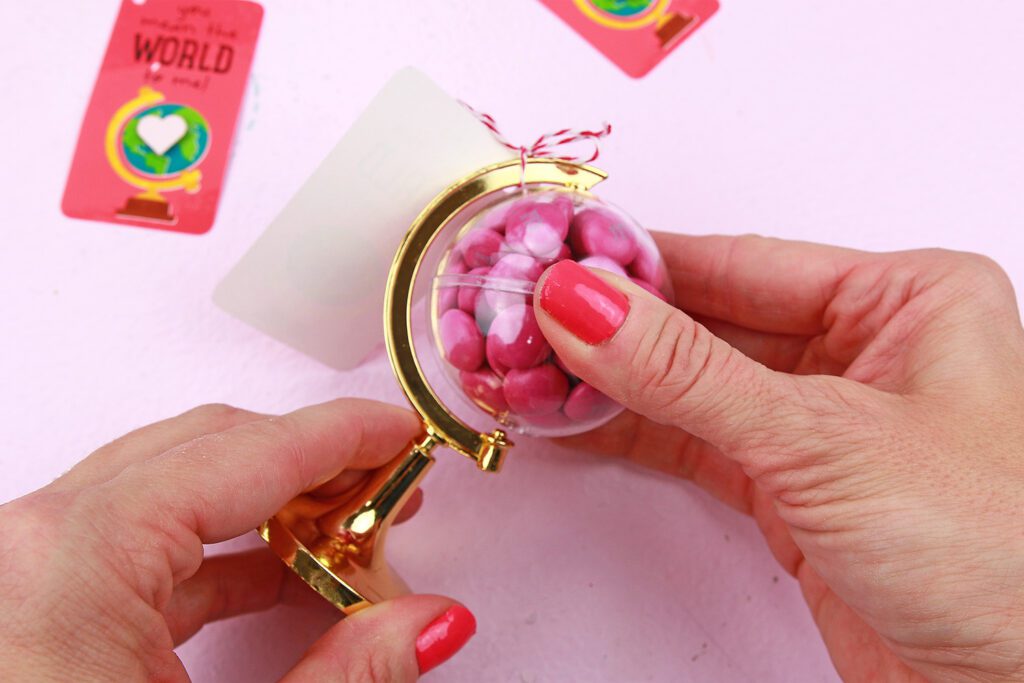
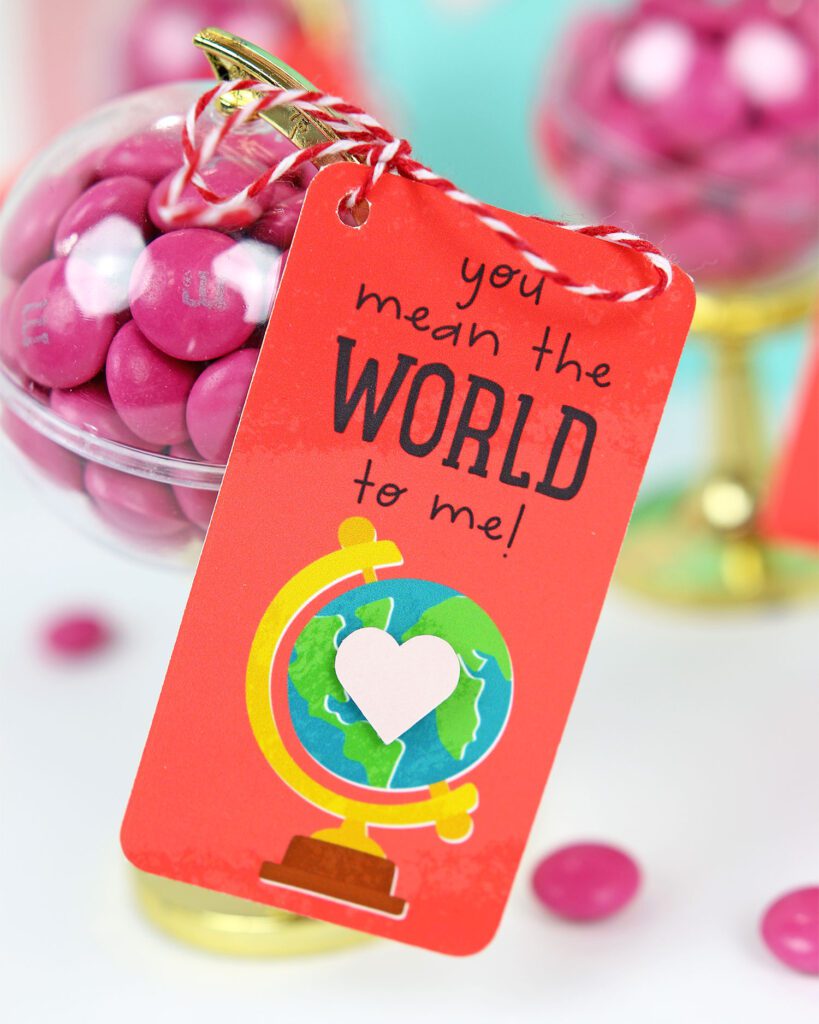
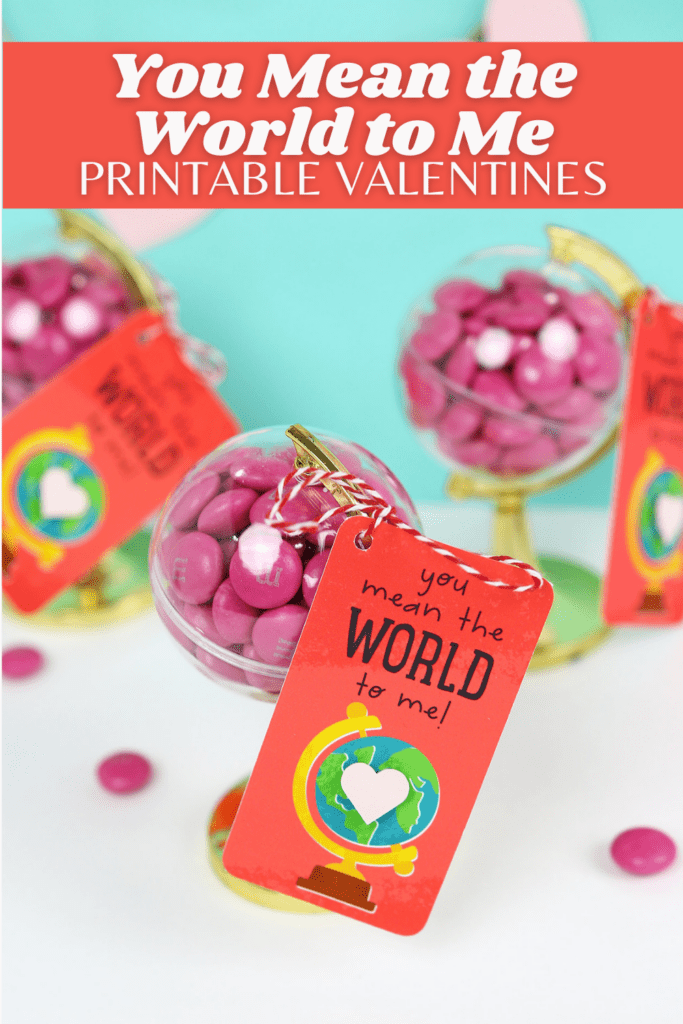
“You Mean the World to Me” Printable Valentines
For this classroom printable valentine we used the Back to School Bundle 1 to make the most adorable valentines! The theme of this bundle is all about heading back to the classroom. Even though these printables are for labeling supplies, gift ideas for teachers, as well as sweet lunch notes. However, one of the lunch notes transitions perfectly into a valentine theme. Take a look at the tutorial below for more details on this ‘You Mean the World to Me” printable valentine!
Materials for the “You Mean the World to Me” Printable Valentines
- YayDay Back to School Bundle I – Lunchbox Notes
- Matte Photo Paper
- Electric Cutting Machine (like a Cricut ) and Light Grip Mat
- Ink Jet Printer (we used the Canon TS9521C All-In-One Wireless Crafting Photo Printer
- Globe Party Favors
- Pink M&Ms
- Pink Cardstock
- Corner Rounding Punch
- 1/8” Hole Punch
- Mini Foam Square Adhesive
- Mini Heart Paper Punch (Optional)
- Red and White Baker’s Twine
- Scissors
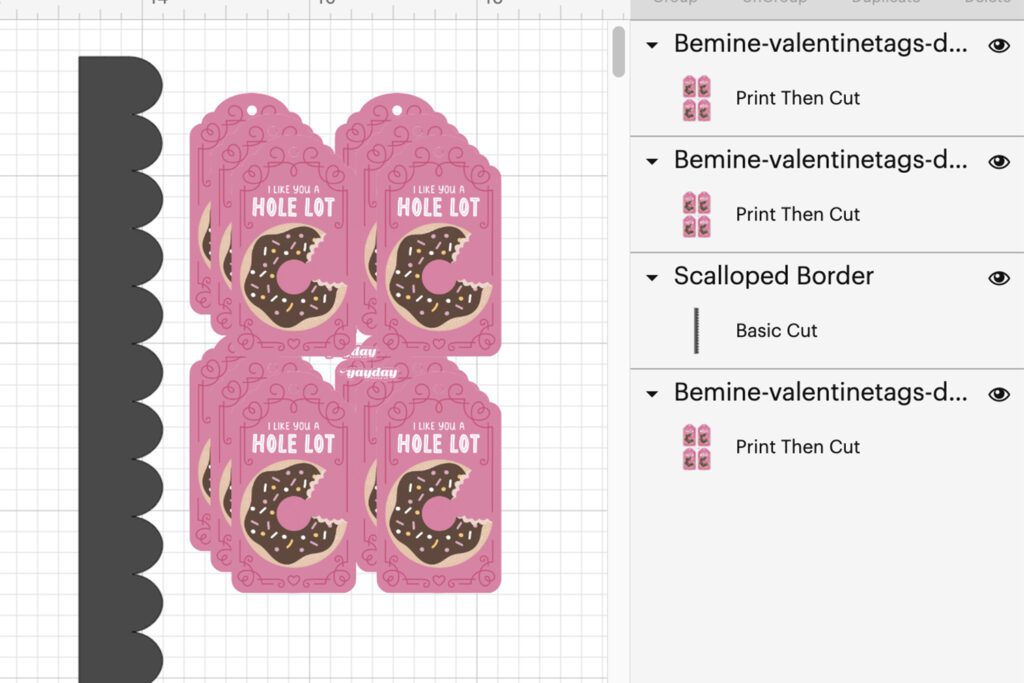
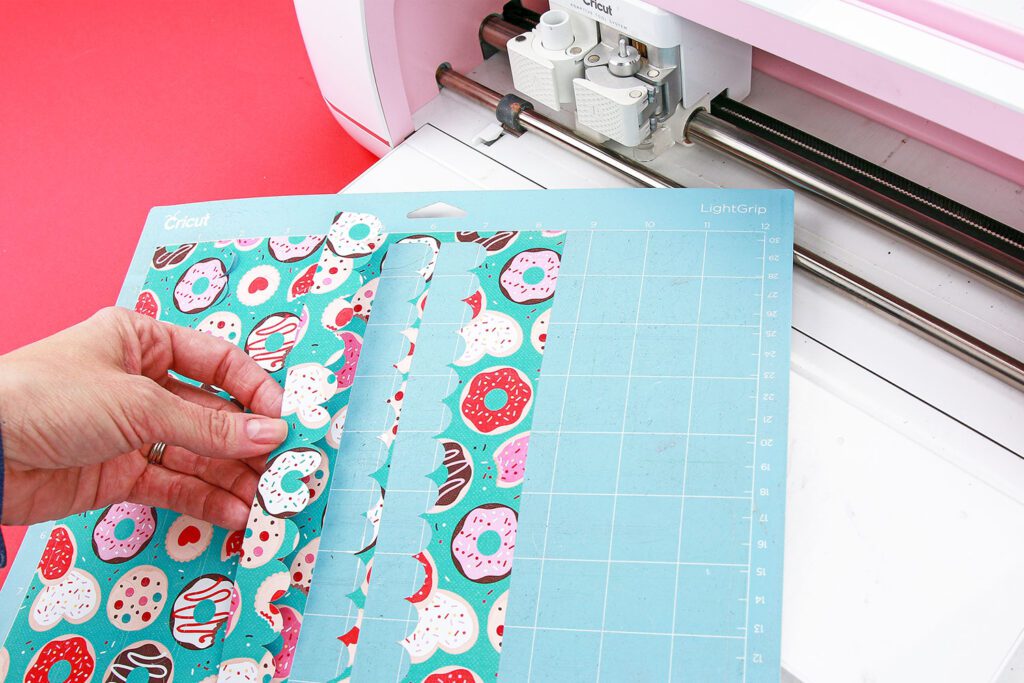
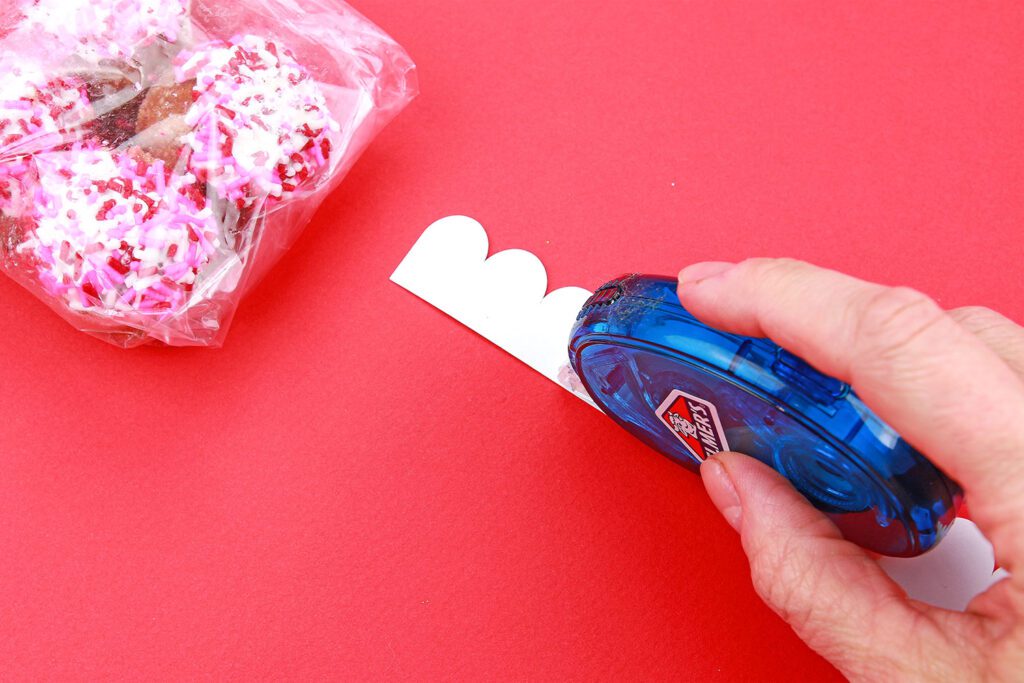
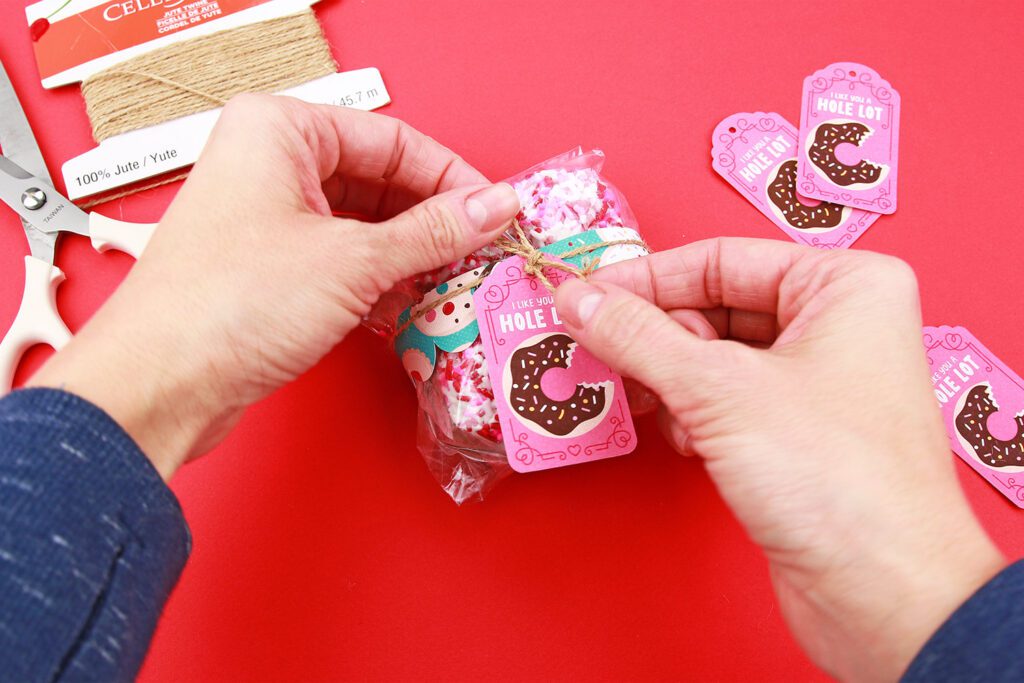
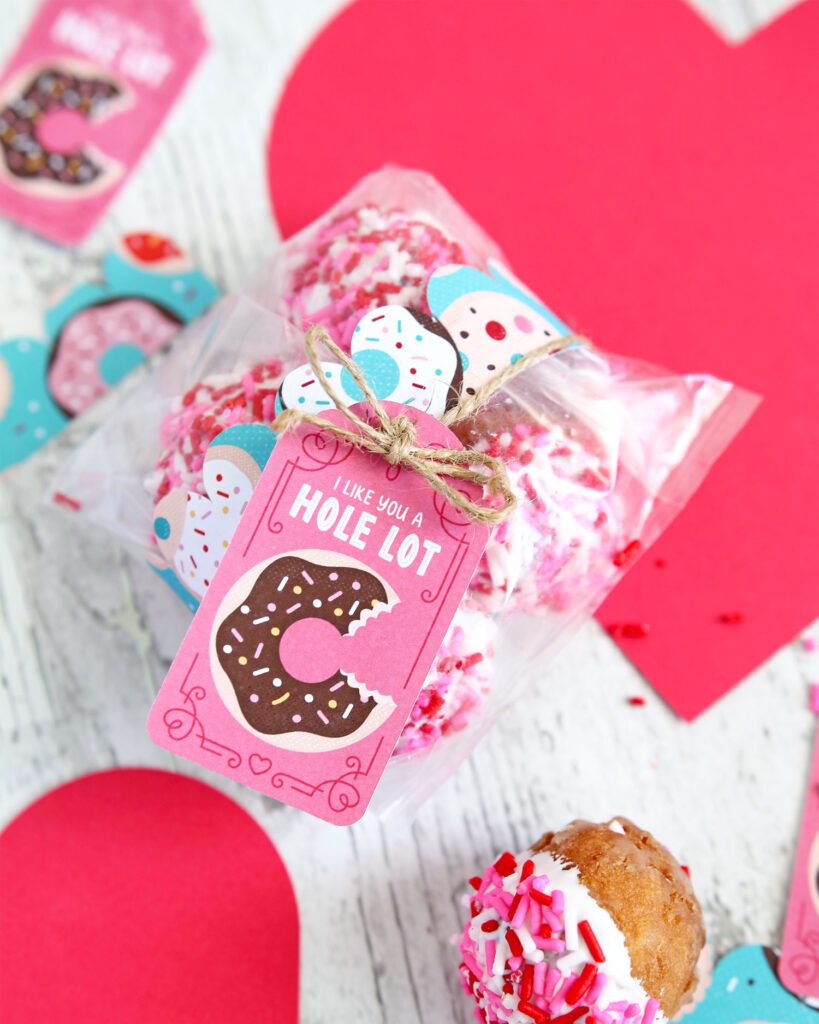
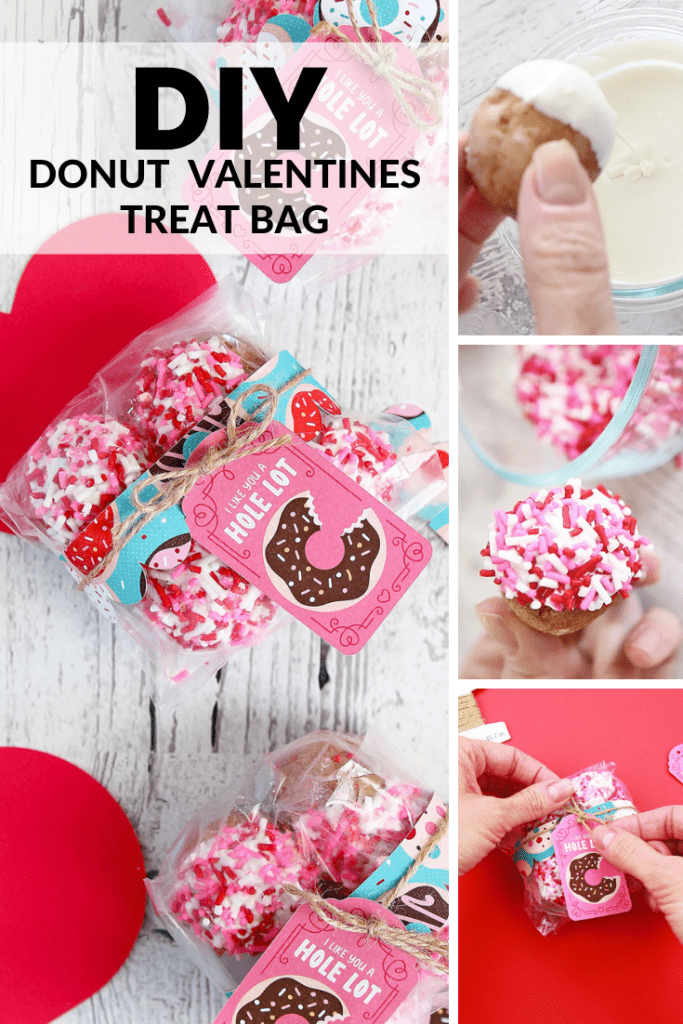
DIY Donut Valentines Treat Bag
Everyone loves donuts, am I right? Which is why they make the perfect treat for Valentine’s Day! These punny treat bags will have your kids (and their classmates!) smiling. Not only because they are funny, but also because they are sugary sweet! To finish the treat bag, we add some playful Valentine’s Day elements printed on matte photo paper that really turn this gift into the cutest darn treat bag in all of the land!

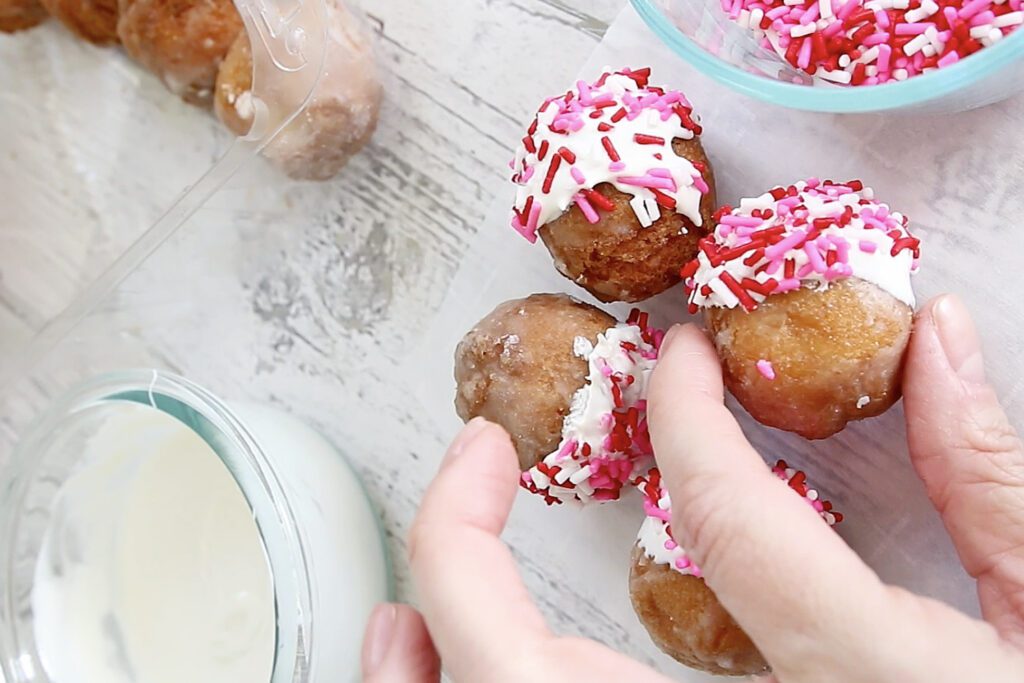
These Valentine’s Day donut hole treats are perfect for class treats, Valentine’s Day parties, or perhaps a Galentine’s Day brunch. They’re quick and easy to put together and simple enough to make with the kiddos. These sweet treats are perfect for the holiday of love. However, they’re not just for Valentine’s Day. You can decorate donut holes in a variety of chocolate colors as well as sprinkle colors making them completely customizable for any holiday or party! Take a peak at the full tutorial below to see how you can make your own DIY donut valentines treat bags!
Materials for Donut Valentines Treat Bag
- YayDay Be Mine Stationery Bundle
- 8.5” x11” Matte Photo Paper
- Electric Cutting Machine (like a Cricut ) and Light Grip Mat
- Ink Jet Printer (we used the Canon TS9521C All-In-One Wireless Crafting Photo Printer
- Twine
- Scissors
- Glazed Donut Holes
- Meltable White Chocolate
- Valentine’s Day Themed Sprinkles
- 2 Small Bowls
- Parchment Paper
- Clear Treat Bags
- Tape Runner
- Clear Tape
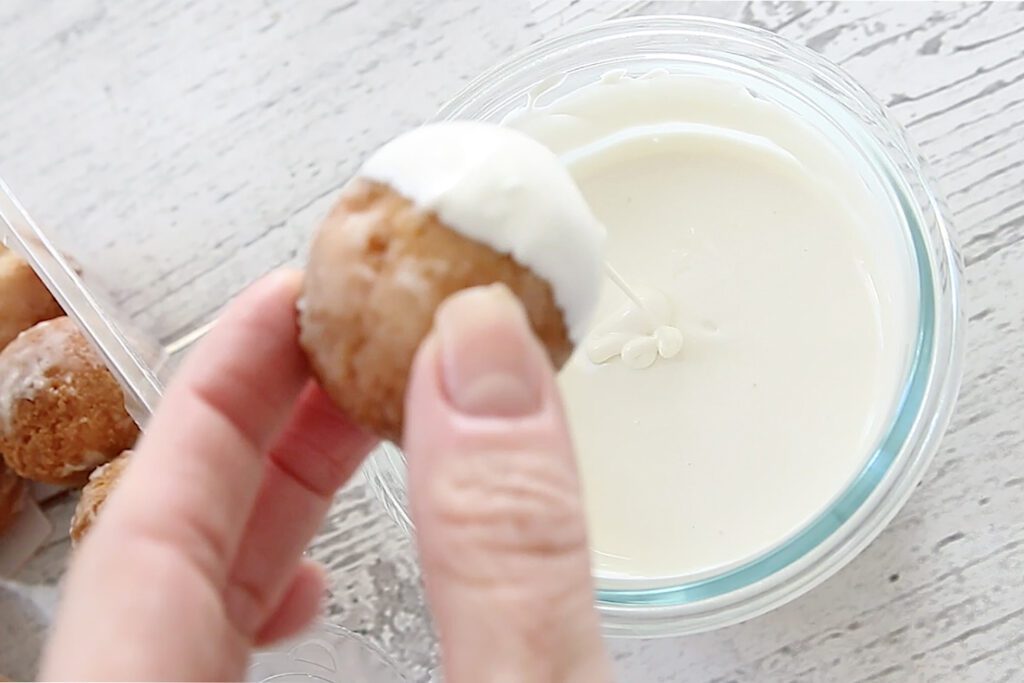
How to Make Chocolate Dipped Donuts

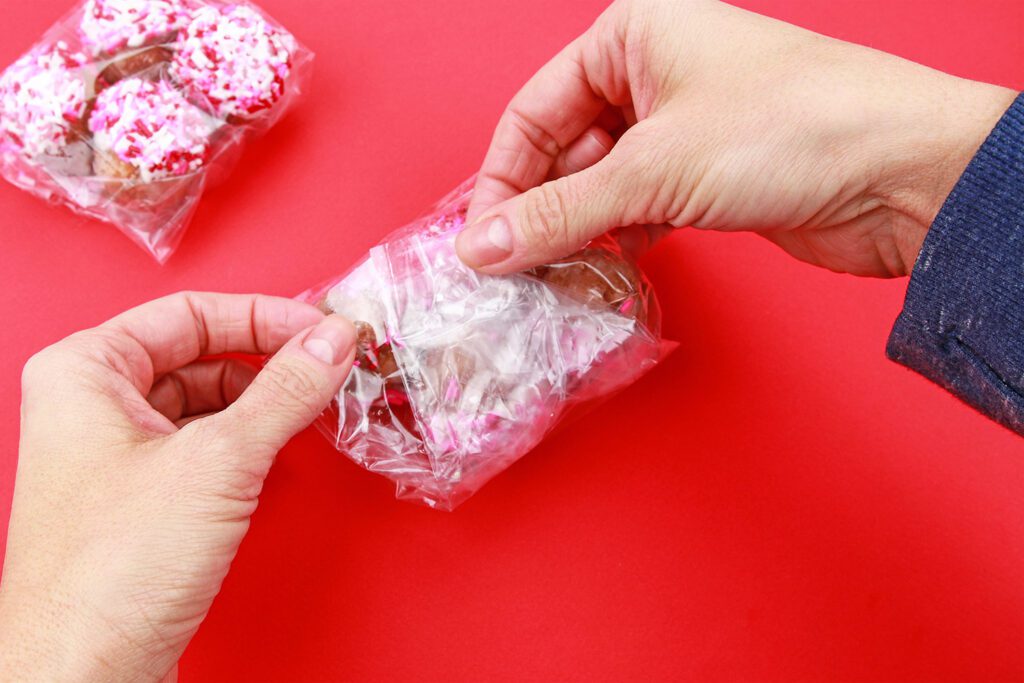
How to Create Treat Bag Packaging


So, there you have it! Four easy printable valentine treat ideas for the classroom that are sure to be hit with kiddos this year. Lastly, if you’re looking for a non-candy valentine be sure to check out the free valentine printables for a fruity alternative!