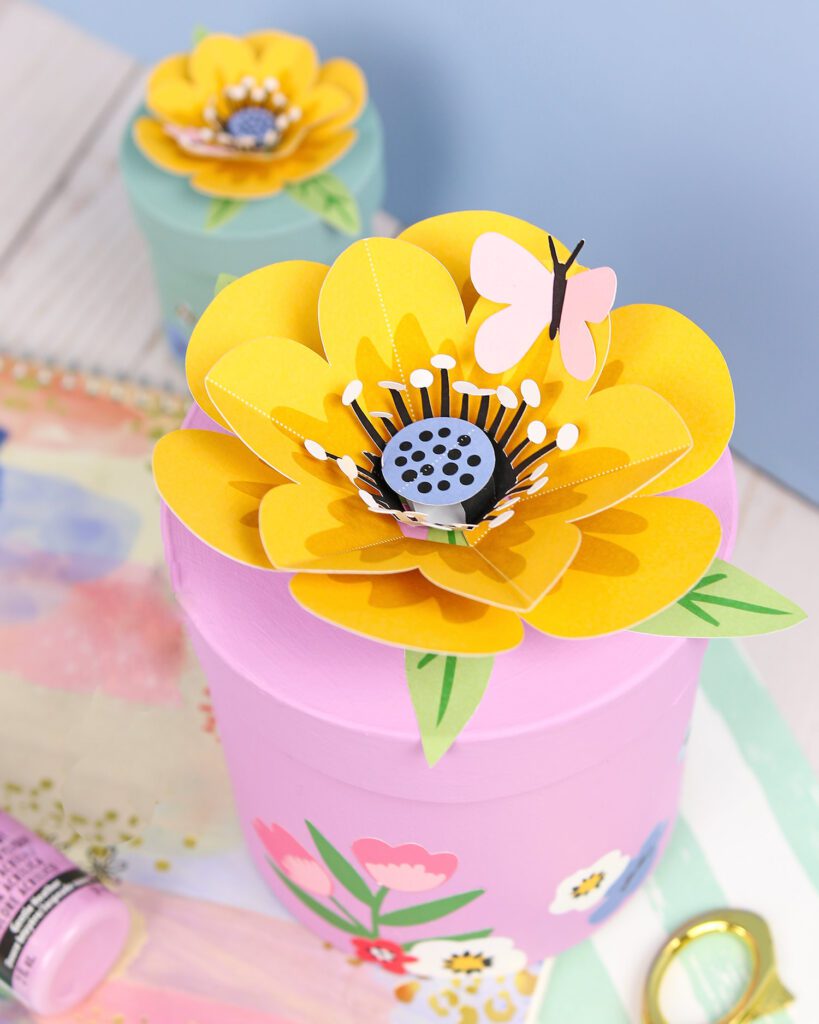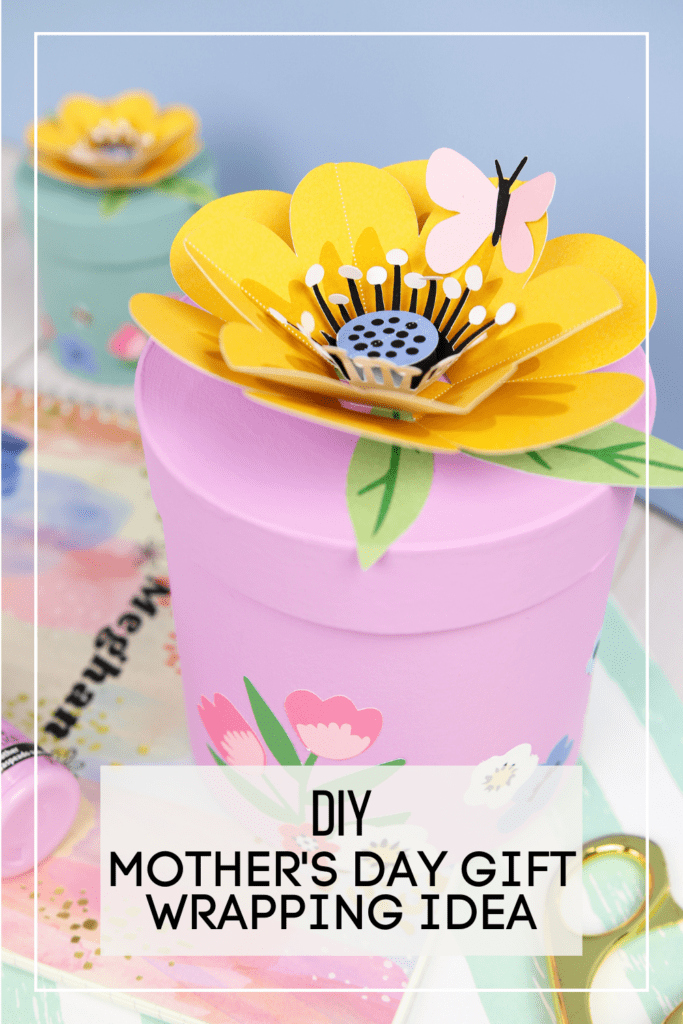
Looking for a chic way to wrap your gift for Mom this year? I’ve got you covered with this Mother’s Day gift wrapping idea. Since Mother’s Day is celebrated in the spring, what better way to infuse the season into gift wrap than with a 3D paper flower! This Cricut paper flower is from the Flowers Everywhere Stationery Bundle and the perfect accessory for this DIY gift wrap idea!
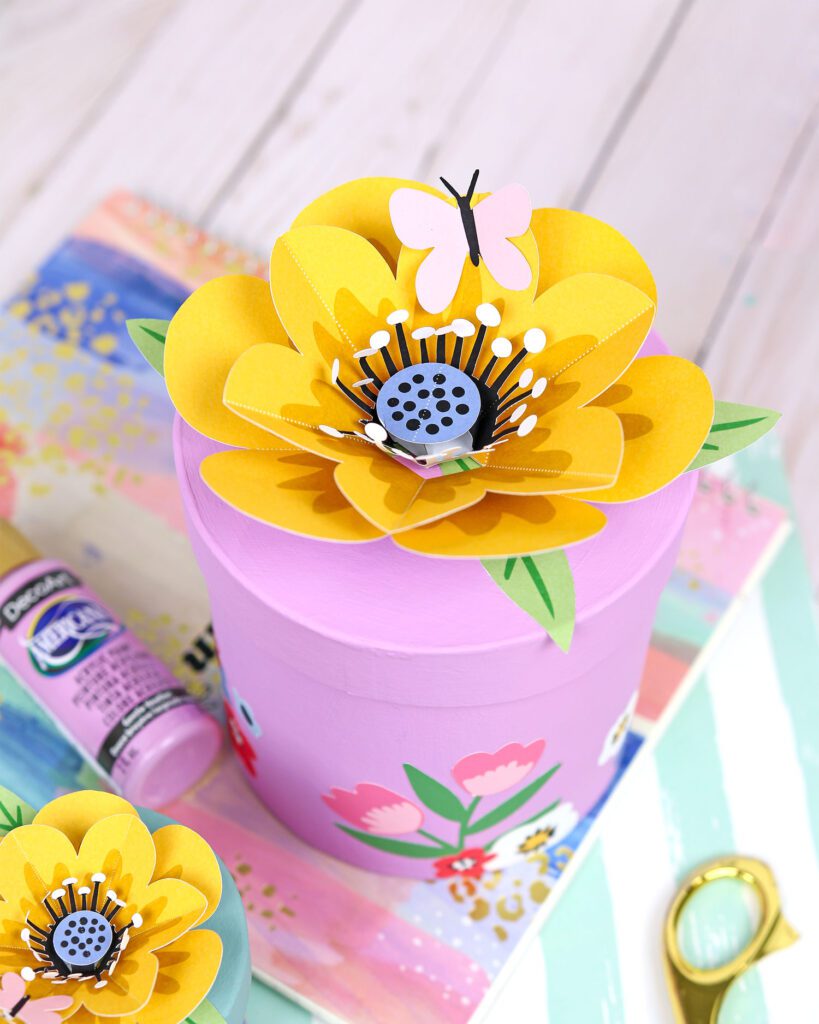
For me, gift giving is as much about the gift wrap as it is about the gift. So, I’m showing you how to amplify a plain box with some paint, printable stickers, and a 3D paper flower! This DIY gift wrap can be customized to fit any size box. All you need to do is change the size of the paper flower in Design Space! It can also be used to house gifts for other occasions such as wedding showers, baby showers, and birthdays! What’s cool about this project is the recipient can hang the lid on a wall along aside other photos for a unique accent piece that really pops! Take a look at the video below for the full tutorial on how to make this adorable Mother’s Day gift wrapping idea!
Materials for the Mother’s Day Gift Wrapping Idea:
- YayDay Flowers Everywhere Stationery Bundle
- Round Paper Mache Box (ours was 5” in diameter)
- Matte Photo Paper 8.5” x11”
- Sticker Paper 8.5”x11”
- Electric Cutting Machine (like a Cricut ) and Light Grip Mat
- Ink Jet Printer (we used the Canon TS9521C All-In-One Wireless Crafting Photo Printer
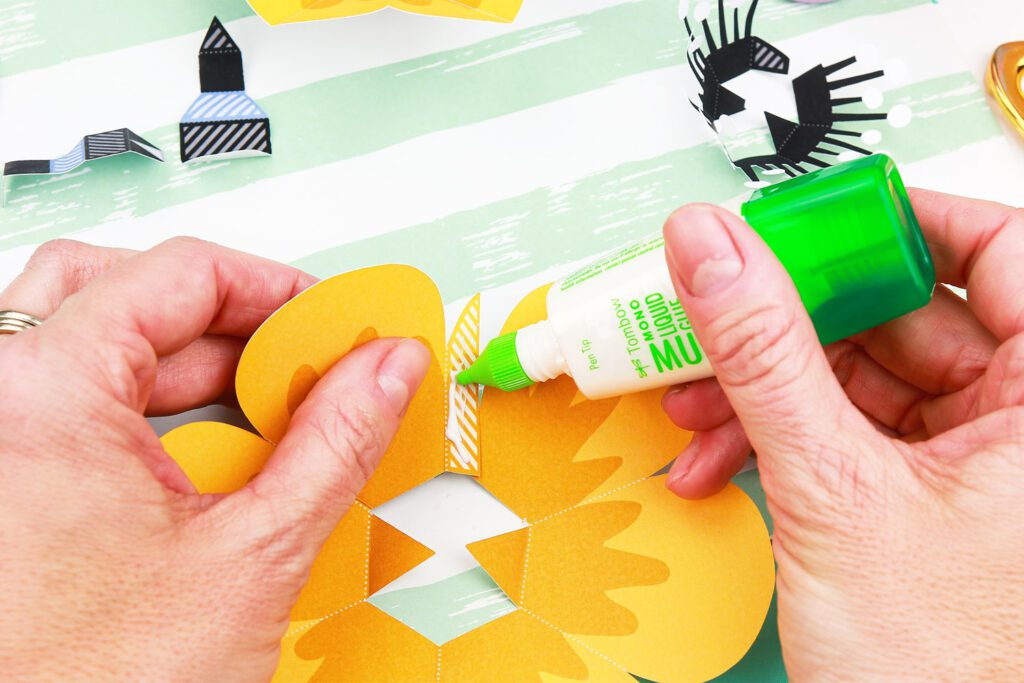
- Glue Pen
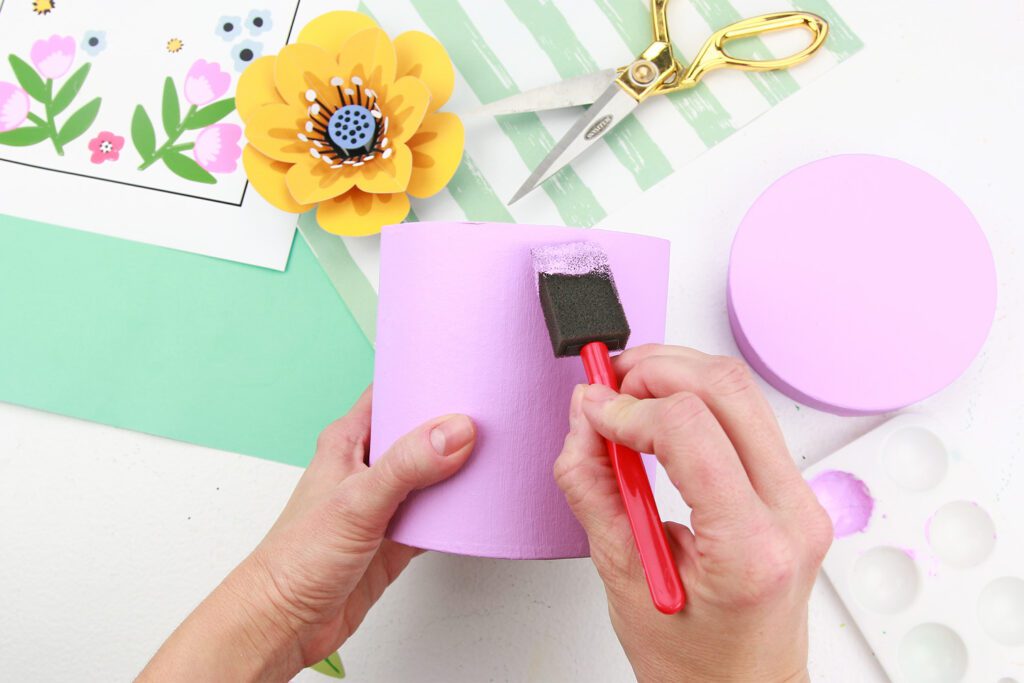
- Acrylic Paint (we used DecoArt Gentle Heather)
- Foam Paint Brush
How to Make the Mother’s Day Gift Wrapping Idea:
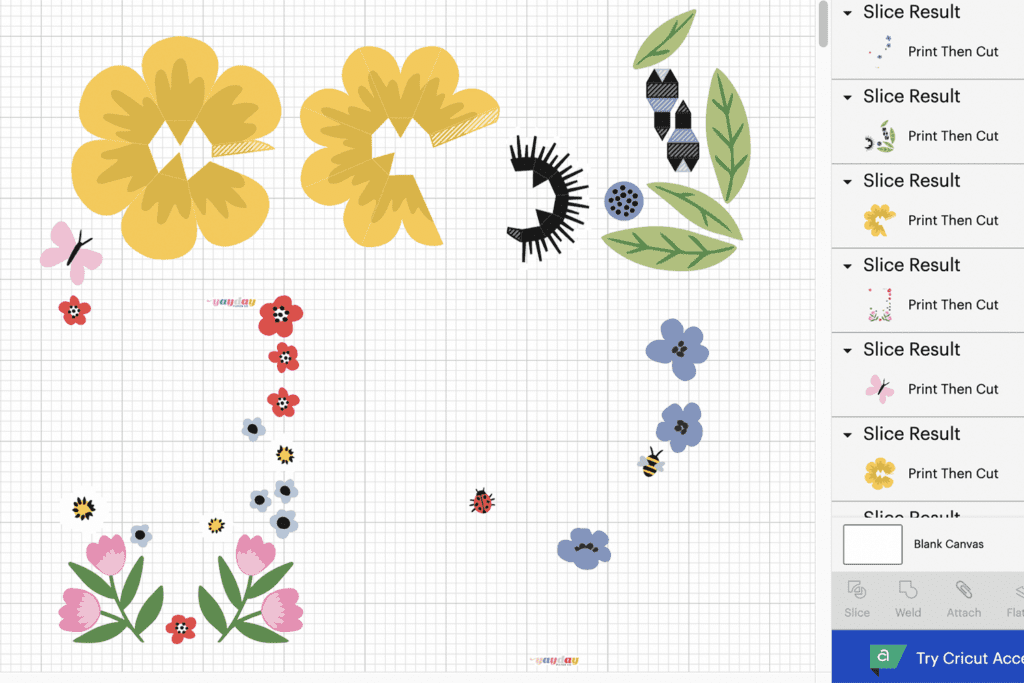

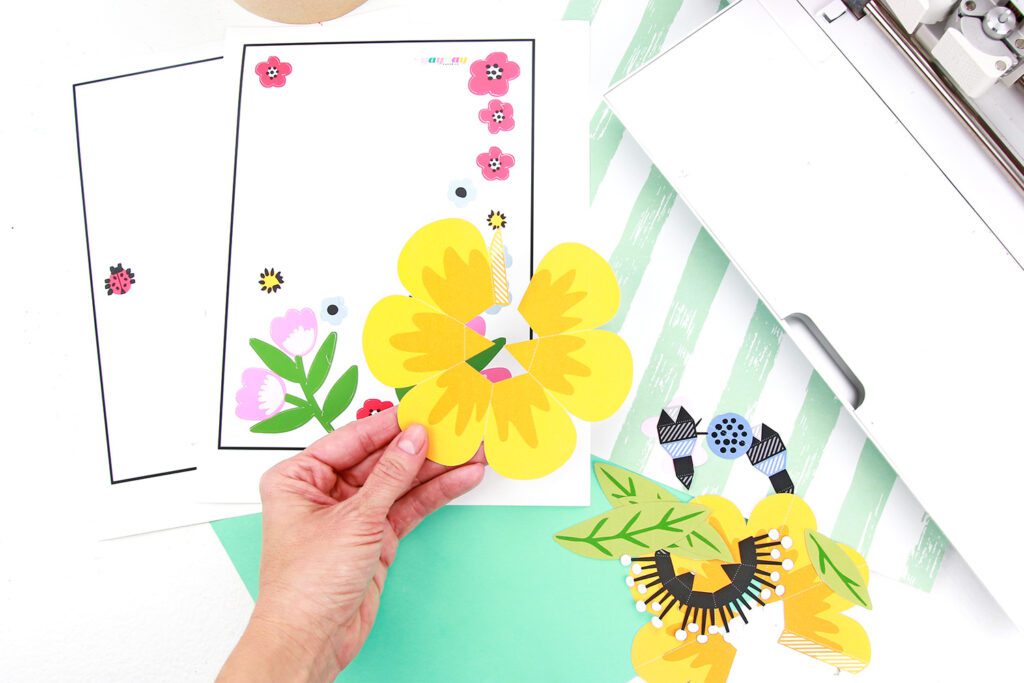
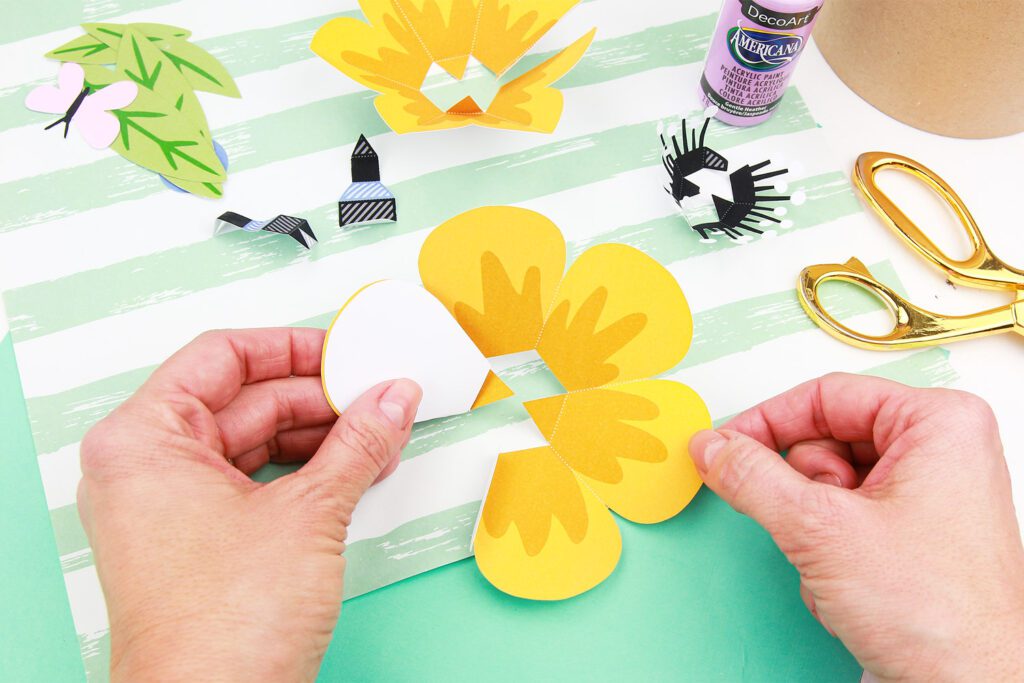
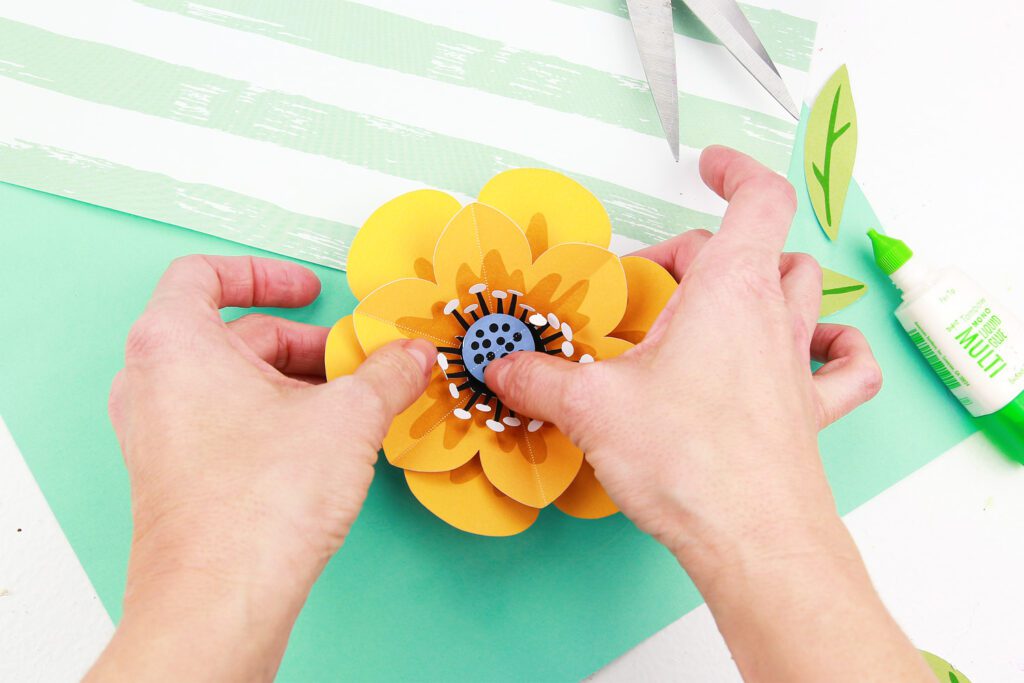
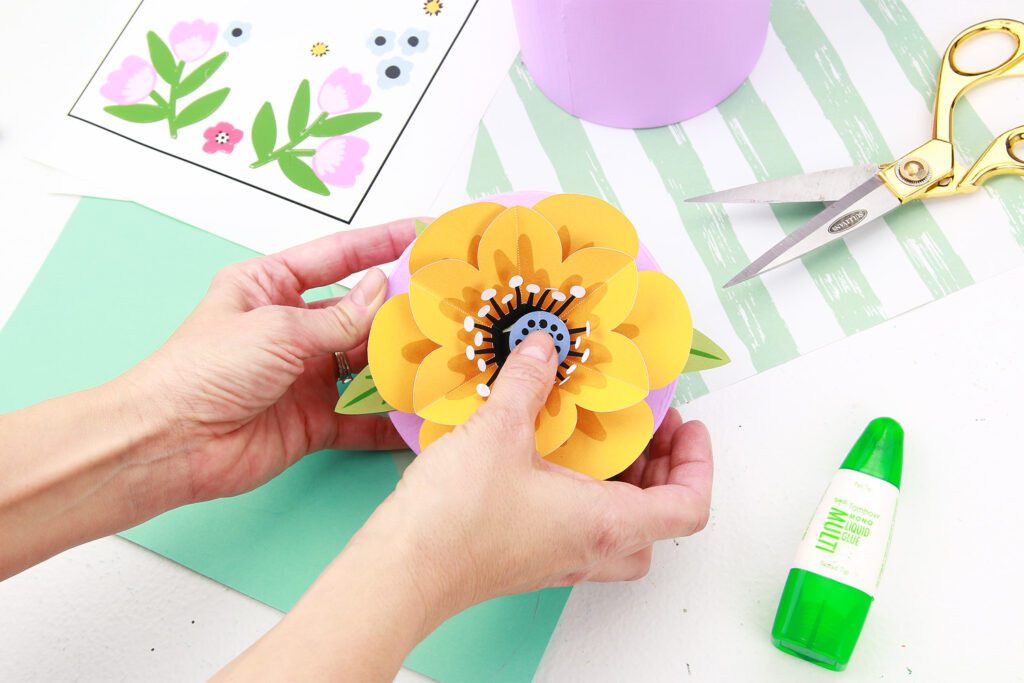
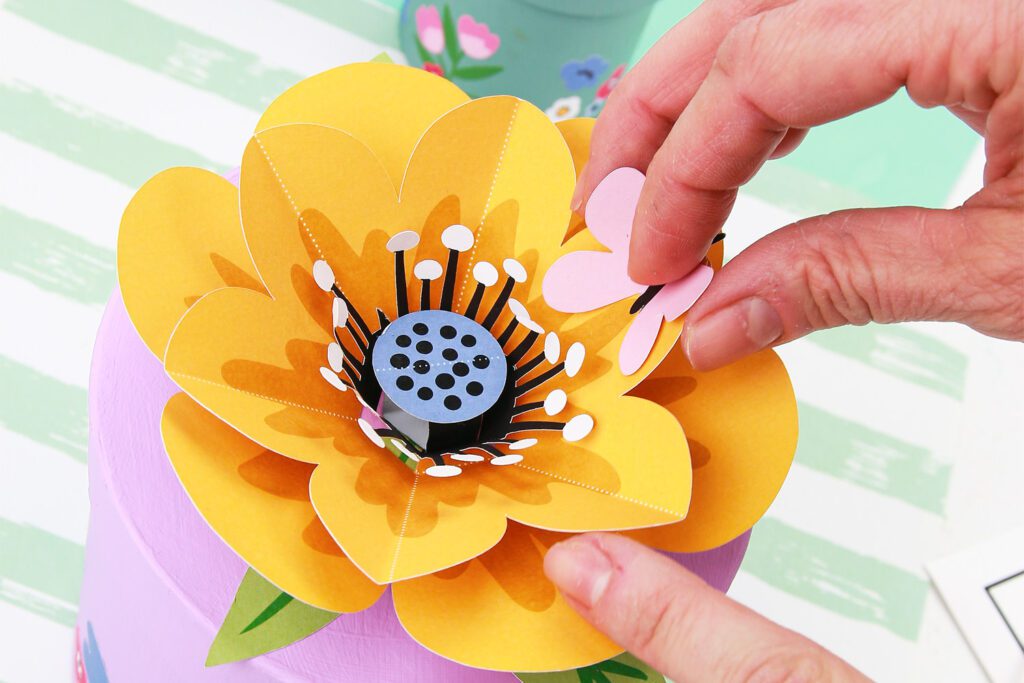
How to Assemble the 3D Paper Flower
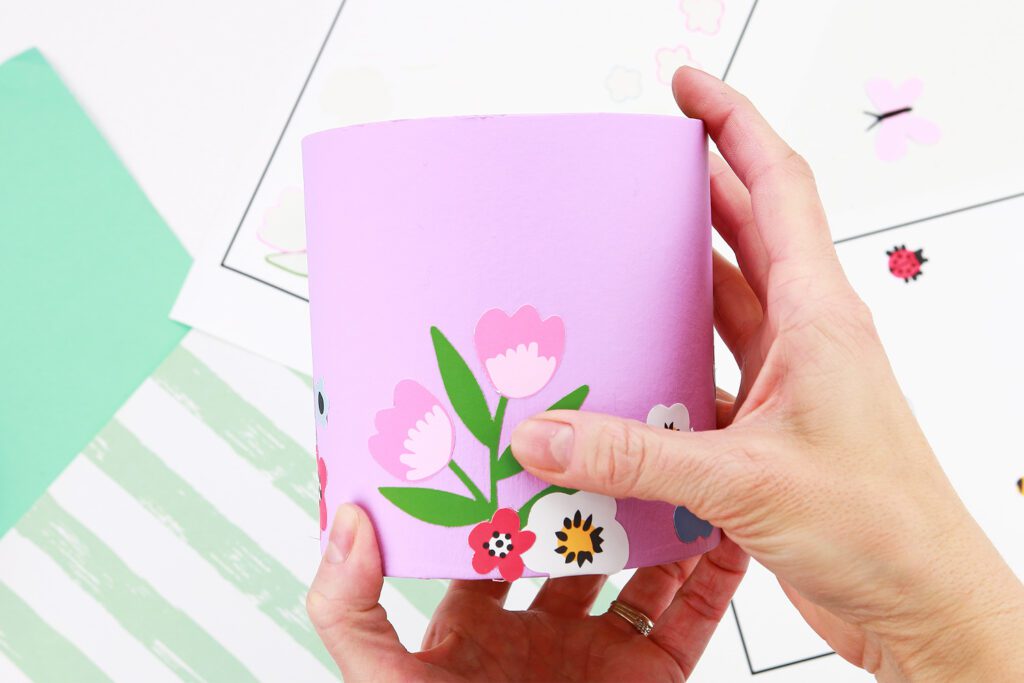
How to Decorate the Gift Box:
Now, time to pop in your special gift! Again, since you can customize the size of the 3D paper flower, you can select a box that perfectly fits what you’re gifting to your M-O-M. Trust me, she’s going to love the packaging!