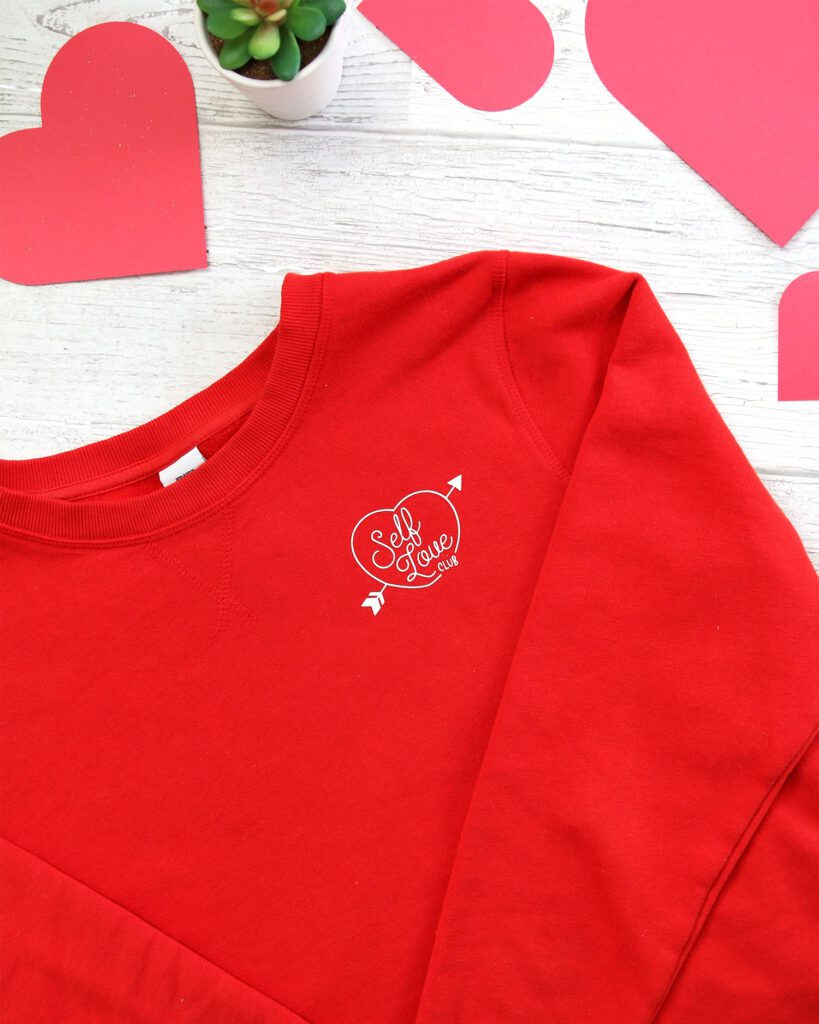
Creating a custom sweatshirt is easier than you think! I’m going to show you how to use iron-on vinyl to transform a plain shirt using an SVG file from the YayDay Be Mine bundle! Iron-on vinyl really does take projects to the next level since it can be added to an array of materials. You can also use printable iron-on material for custom logos and designs, which is SUPER awesome!
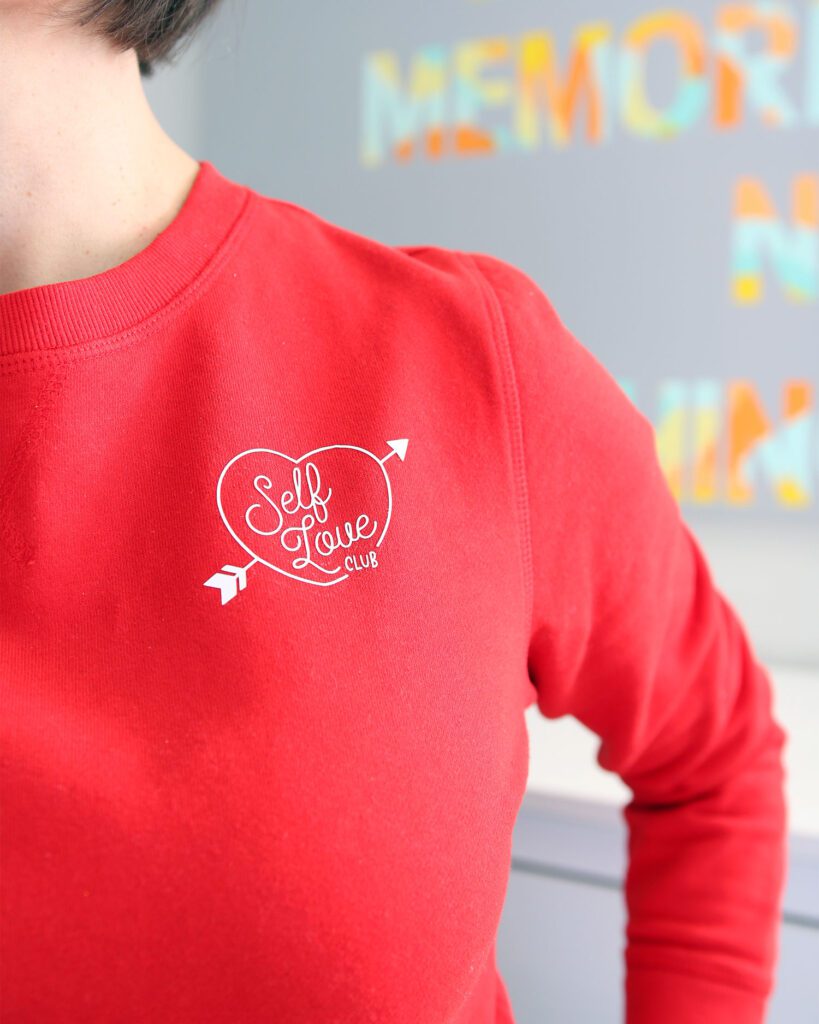
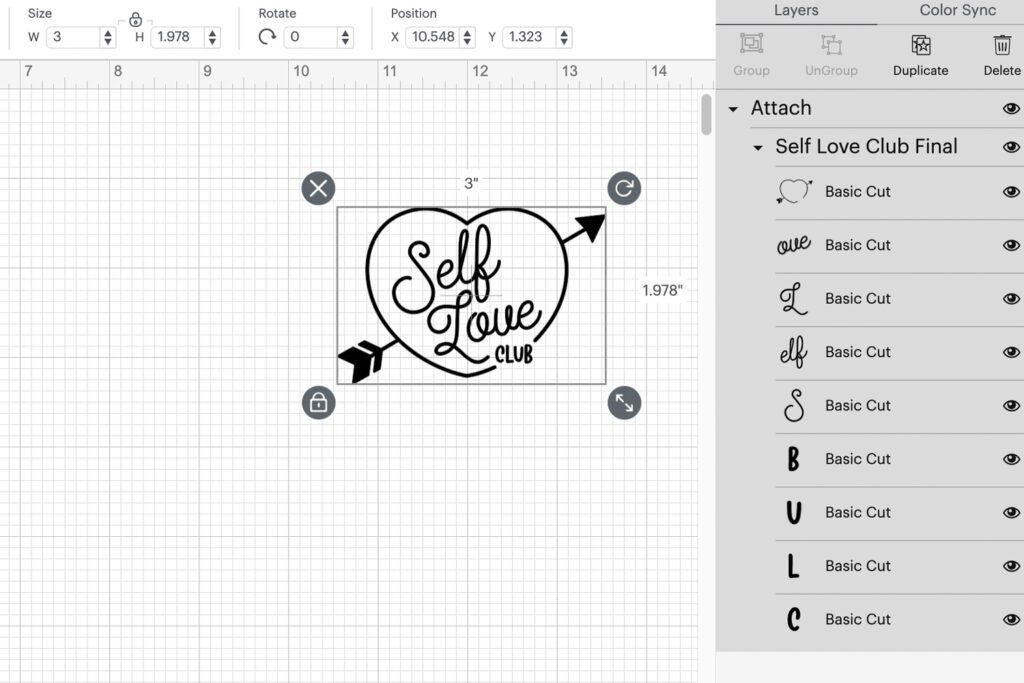
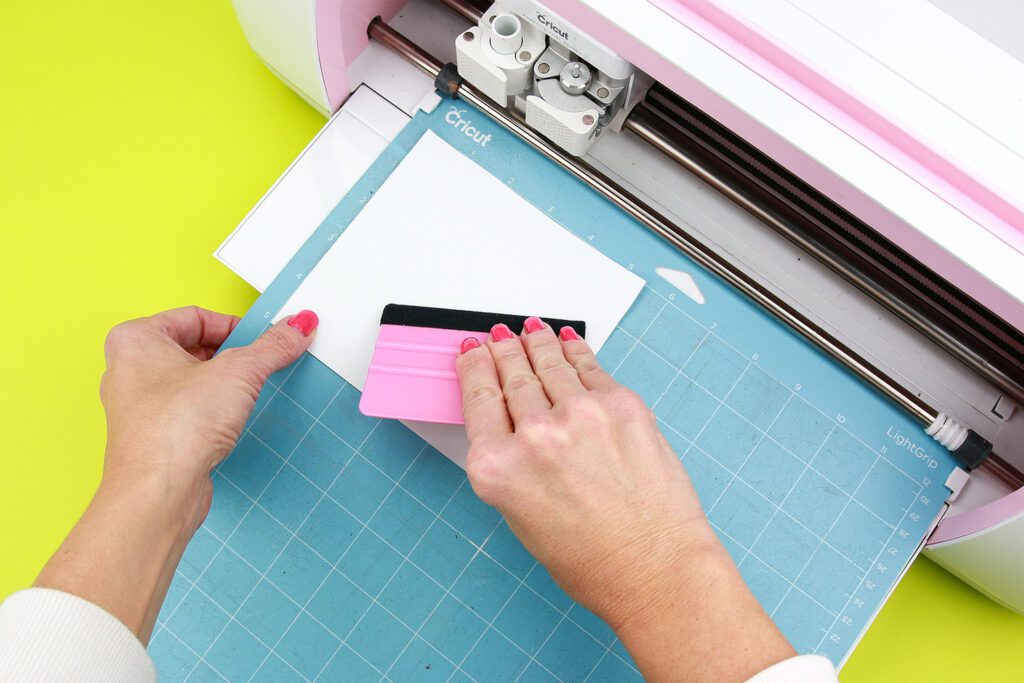
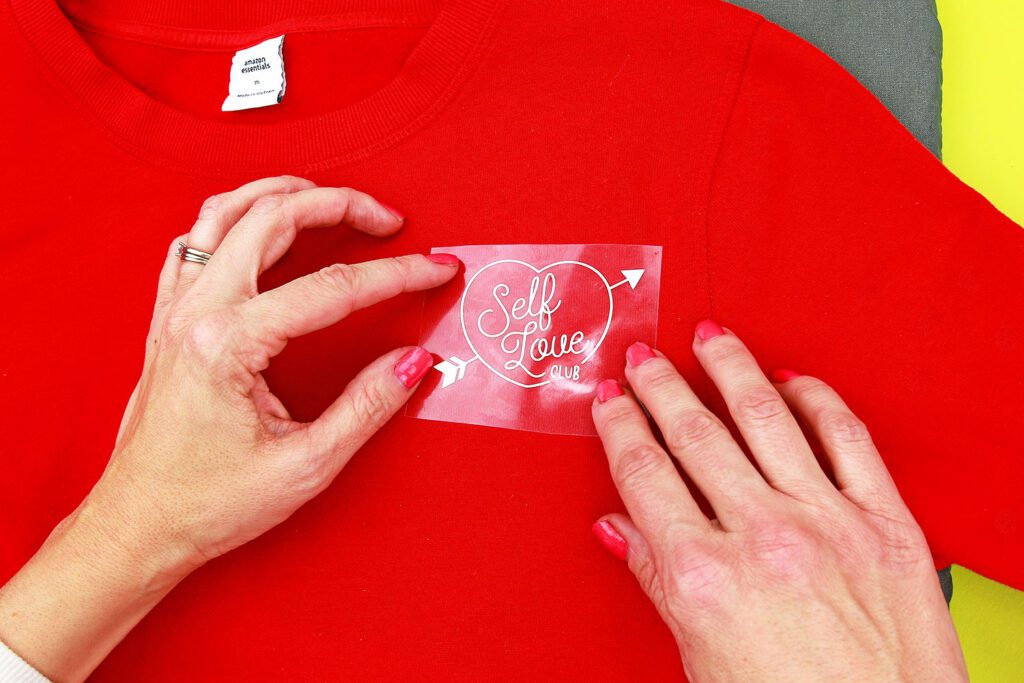
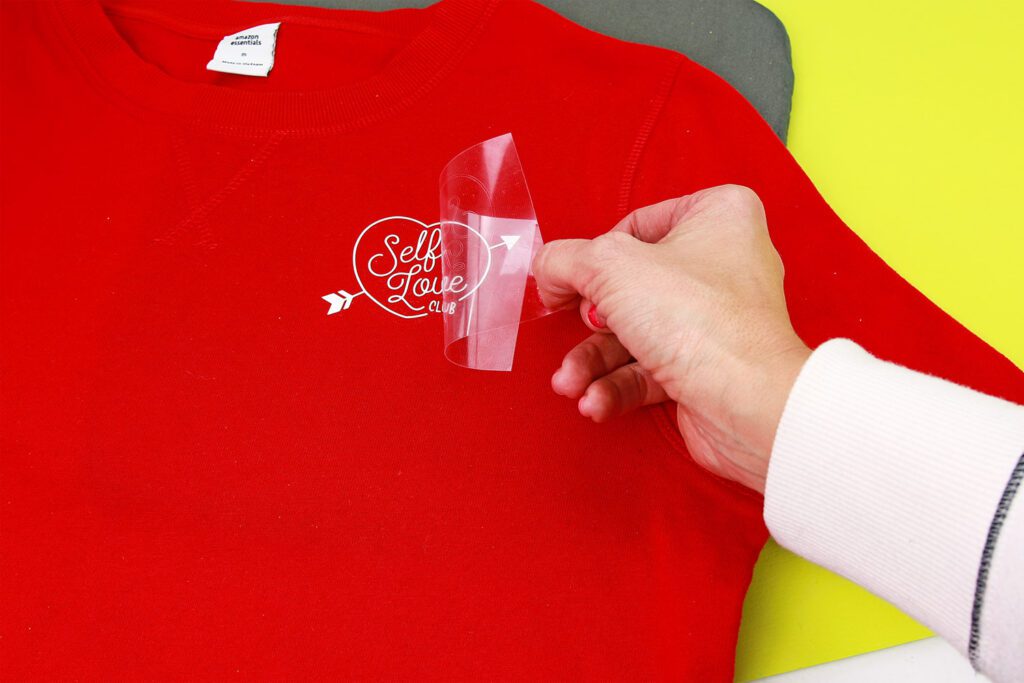
I’m going to show you how to cut iron-on vinyl using a Cricut machine. You can certainly use other electronic cutting machines if you don’t own a Cricut. If you’re just getting started with how to use iron on with Cricut, a garment that is 100% cotton (like this sweatshirt!) is a great place to start. Pair a sweatshirt with this adorable “Self Love Club” SVG file and you’re minutes from an adorable fashion piece. Scroll on down for the full tutorial to see how to use iron-on vinyl!
Materials for Vinyl Custom Sweatshirt
- YayDay Be Mine SVG Bundle
- White Heat Transfer Vinyl
- Sweatshirt
- Electric Cutting Machine (like a Cricut ) and Light Grip Mat
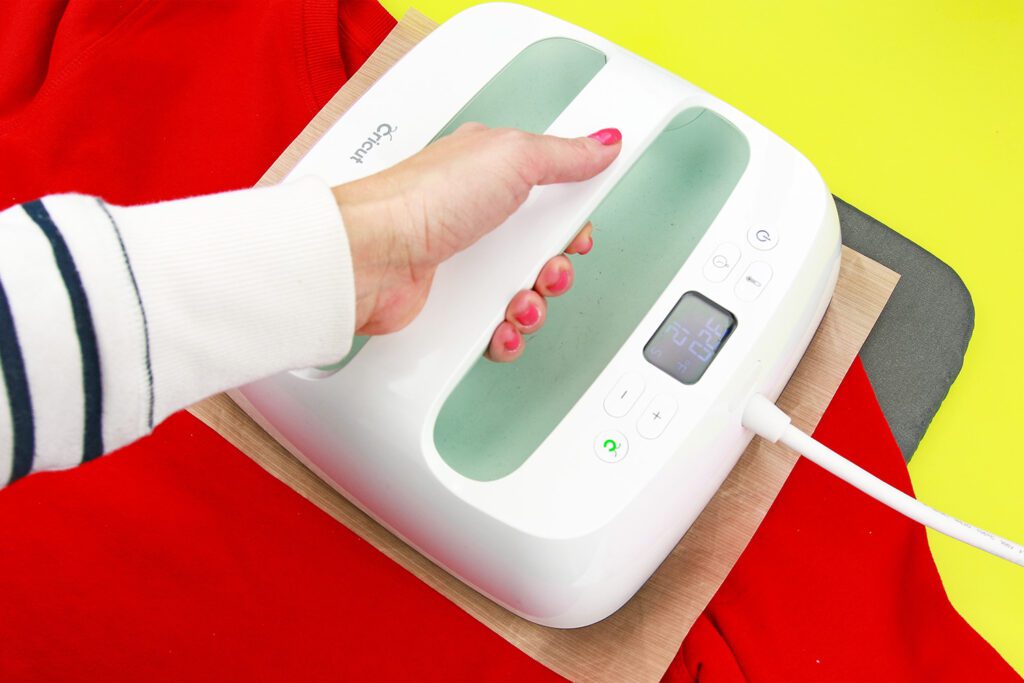
- Cricut EasyPress and Mat (or Iron and Ironing Board)
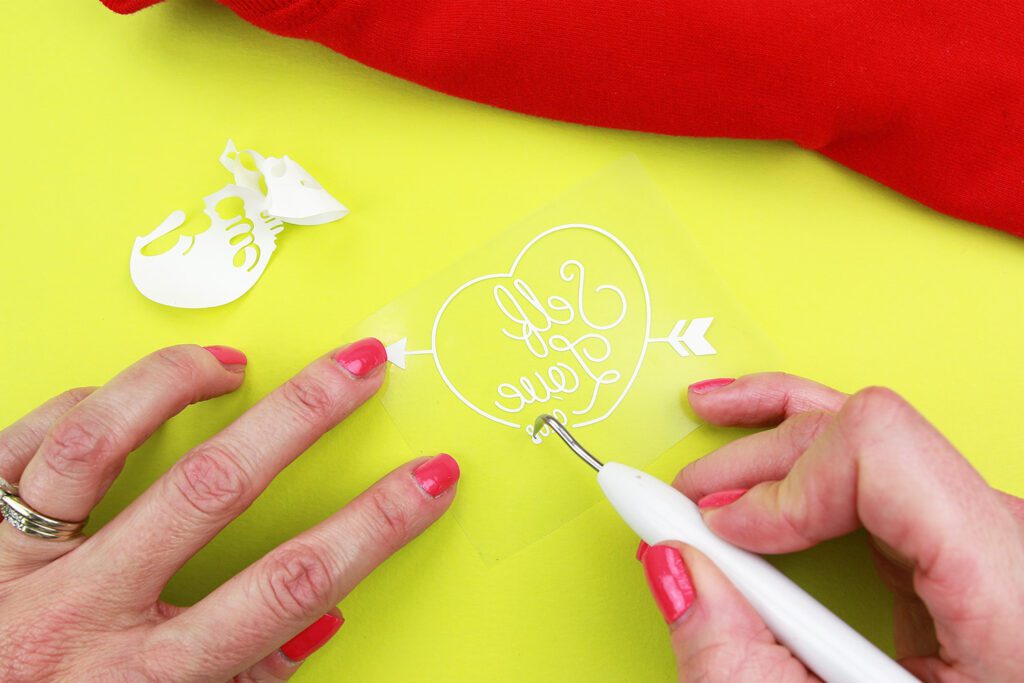
- Squeegee (optional) and Weeding Tool
- Teflon Sheet (optional)
How to Iron-on vinyl