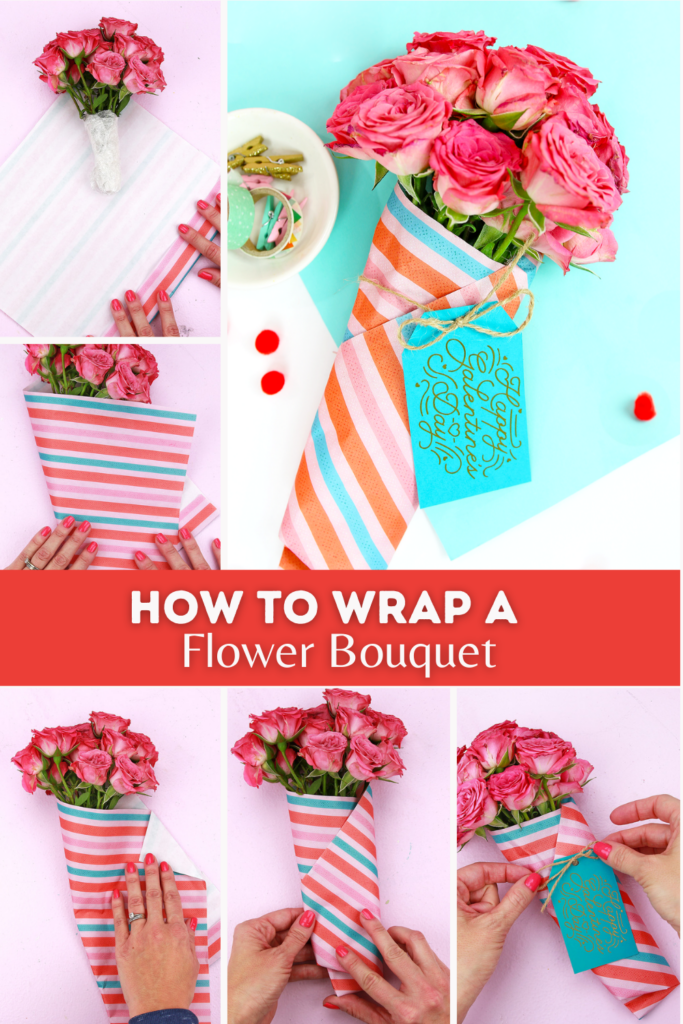
Before you kick-off Valentine’s Day festivities, don’t forget to show some love for your besties with a Galentine’s Day gift! What better time to show the besties in your life how much you care then on February 11th! You could hand out balloon bouquets OR you could let me show you how to wrap a flower bouquet your BFFs will love!

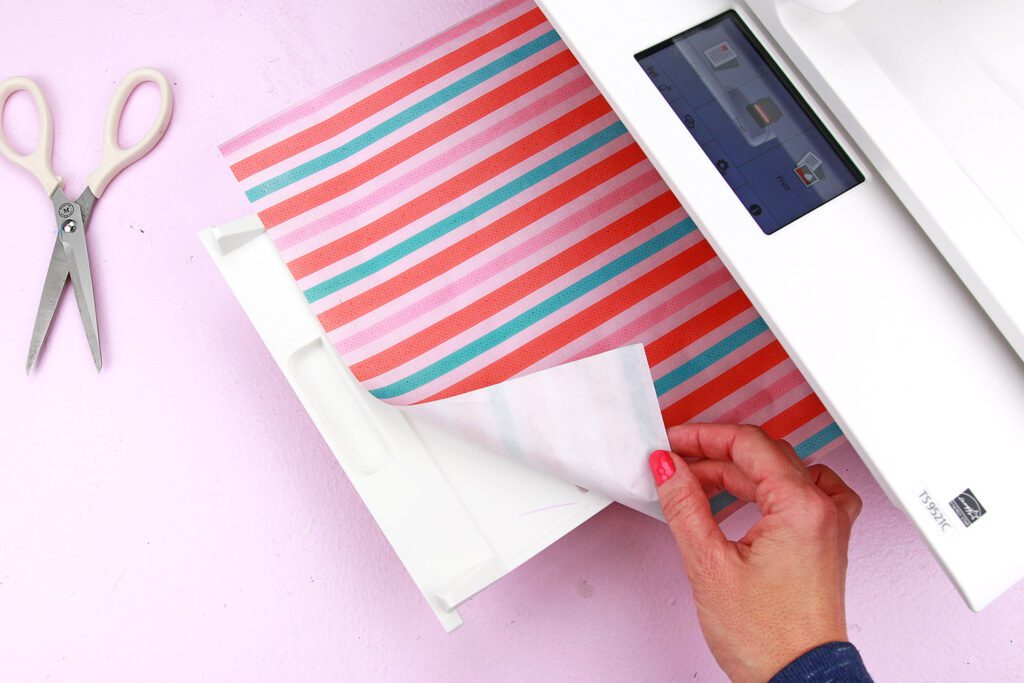
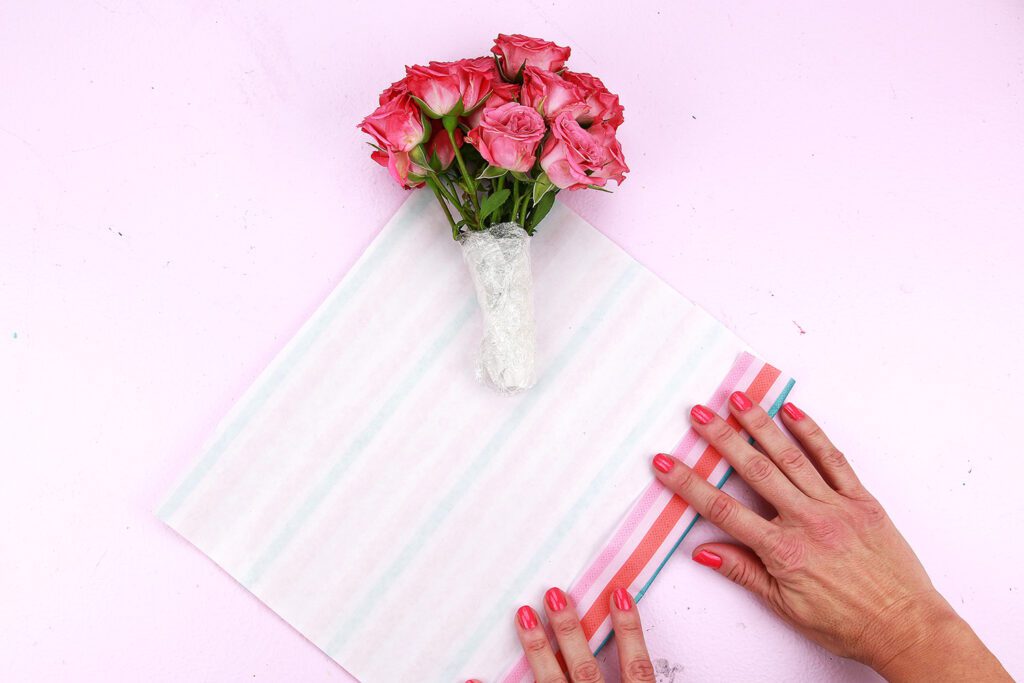
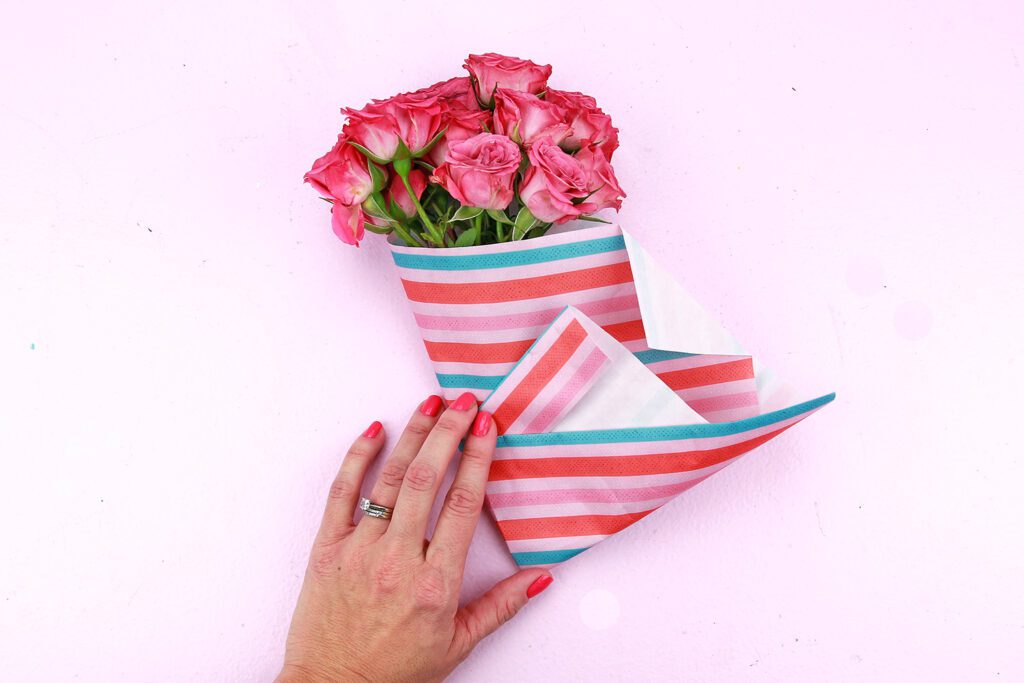
I thought it would be fun to show you how to wrap flowers in paper to give them a more personalized touch. However, this isn’t just any old paper–it’s freezer paper! Not only can you print on freezer paper, but it can also be used a waterproof option given its waxy finish.
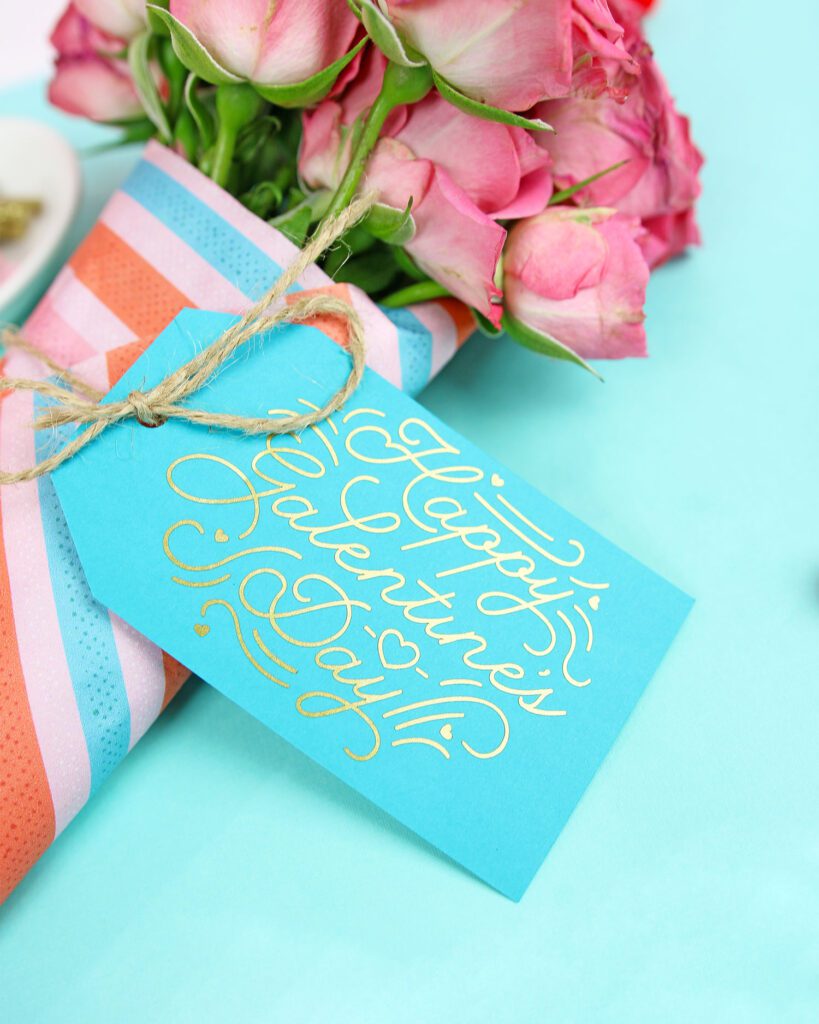
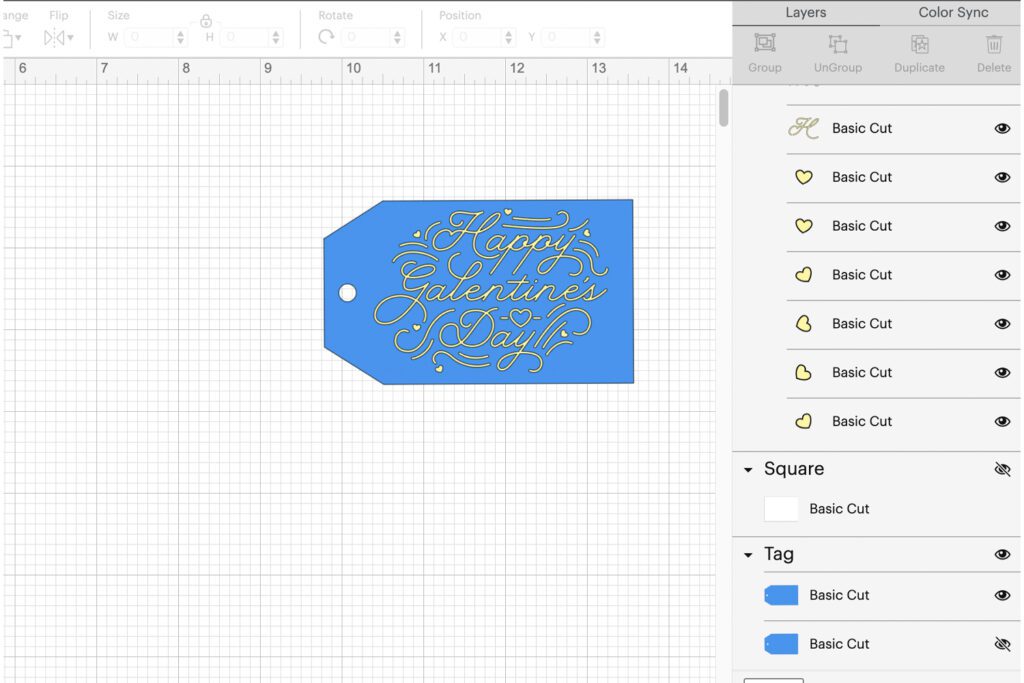
Now, for the flowers, you could get them from a florist, or you could get some that are equally as pretty, (but at a fraction of the cost!) from the grocery store like I did. The spray roses were the perfect size for my paper bouquet. If you’re ready to get crafting, check out how to wrap a flower bouquet with the tutorial below. We even show you how to add a SUPER cute tag using an SVG file from the YayDay Be Mine SVG bundle!
Materials for Wrapping a Flower Bouquet
- YayDay Be Mine Stationery Bundle – Pattern Paper and Galentine’s SVG File
- Turquoise Colored Cardstock
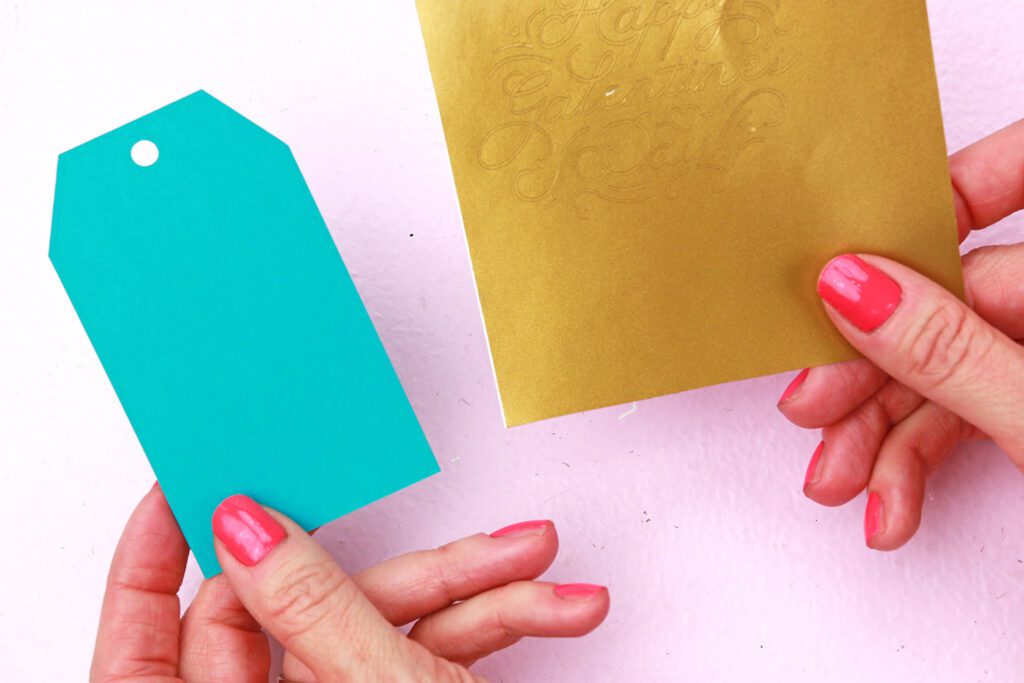
- Gold Adhesive Vinyl
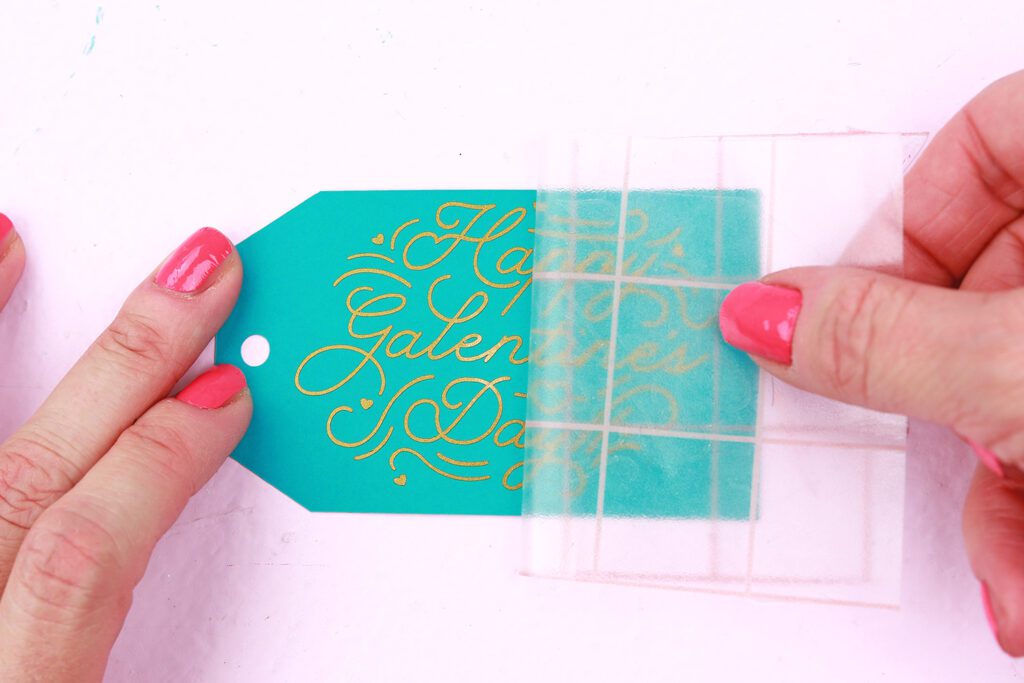
- Transfer Tape
- Electric Cutting Machine (like a Cricut ) and a strong grip cutting mat
- Ink Jet Printer (we used the Canon TS9521C All-In-One Wireless Crafting Photo Printer
- Double Sided Tape
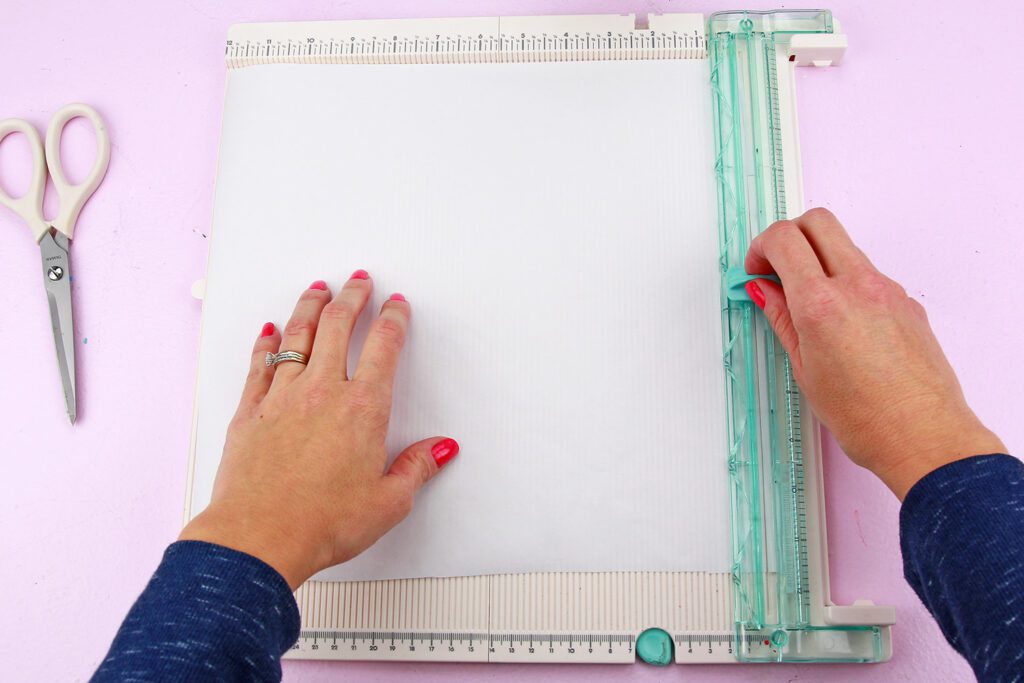
- Paper Trimmer
- Paper Towel
- Freezer Paper
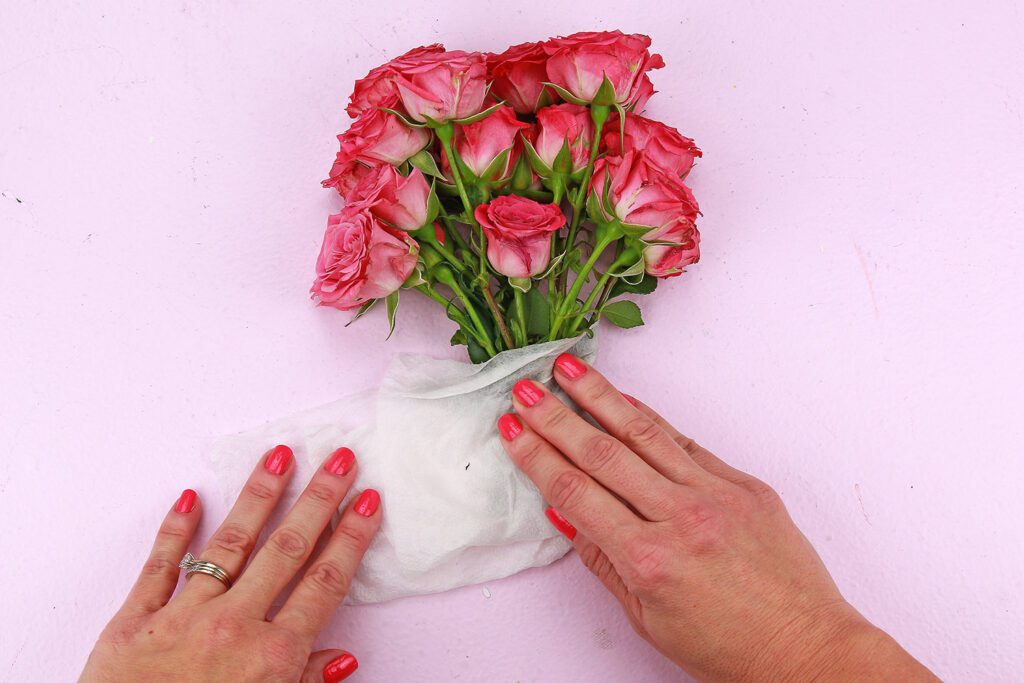
- Plastic Wrap
- Twine
- Scissors
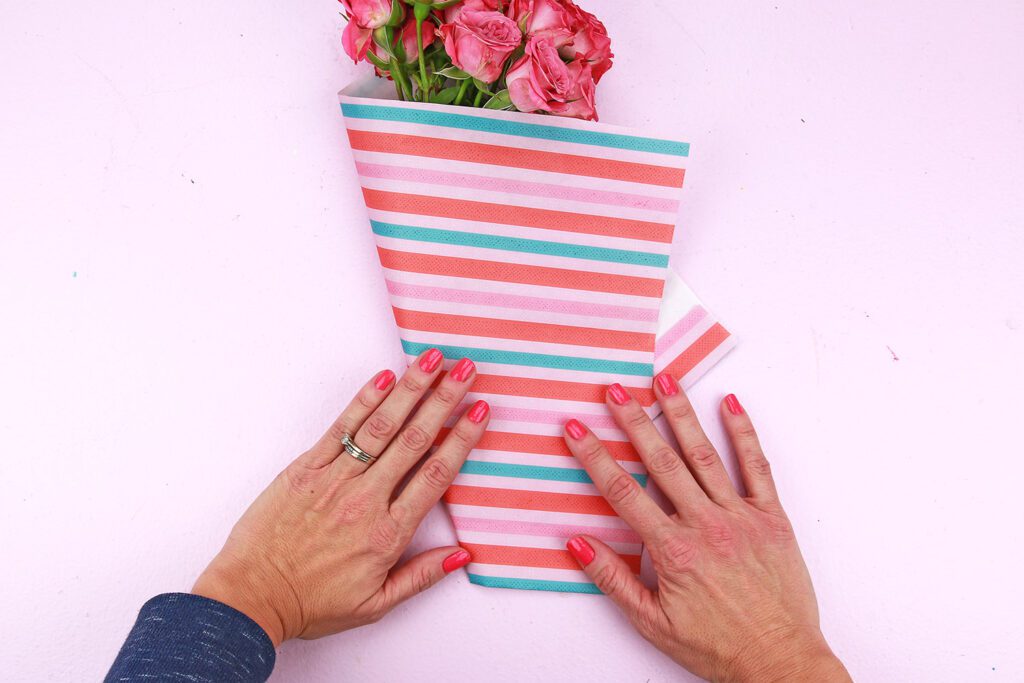
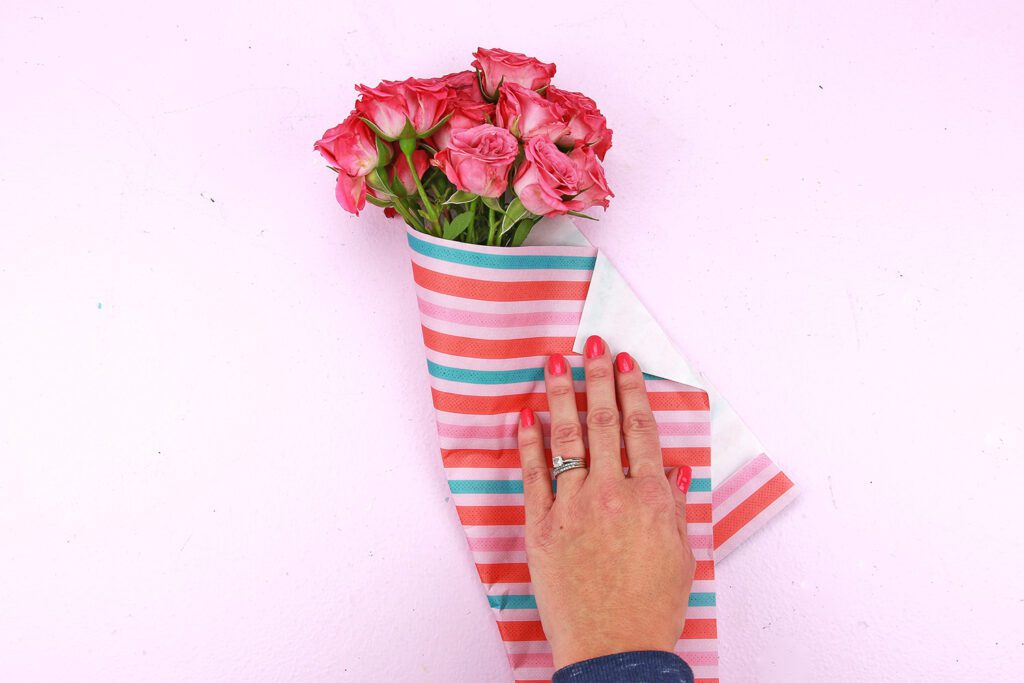
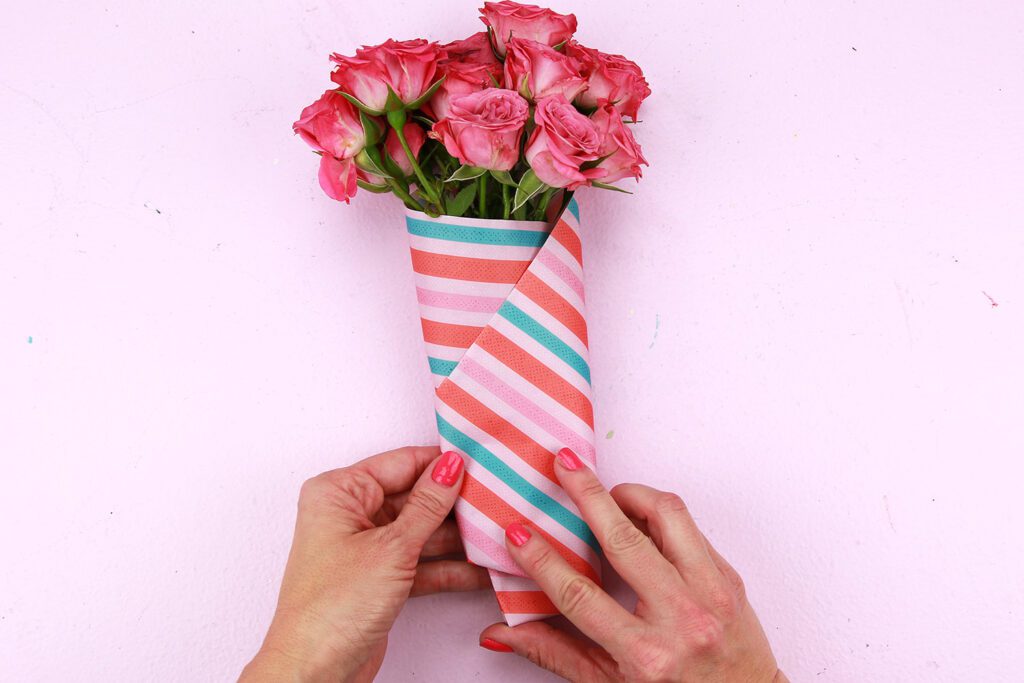
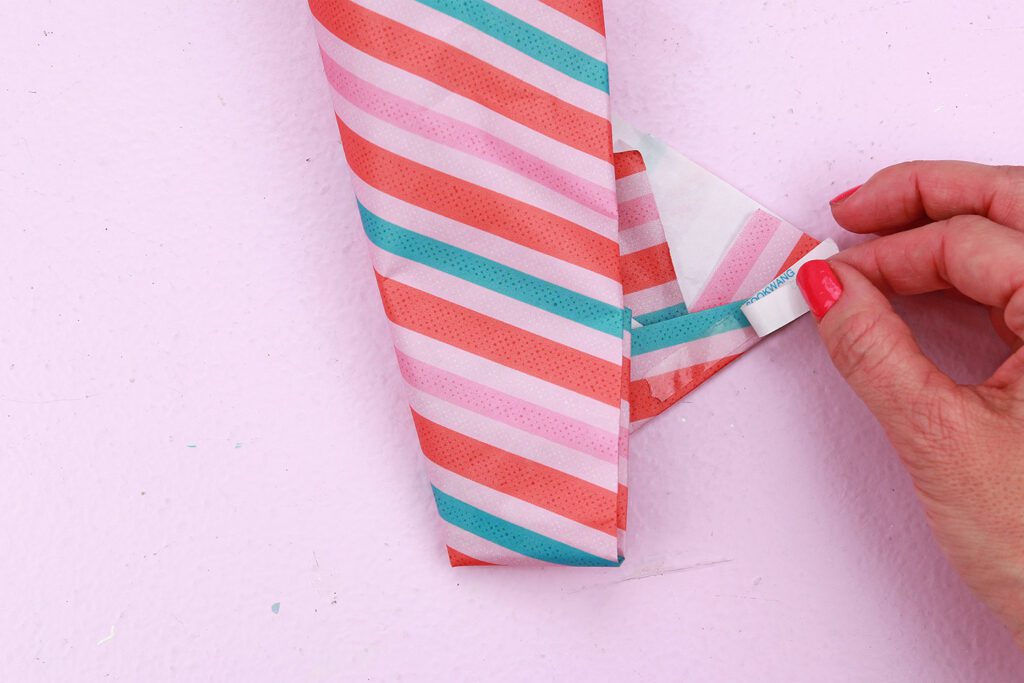
How to Wrap a Flower Bouquet
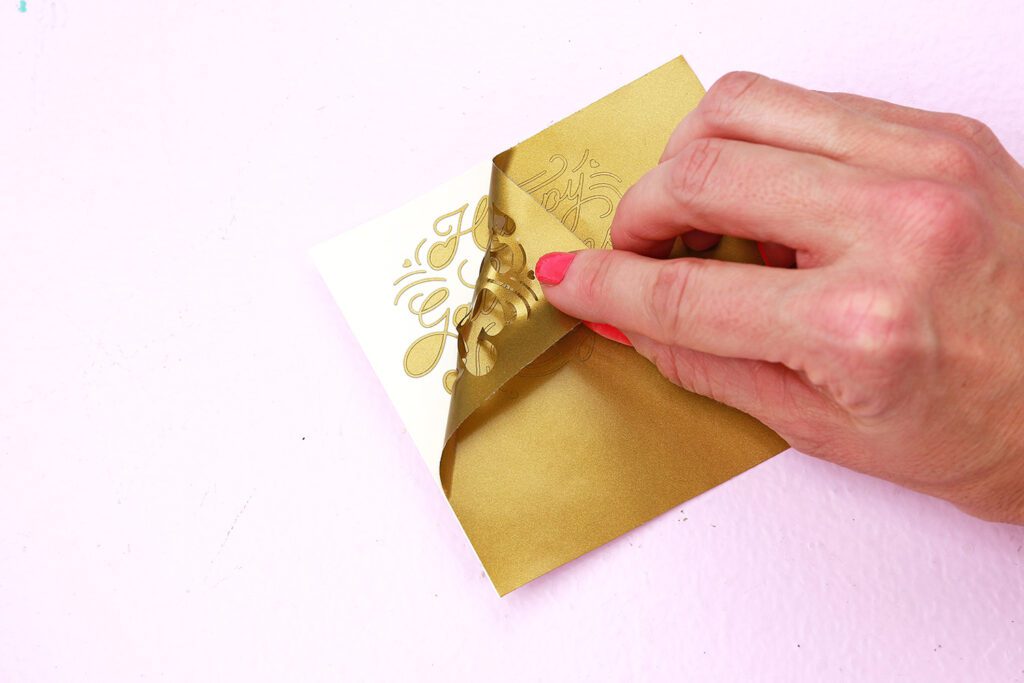
How to Create a Tag Using the Valentine’s SVG
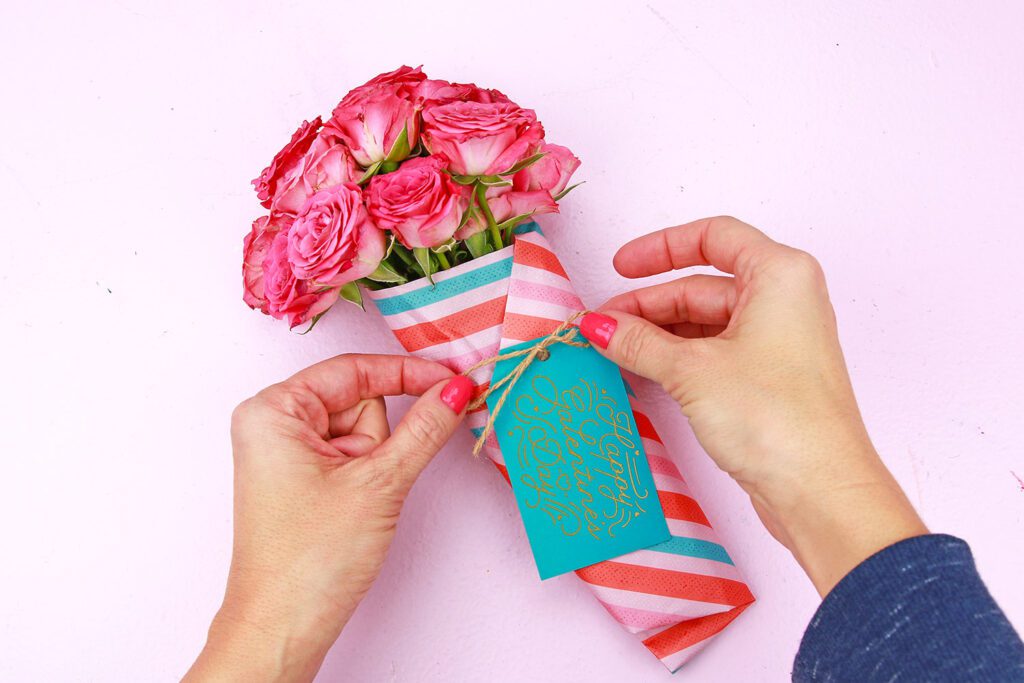
Once your finished making these flower bouquets for your gal pals, don’t forget to wrap one up for yourself–you deserve a bouquet of spray roses too! This technique isn’t just for Galenitne’s/Valentine’s Day. It can be used for Mother’s Day, to say congrats, or to wish a friend happy birthday. Just change up your paper theme and you’ll be good to go!