fbpx bloglovinBloglovin iconemailfacebookFacebook iconinstagramInstagram iconlinkedinLinkedIn iconpinterestPinterest iconrssRSS iconsoundcloudSoundCloud icontwitterTwitter iconyoutubebananaleafBanana leaf graphic Group 3Created with Sketch. cakesliceGroup 2Created with Sketch. My CartView products in your cart. Group 8Created with Sketch. Group 10Created with Sketch. GroupCreated with Sketch. Group 4Created with Sketch. download-iconCreated with Lunacy girlgirl1Group 5Created with Sketch. Group 7Created with Sketch. Group 9Created with Sketch. girl3girl4girl6girl7girl8Group 6Created with Sketch. pinkroungsearchCreated with Lunacy

How to Make Vinyl Stickers

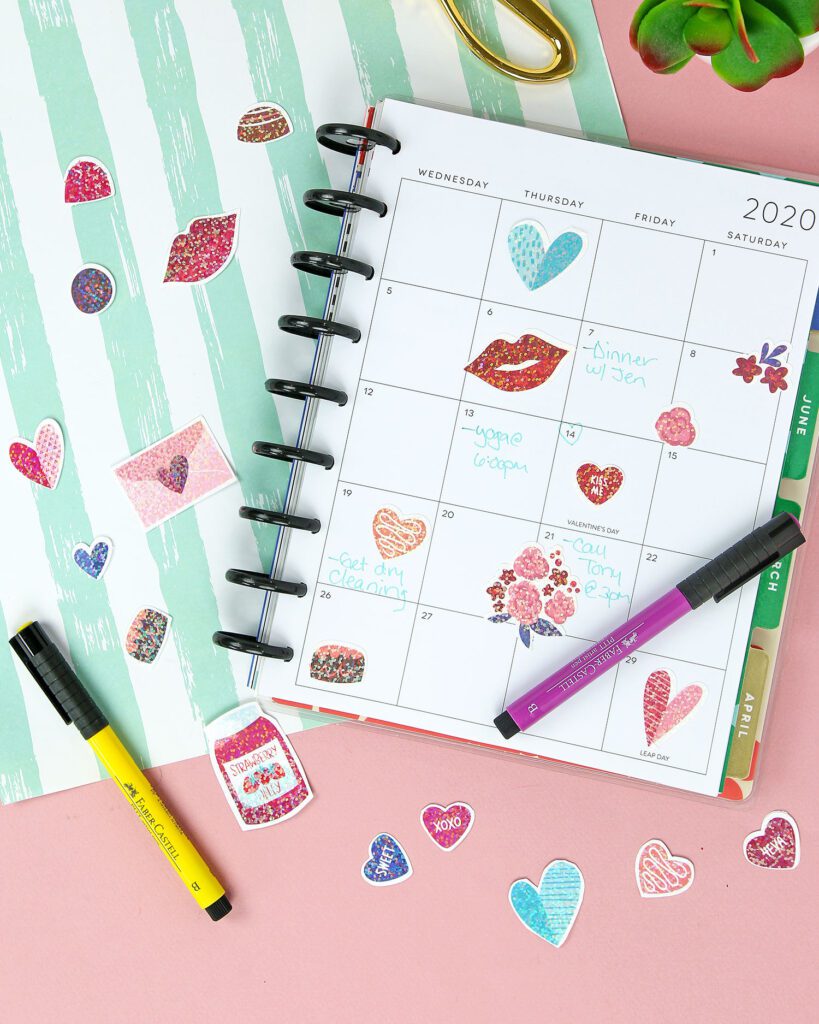
If you’re looking to expand your vinyl sticker ideas, I’ve got a super fun hack for you!  How about a holographic sticker? You can actually make your own with just a couple of extra steps when you’re making your own stickers. I can’t wait to show you how to make vinyl stickers with some pizzaz!

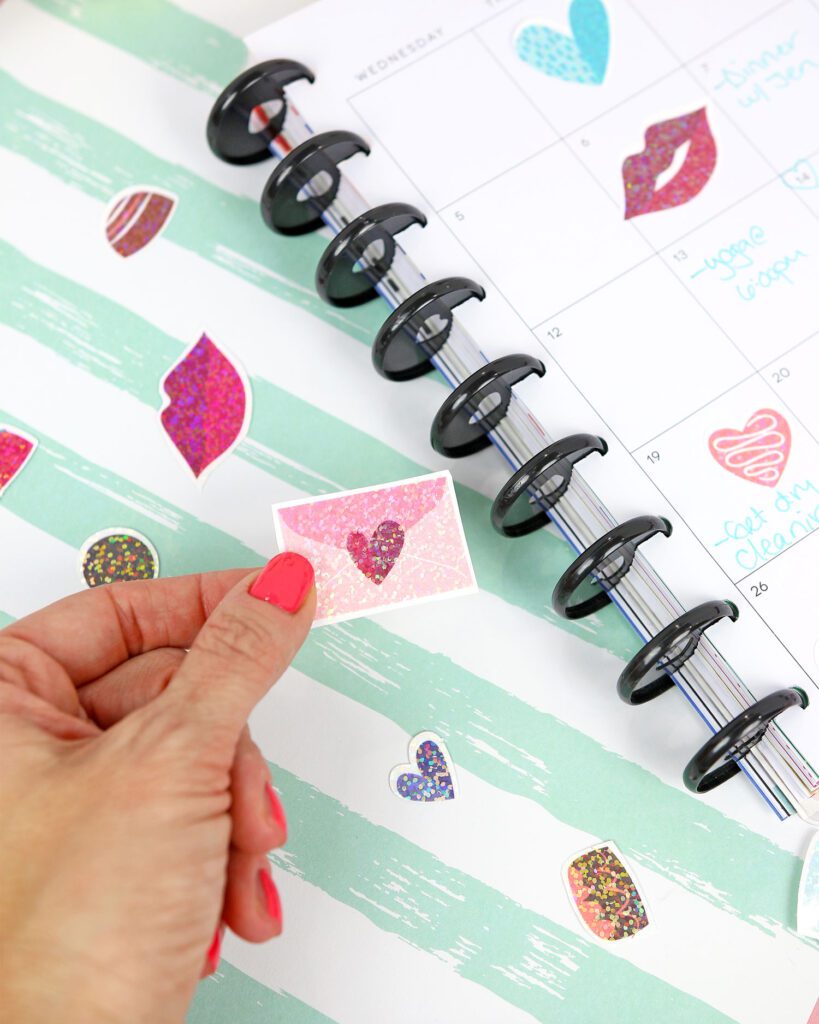
You might be wondering how in the world tiny shimmery sparkles are added to printable vinyl sticker paper.  The magic actually comes from holographic vinyl overlay.  It’s very easy to use and is the perfect addition to plain sticker designs. Don’t worry,  a laminator isn’t required for this project, however, if you have one it’ll also work! These babies are a great addition to a pencil box, water bottle, lunch box, vase and so much more.  Scroll down for the  hack you’ll be adding to your regular sticker crafting routine!

Materials for Vinyl Stickers

How to Make Vinyl Stickers

Step 1: Upload the icon stickers to Cricut Design Space.  Resize to 6.6” x 9.2” so it fits the printable area. Then, print it out on vinyl sticker paper.  Make sure the sticker paper is placed in your printer so the design prints on the vinyl side and not the liner. This will depend on your specific printer.
Step 2:  Next, grab a sheet of holographic vinyl overlay and trim it down to 7” x 9 ¾”.  The vinyl should fit inside of the printer registration marks on your vinyl.  If you cover these it could result in an inaccurate cut.
Step 3: Fold the liner on the holographic overlay down about an inch.  Align the exposed area with the top of the vinyl sticker paper and press down.  Then, pull on the holographic overlay while using your squeegee (or brayer) to smooth it out.  This step could also be skipped if you prefer to use your EasyPress or iron to smooth it out.
Step 4: Heat your EasyPress or iron to 240 degrees.  Lay the vinyl sheet down on a protective surface and press it with heat using a sweeping motion.  This will adhere the holographic overlay to the vinyl sticker sheet. 
Step 5: Place the vinyl sheet on a cutting mat and go over it using a squeegee or brayer.  This will help keep it in place on the cutting mat.  Select the material setting ‘cardstock’ with ‘more’ pressure and run it through your Cricut machine to cut.
Step 6:  Grab your cut sticker and admire the beautiful shimmer!

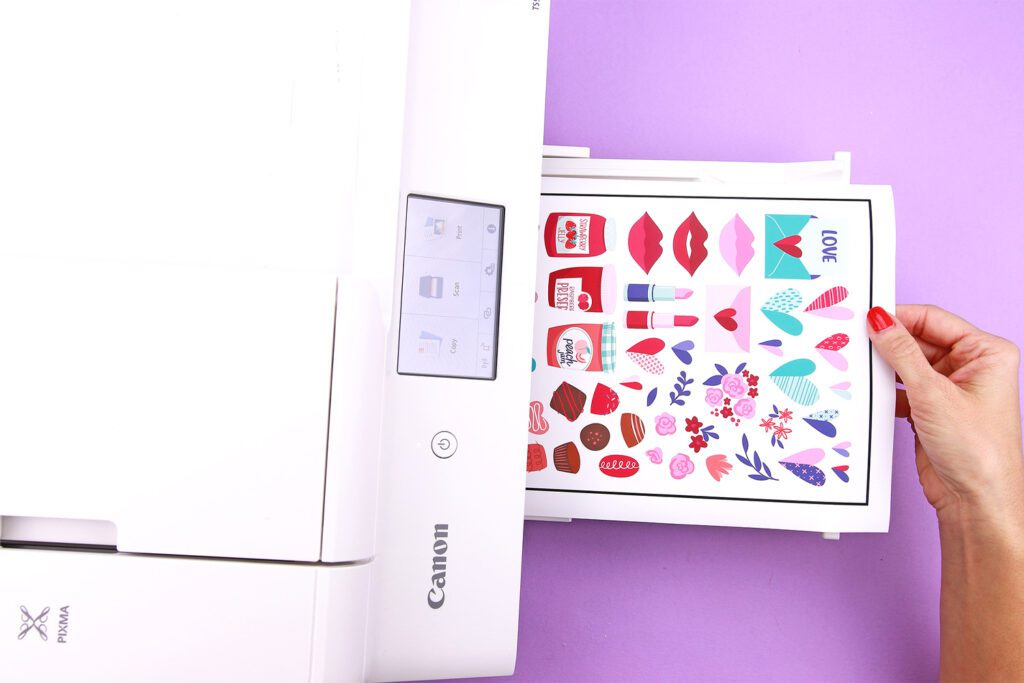
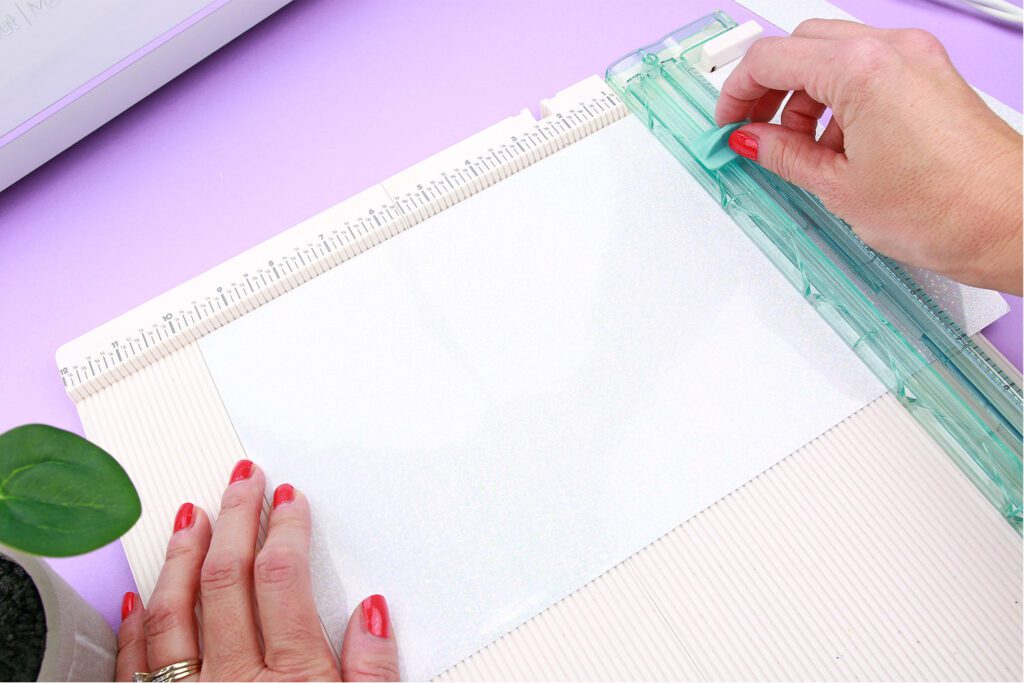
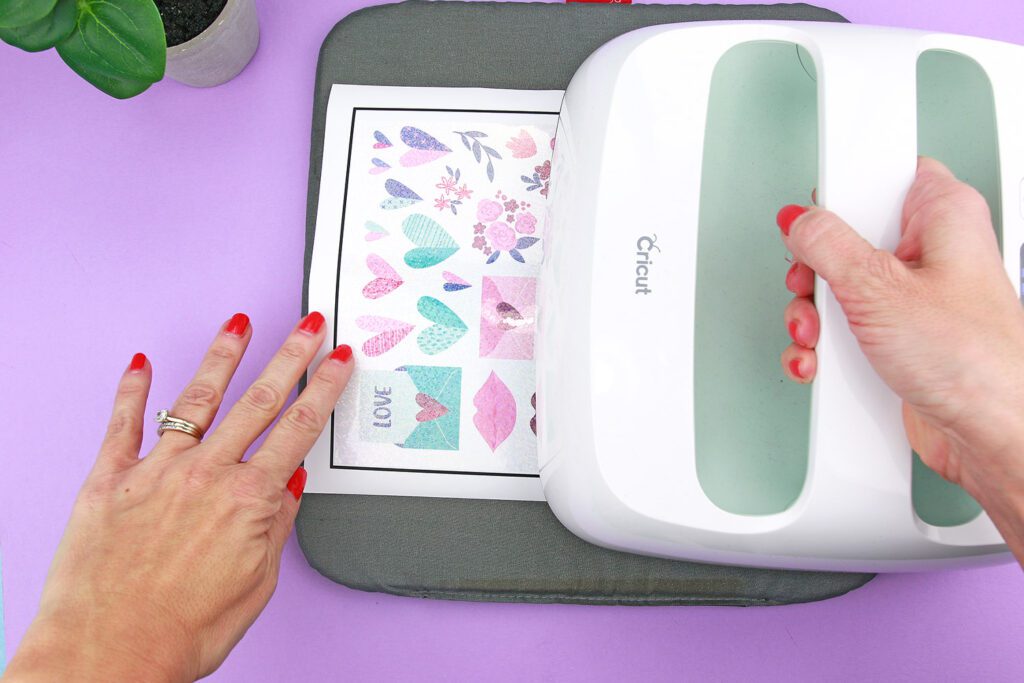
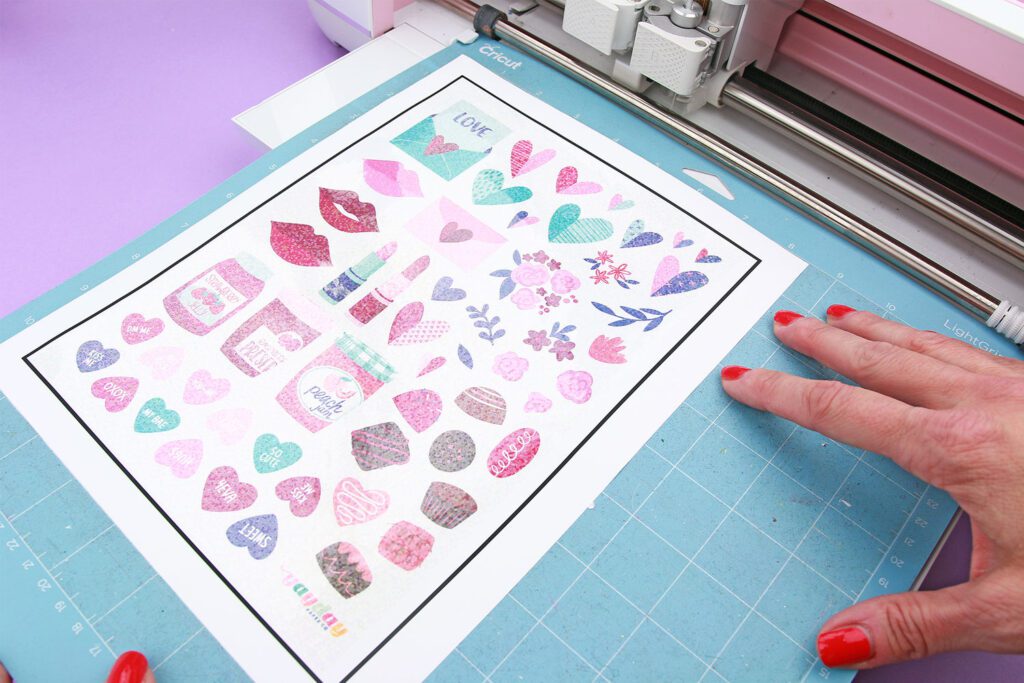
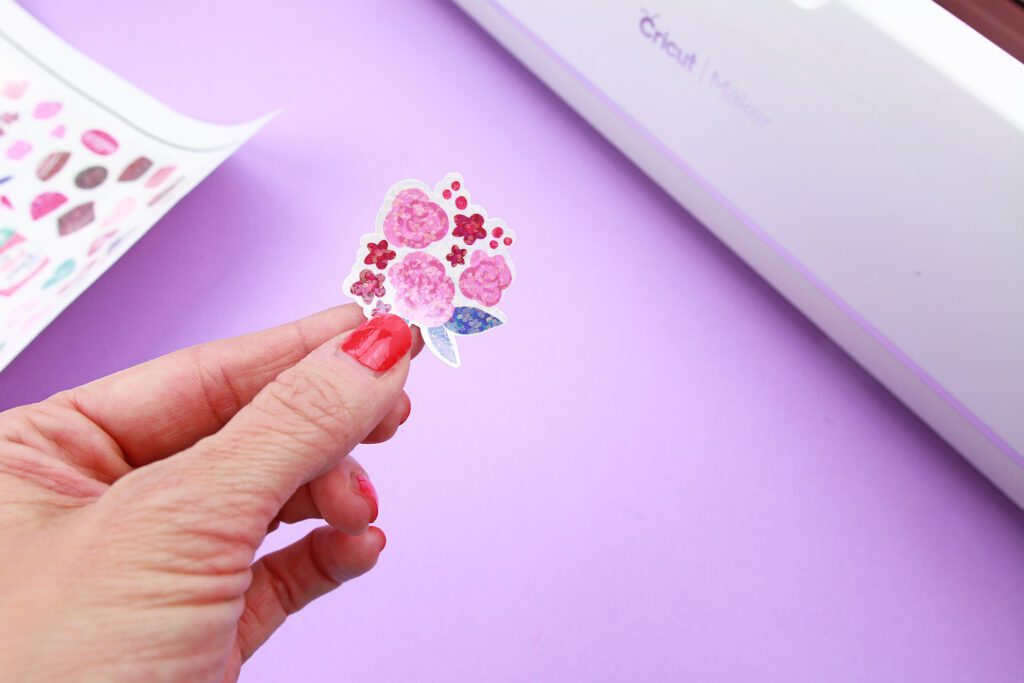
Even though we used a Cricut for this sticker hack, you could certainly do this without one. Just print out the design on the vinyl sticker paper, add the holographic overlay, and cut out the designs by hand.  Super easy!  Now that you know how to create vinyl stickers with a holographic overlay just think how you can take your other stickers designs up a notch when a matte or gloss look just won’t do!

Leave a Reply

Your email address will not be published. Required fields are marked *