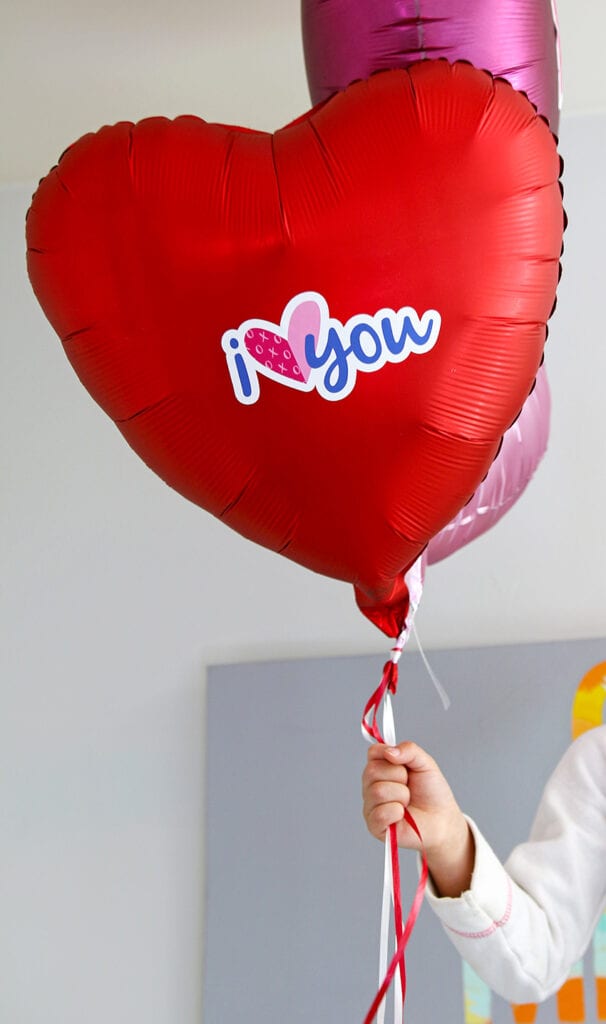
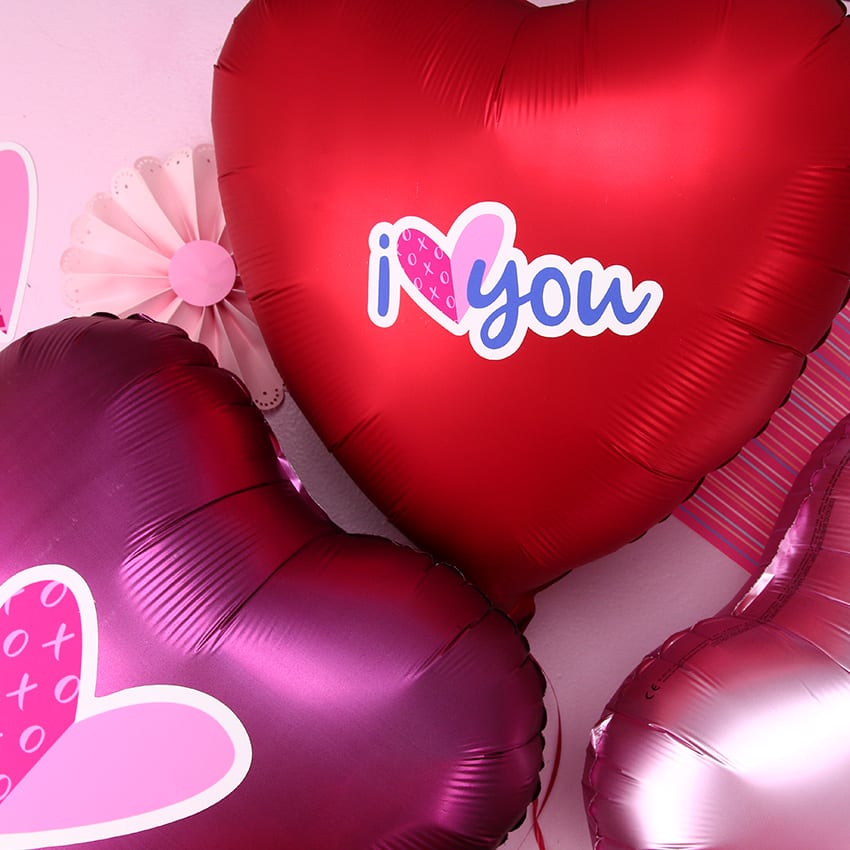
Balloons make any occasion brighter, especially Valentine’s Day Balloons! Take the classic heart balloon up a notch with a playful decal from the Sending Love Planner Collection!
Whether you’re celebrating the day of love with your family or friends, balloons are a must. A party really isn’t officially a party unless you have balloons! With the Sending Love icon stickers and ephemera, you can add a special touch to your balloons to really make them shine. In just a few easy steps you can make your own DIY conversation heart balloons!
SUPPLIES:
- Heart Shaped Mylar Balloons
- Sending Love Planner Bundle
- Cricut Cutting Machine and Cutting Mat
- Canon TS9521C Crafting Printer or other inkjet printer
- Printable Adhesive Vinyl
- Squeegee (or Credit Card)
Watch here and see how to assemble this project:
STEPS:
- Open up Cricut Design Space. Start a new project and click “upload >upload image > browse”.
- Search your computer for the ValentinesDay-XLIcons file that you downloaded from your YayDay Paper Co. purchase, then double click it. Make sure to select the .png file.
- Select “Complex” and then “Continue”.
- Choose “Save as a print then cut image” and click on the image to upload it to the canvas.
- Resize the image to 3”. Place a square shape on top of the design and click the unlock icon on the bottom left, then drag the square to completely cover the images. Select all and then “Slice.”
- Hide the slice result and click on the blacked-out design and select “contour”. Select “hide all contours”, click on the design you want, and then close out of the contour screen.
- Select all again and slice. Delete the black heart and move the design to reveal your single heart design. Continue this process to isolate additional designs from the XL icon file, or upload the regular icon sticker file for additional design options.
- Hide the sticker design file. Click on the heart and resize it to 5” wide.
- Print the heart on vinyl sticker paper.
- Select “vinyl” as the material and load it into your Cricut machine to cut.
- Remove the design from the vinyl sheet and place it on your balloon.
- Rub the design with a squeegee (or credit card) to smooth out the design and remove any bubbles.
- Continue this process to add additional sticker designs to your balloons.
This project isn’t just for making Valentine’s Day Balloons! You can use this same process to decorate any balloon for any occasion using icon stickers and ephemera from other Yay Day collections!