fbpx bloglovinBloglovin iconemailfacebookFacebook iconinstagramInstagram iconlinkedinLinkedIn iconpinterestPinterest iconrssRSS iconsoundcloudSoundCloud icontwitterTwitter iconyoutubebananaleafBanana leaf graphic Group 3Created with Sketch. cakesliceGroup 2Created with Sketch. My CartView products in your cart. Group 8Created with Sketch. Group 10Created with Sketch. GroupCreated with Sketch. Group 4Created with Sketch. download-iconCreated with Lunacy girlgirl1Group 5Created with Sketch. Group 7Created with Sketch. Group 9Created with Sketch. girl3girl4girl6girl7girl8Group 6Created with Sketch. pinkroungsearchCreated with Lunacy

Easy DIY Valentine Day Card Idea with Cricut

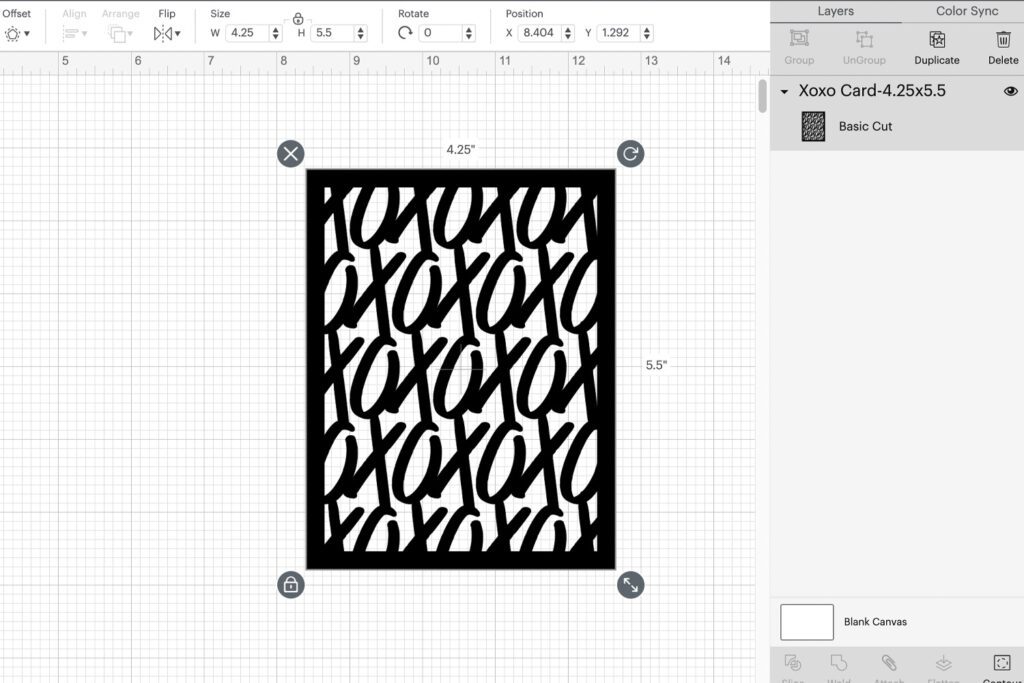
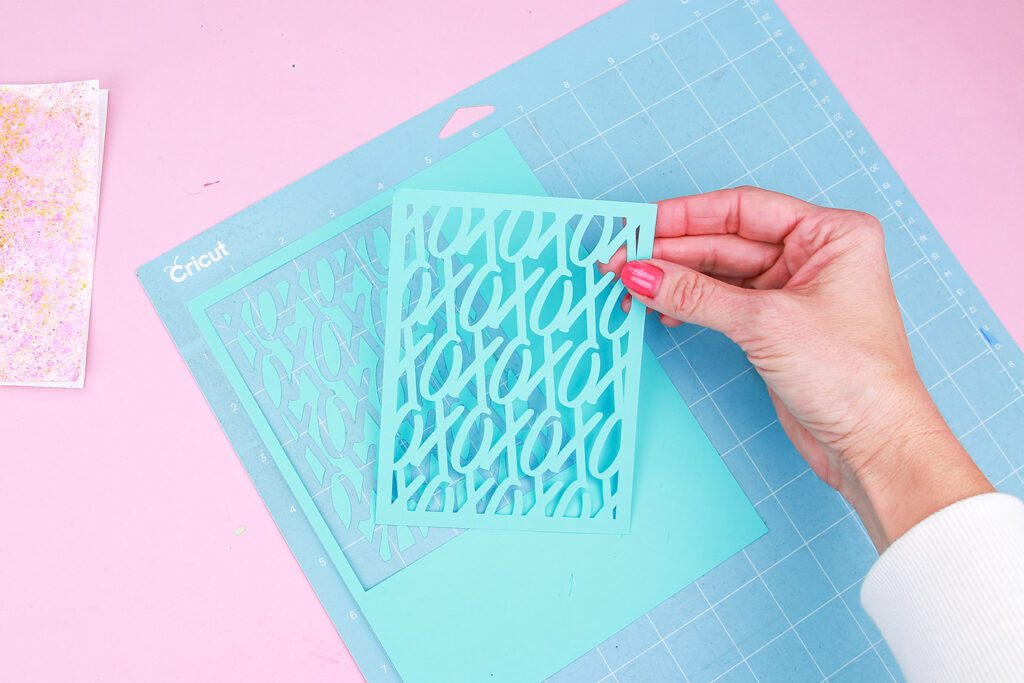
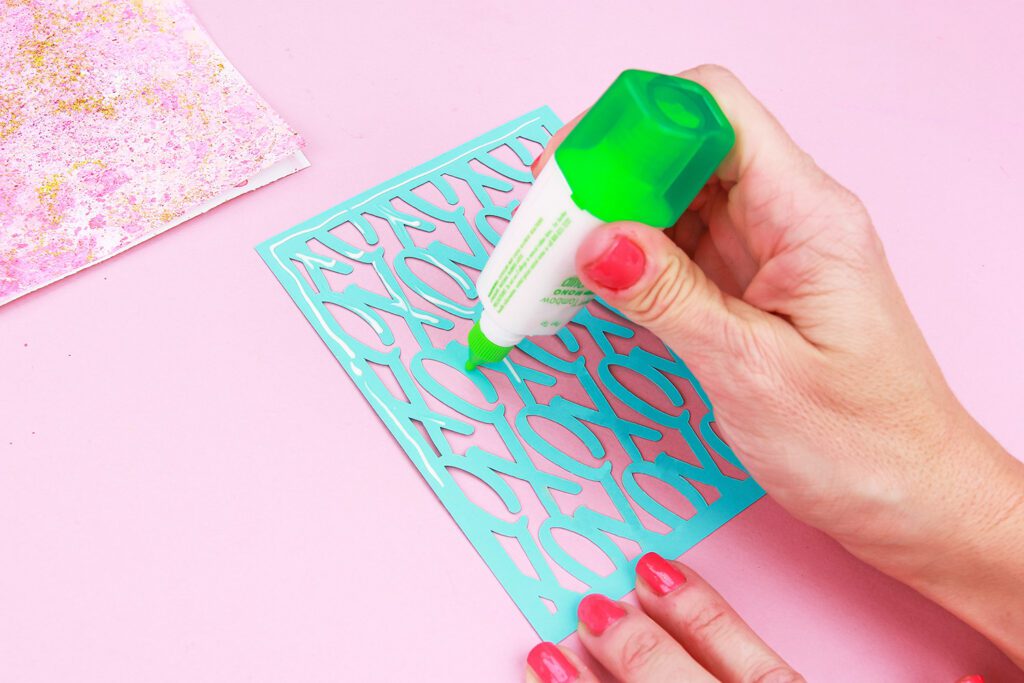
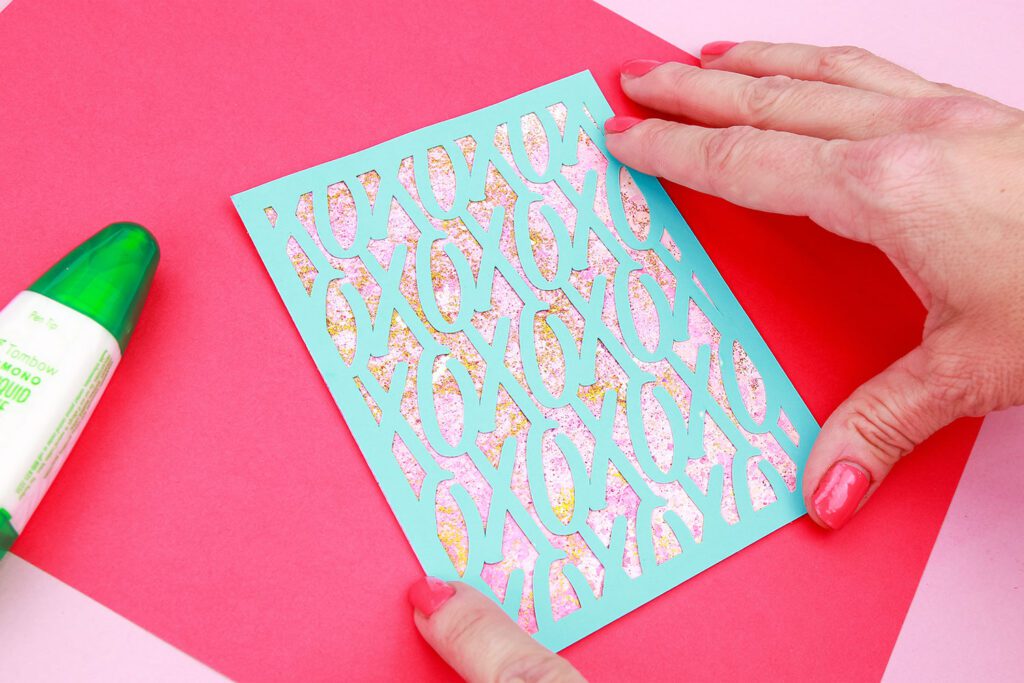
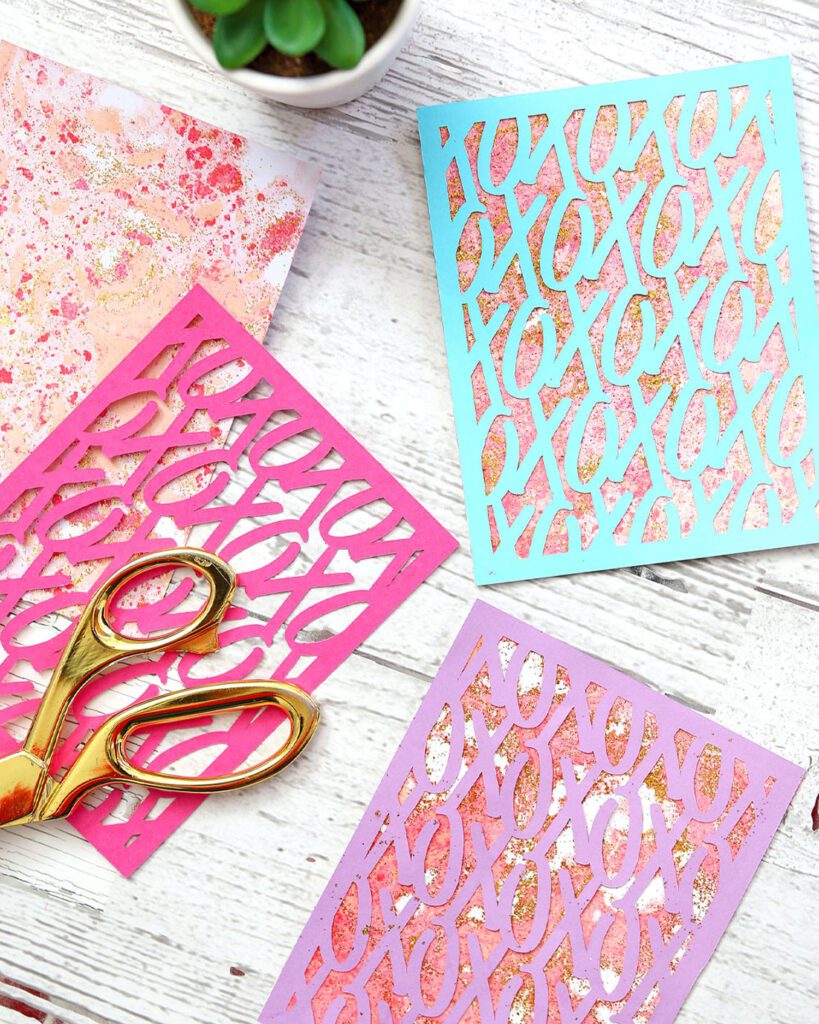
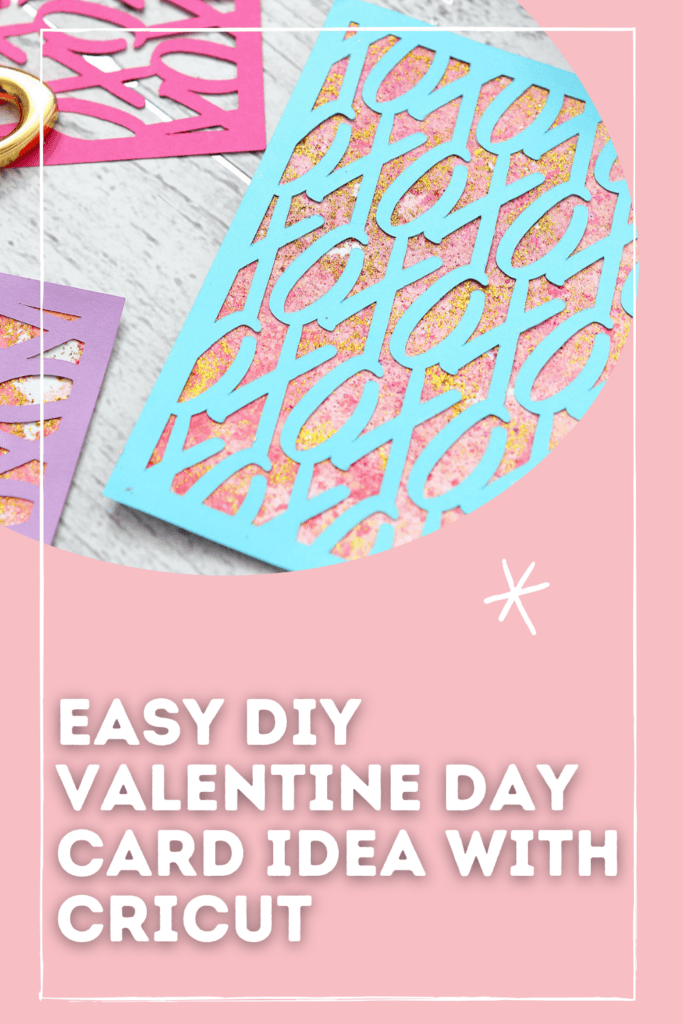
If you’ve been too scared to try marbling, I’ve got you covered with this simple technique that includes chalk pastels. You read that right–CHALK PASTELS, not paint! I’m going to show you how to use this technique paired with an SVG file from the YayDay Be Mine SVG Bundle to make an easy DIY valentine day card idea. You can then finish it with a DIY envelope. See, I told you, I’ve got you covered this Valentine’s Day!

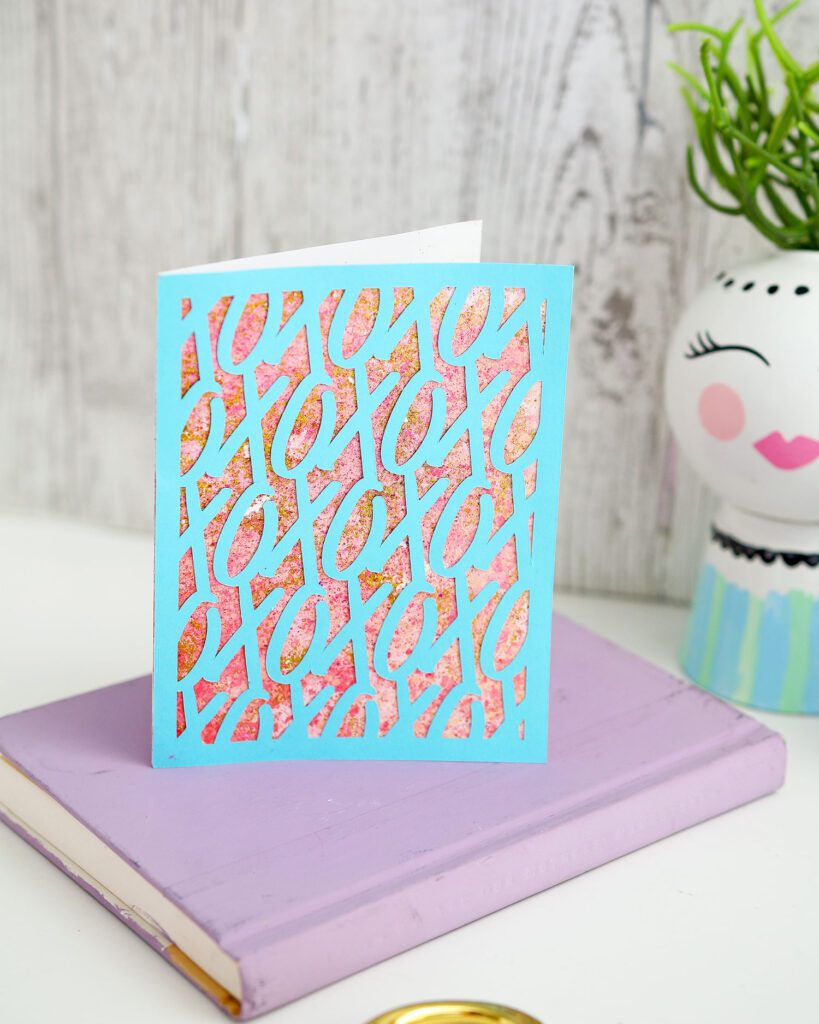
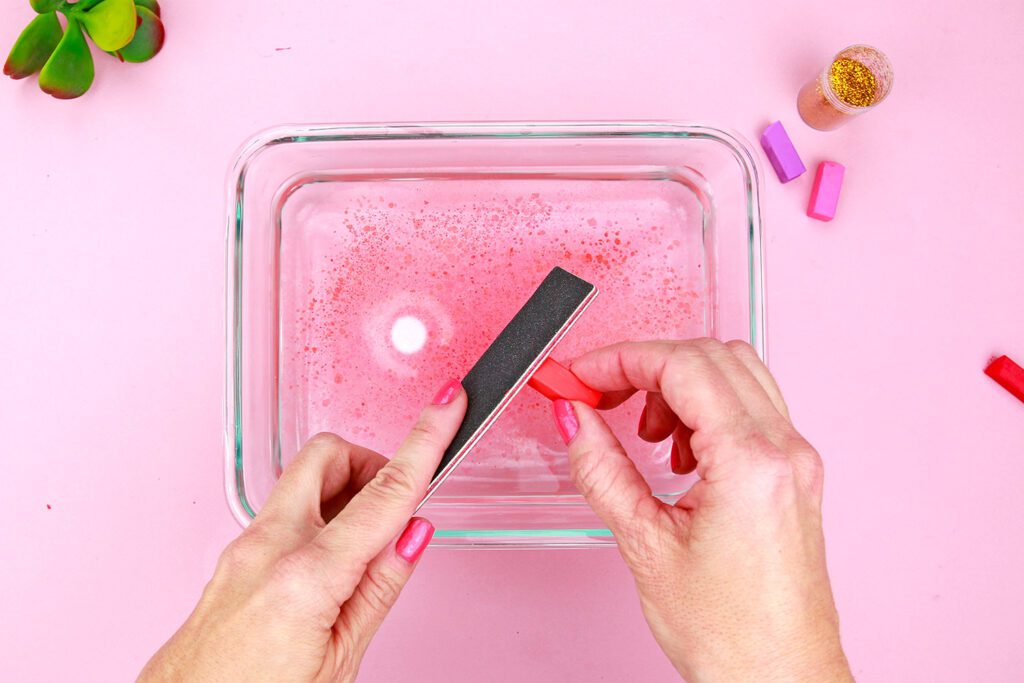
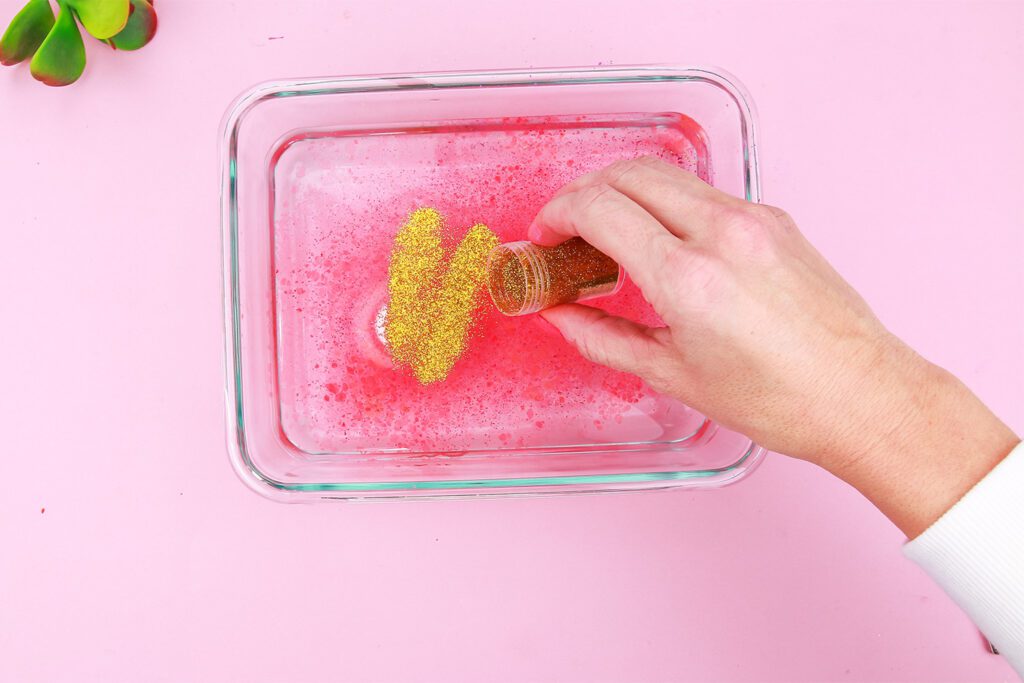
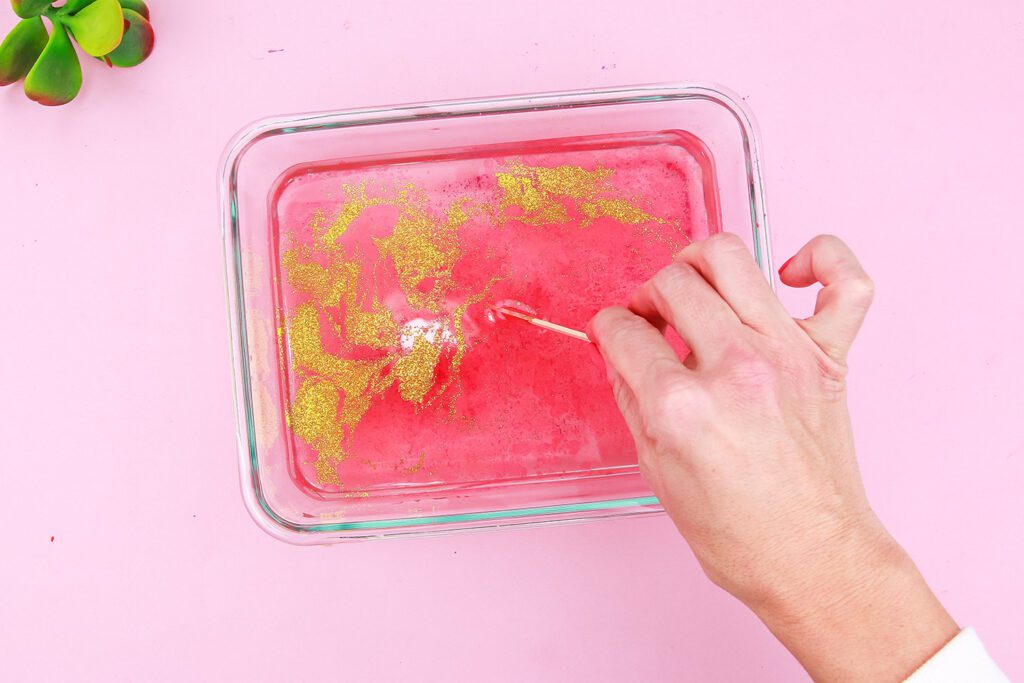
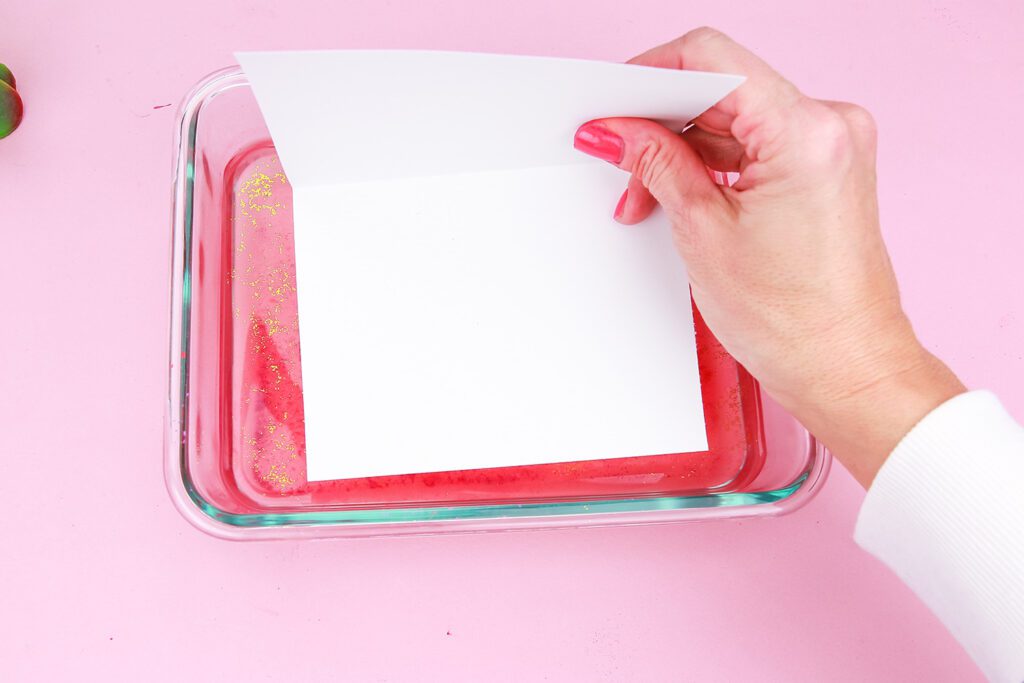
Marbling is a really fun crafting technique to try. Paint and even nail polish can be used to create pretty marbling effects. If you’ve never heard of using chalk pastels, you’re in for a real treat. You can control the amount of color that gets added to your project. Add less color to the water for a lighter, whiter look. Add more color to fill up your paper. This technique really is fool proof–there’s no wrong way to do it! I added the valentine SVG file to the front of my marbled design making it the perfect Valentine’s Day craft! Make sure to watch the video below to see how to make your own easy DIY valentine day card idea!

Materials for Cricut Valentine Day Card 

 How to Make an Easy DIY Valentine Day Card Idea 

Step 1: First, fill a shallow dish with water about half full.  With the file over the water, take one of your chalk pastels and run it over the file.  Small pieces of pastel will fall into the water.  You’ll do this approximately 20 times.  Repeat this with the other pastel colors. 
Step 2:  Then, grab your glitter and pour it over your water.  You’ll want to add about a teaspoon of glitter (or more if you love glitter!). 
Step 3: Use a popsicle stick to swirl the glitter and pastels together to create a unique design.  Don’t over stir or the colors will drop to the bottom of the dish.
Step 4: Cut a piece of paper using a paper trimmer to 8.5” 5.5”.  After that, fold it in half to create a card.  Gently place the front into the water.  Finally, slowly lift the paper out of the water.  If the ends curl up, fold a piece of paper around it and go over with an iron on medium heat. Afterward, spray with a fixative to keep the color from coming off.
Step 5: Upload the ‘XO’ SVG file to Cricut Design Space and click “Make it”.  Add a colored piece of cardstock to the cutting mat, select ‘cardstock’ from the materials, and run it through your machine to be cut. 
Step 6: Remove the design from the mat, leaving the negative behind.   
Step 7: Add adhesive to the back of the design. A glue pen works great for this step!  However, you could always cut the design out of vinyl.  This option removes the need to add adhesive, but also loses the dimension you get when using paper. 
Lastly, glue the design to the front of the card.

Leave a Reply

Your email address will not be published. Required fields are marked *