
Custom tees are fun to make for any occasion! With printable iron-on, you don’t have to have many supplies on hand to make a quick custom tee shirt.
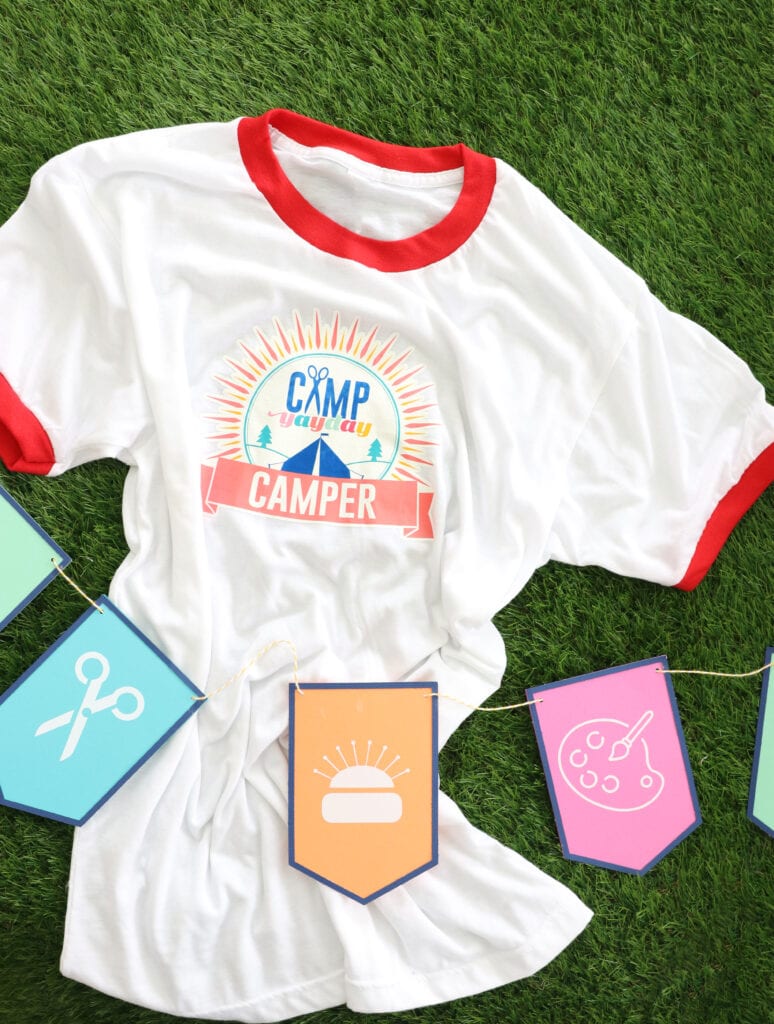
This summer, Camp YayDay is in session and we’re creating classic camp-inspired projects…starting with a camp tee. Every camper needs a tee to show their spirit, so today I’m walking you through the simple process to make your own.
Here’s what you’ll need to make this project:
- Cricut Explore or pair of Scissors
- Printable Iron-On Material
- Iron or Cricut Easy Press
- Ironing Board or Cricut Easy Press Mat
- Cotton tee shirt
- Inkjet Printer
Not signed up for Camp YayDay? It’s free! Click here to learn more and join in for a week of camp-inspired crafting that you can create from home!
A few tips to remember when making your tee:
- Make sure to read the instructions on the iron-on packaging! Make note of the heat temperature.
- No need to mirror or flip the image. If you’re using our recommended Iron-On Material, you don’t need to flip or mirror the image!
- Make sure to use a piece of paper, parchment or tissue paper between the iron on image and your iron/Easy Press. You don’t want to ruin the image by applying direct heat!