
Stickers are the greatest joy of all time. Okay – maybe that was a bit of an overstatement, but we can all agree that stickers make everyone happy! With YayDay Paper Co. you enjoy the fun of stickers as much as you want!
Each month. the planner subscription option offers several sticker pages that you can print and cut at home. We offer the planner stickers in a variety of formats so you can use them no matter what cutting machine you own…or even if you don’t own a cutting machine at all!
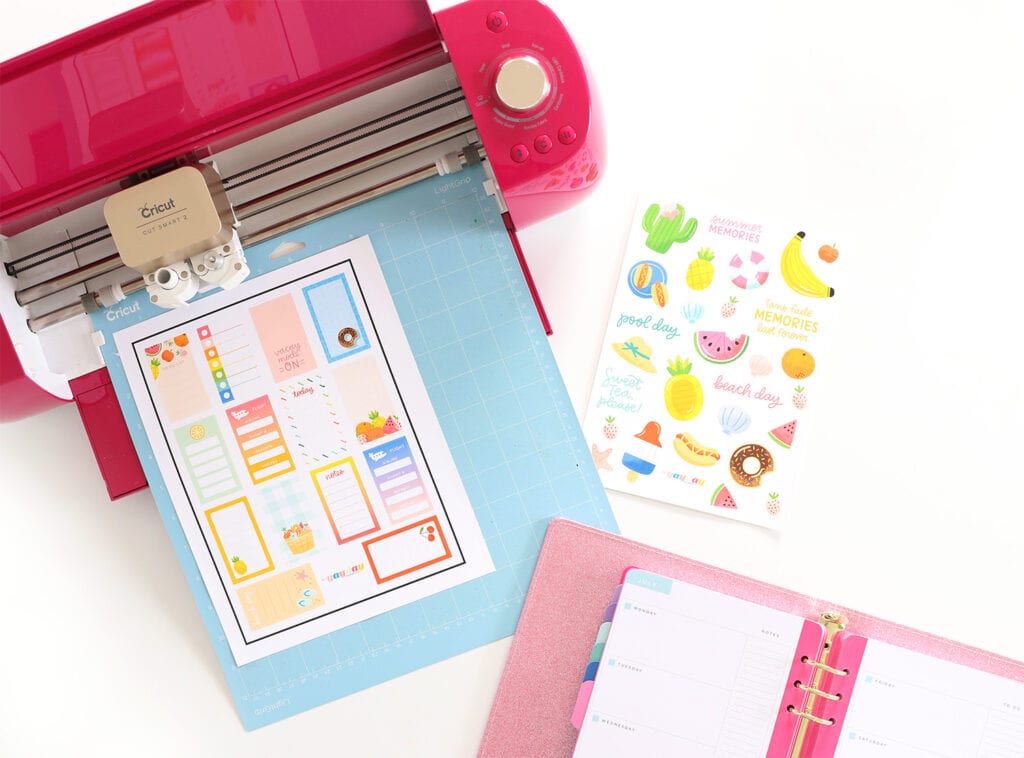
The Cricut Explore Air is one of the most popular electronic cutting machines. In addition to cutting paper and other materials, Cricut machines also allow you to Print Then Cut. This means, the machine scans your printed project then cuts around the edges. This is a great way to make sticker sheets and here’s how you do it!
STEPS FOR MAKING STICKERS WITH CRICUT
- Open Cricut Design Space
- Create a new project and select “Upload” from the left icons.
- Select the .PNG file you’d like to cut
- Once the file appears in Cricut Design Space, select “Complex” and on the next screen click “Continue”
- Next, Select “Save as Print then Cut Image”
- Now the .PNG file will appear in your Uploaded projects gallery. Select it and Insert it onto your canvas
- The image will open up larger than you want, so you’ll need to resize.
- Use the dimensions boxes to set the width at 6.75” or the height at 9.75”
- Now click “Make It” and make sure your machine is connected.
- First you’ll want to print the project. Make sure you select “Add Bleed” since that allows for some error during cutting.
- Once the print is complete, place it on the cutting mat, load into the machine, select the proper material and press the “C” button to start cutting.
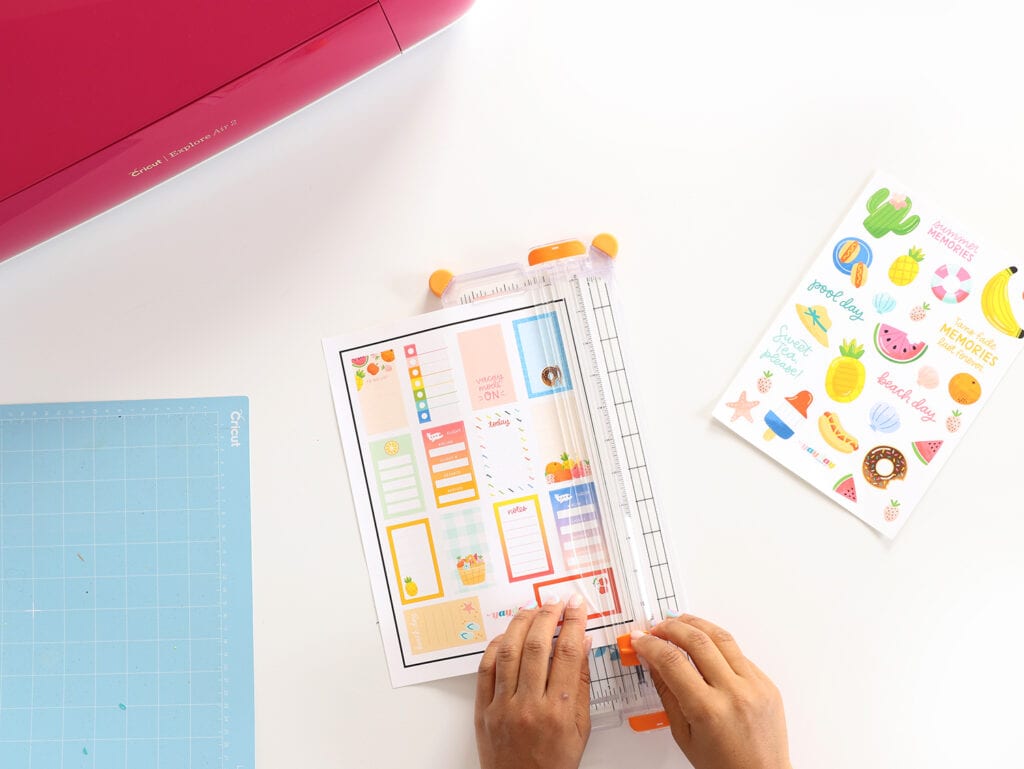
- Once cutting is complete, use a paper trimmer to cut off any excess material to create your sticker sheet.
For suggestions on which sticker paper to use, visit our Resources page!
Oh my goodness! So excited to try this as soon s I get some sticker paper!
Tytyty
I love this idea, but I had a little trouble. When using my Cricut, I chose Sticker Paper and it cut all the way through the sheet instead of a “kiss cut”. What selection should I choose so I get a sheet of stickers?
Would this also work in Canvas Work Space too?
As a FCM file