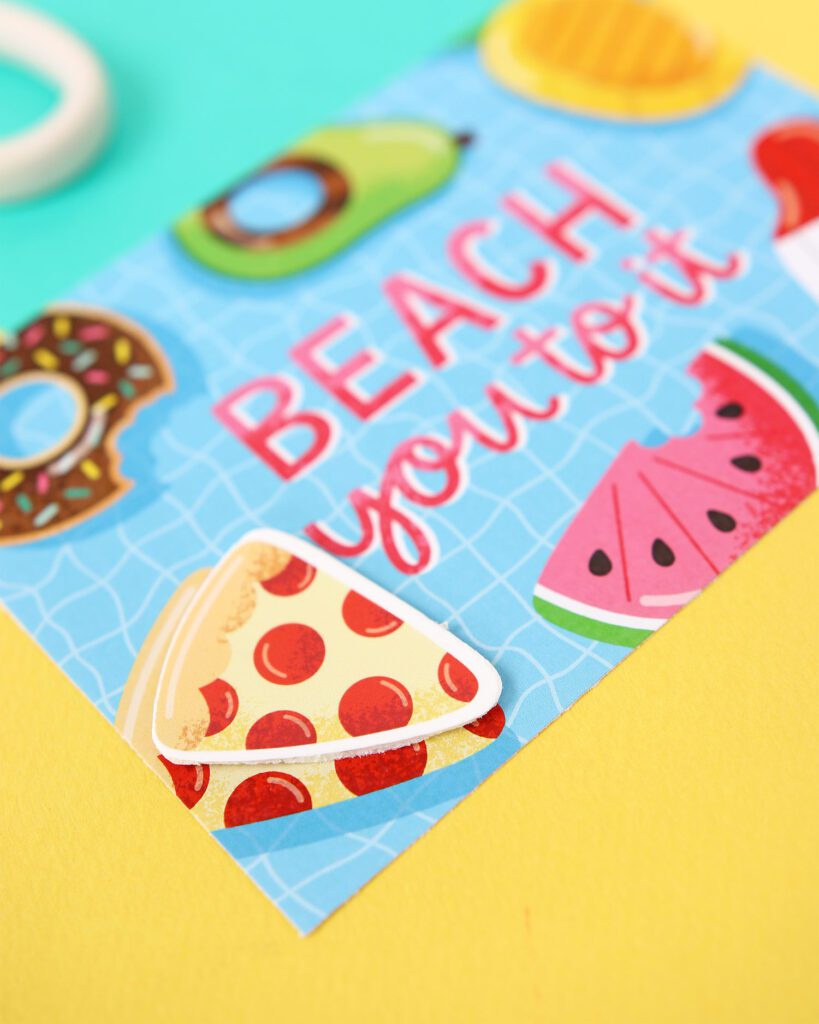
Do you knowing how to decorate your planner, add a creative touch to your journal, or giving your paper projects a little pop is your jam? Then this DIY is for you. I’m going to show you how to make your own foam stickers! Yep, those cute dimensional stickers that jump off of the page! When these are paired with flat DIY stickers, your project will certainly be noticed!
If you’ve ever purchased Thickers, you know exactly what we’re talking about! They are fun and colorful but are made from foam so that the pop off the page. Well, hang on to your seat because making DIY thickers is super fun and easy to do with YayDay Paper Co. printable stickers and craft foam that’s available at most any craft store. Additionally, this project will unleash the power of your Cricut machine which can easily cut through craft foam. However, if you don’t own a Cricut, don’t worry! you can still create this project by using scissors or a craft knife to cut out the shapes. To sum up, learning how to make your own foam stickers is a great way to get more out of your printables.
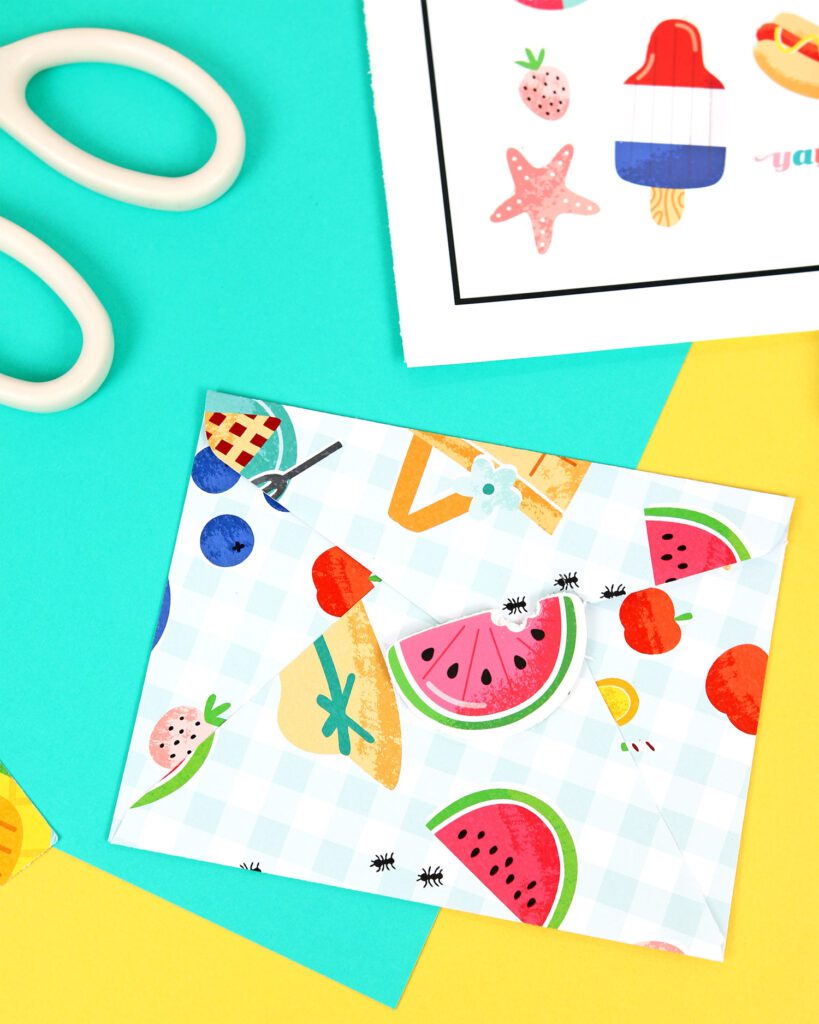
In addition to adding dimension to any project, these DIY Thickers will transform your project by upping the cuteness factor. Since you can transform paper projects, notebooks, and planners into a custom creations, you’ll be grabbing for these over-and-over again. Now, take a look at the video tutorial below to see how to make foam stickers in a snap!
Materials to Make DIY Foam Stickers
- YayDay Paper Co. Decorative Stickers (we used stickers from the Suns Out Planner Bundle)
- White Sheet of Adhesive Backed Craft Foam
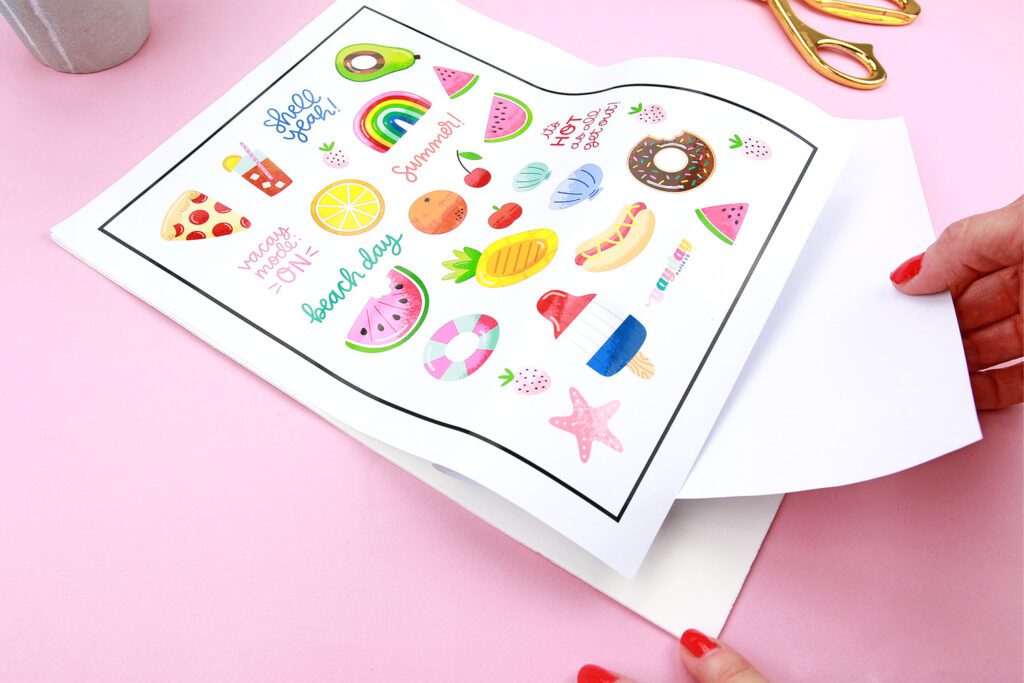
- Vinyl Sticker Paper
- Electric Cutting Machine (like a Cricut ) strong grip cutting mat, and deep cut blade
- Ink Jet Printer (we used the Canon TS9521C All-In-One Wireless Crafting Photo Printer
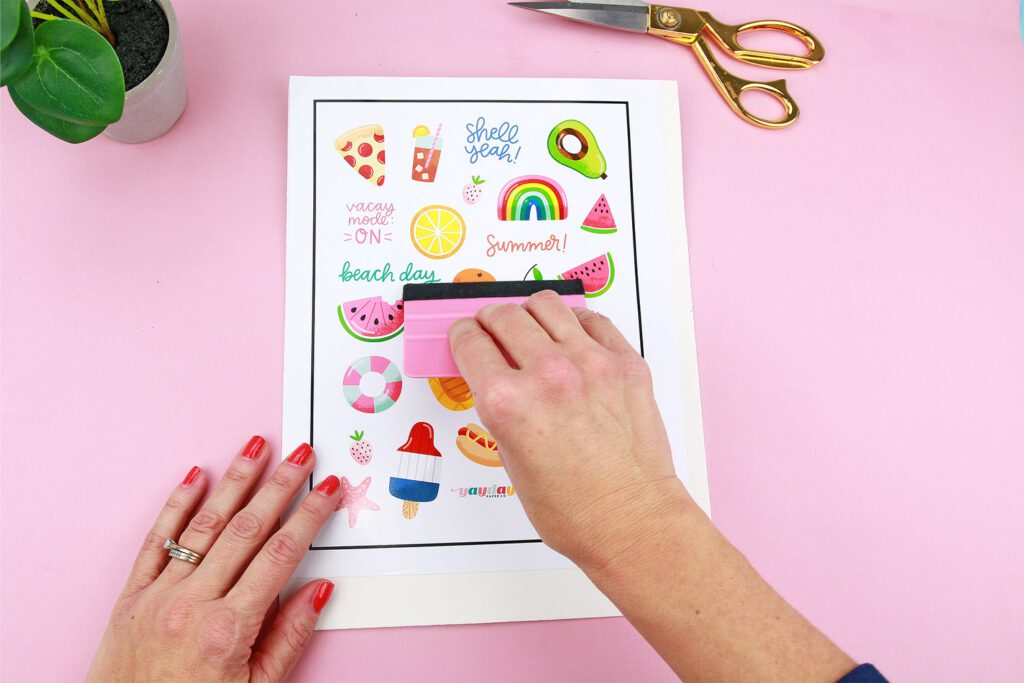
- Squeegee or Brayer
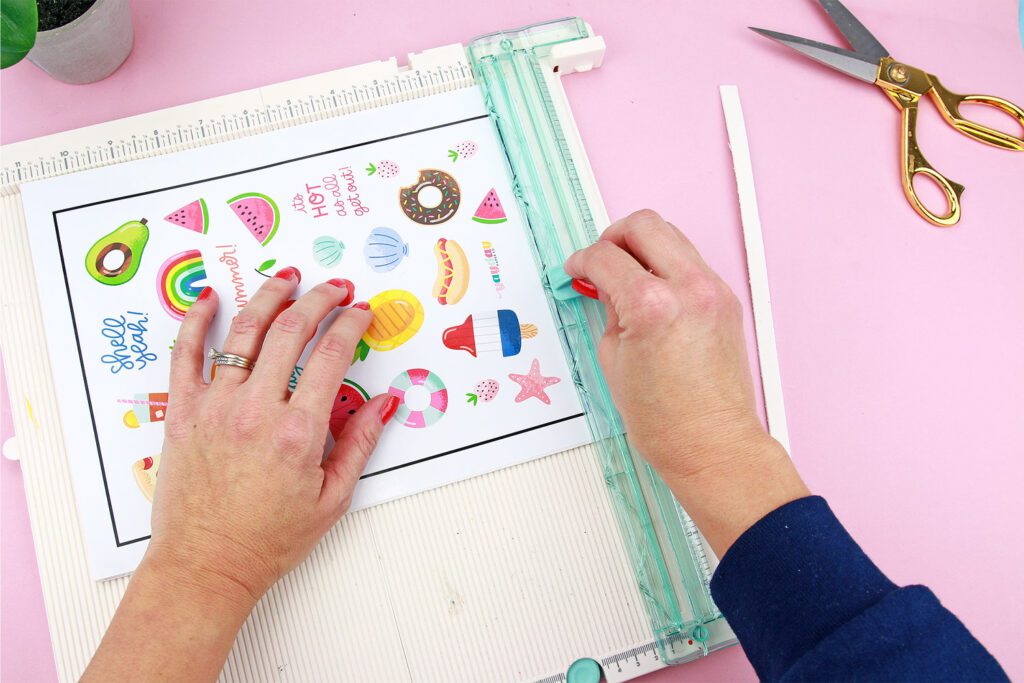
- Paper Trimmer
Here’s How to Make Foam Stickers
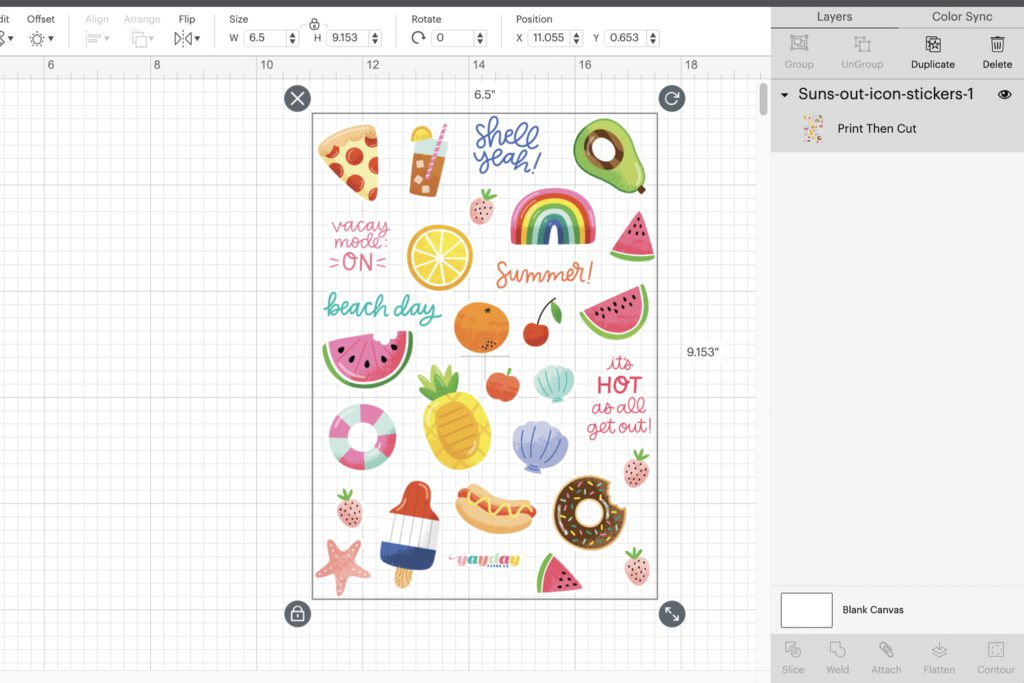
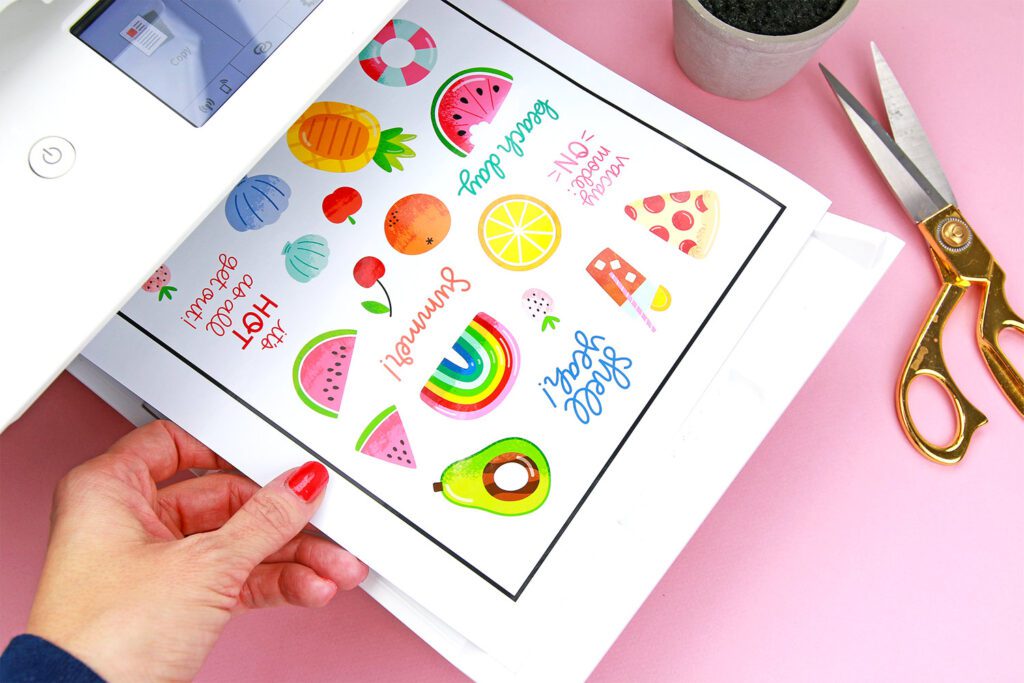
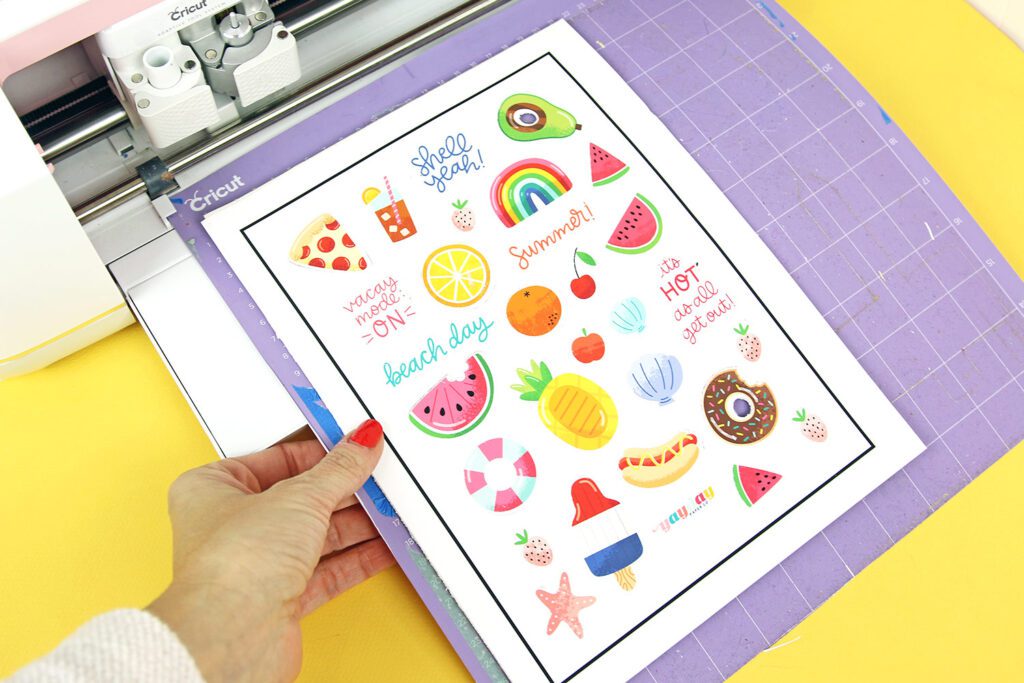
Step 5: Place the foam sheet on a strong grip cutting mat (however, painter’s tape can be used to secure it to a light/medium grip mat). After that, select ‘craft foam’ from the material options and select ‘more’. Then, run the design through your cutting machine.
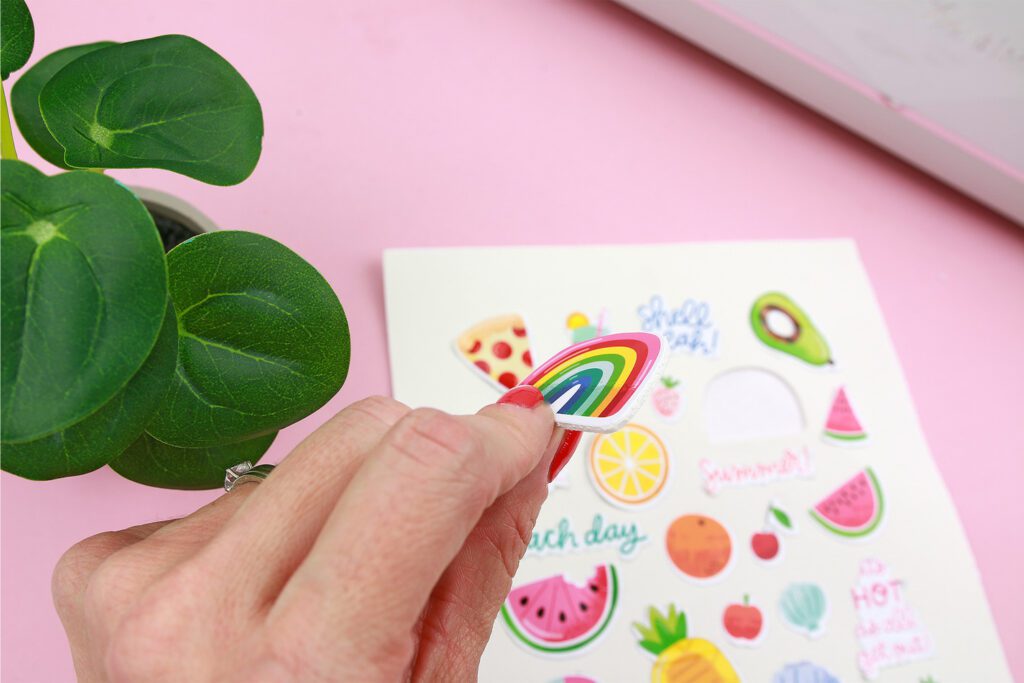
Step 6: Slowly peel up on your image to reveal a DIY sticker!
Wasn’t that super easy? Just think of all the fun you’ll have making your own DIY Thickers especially when you pair adhesive craft foam with any of the YayDay Paper Co. designer planner stickers. There are so many themes to choose from you’ll be able to find the right design for any project!