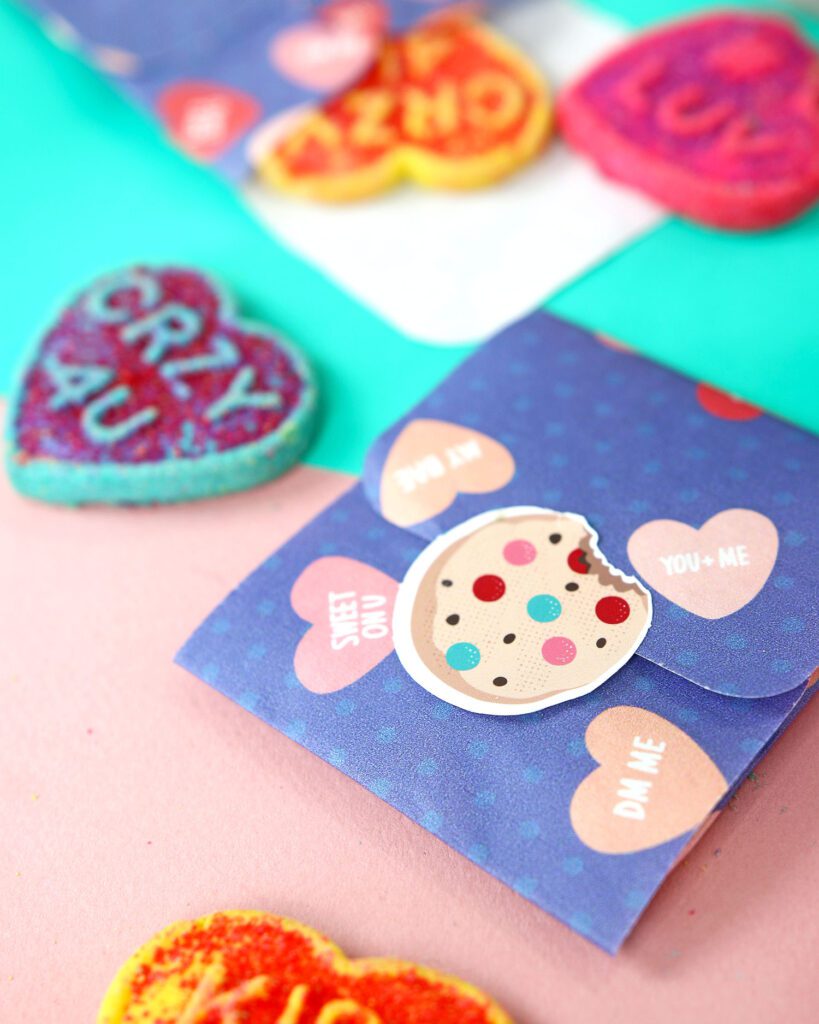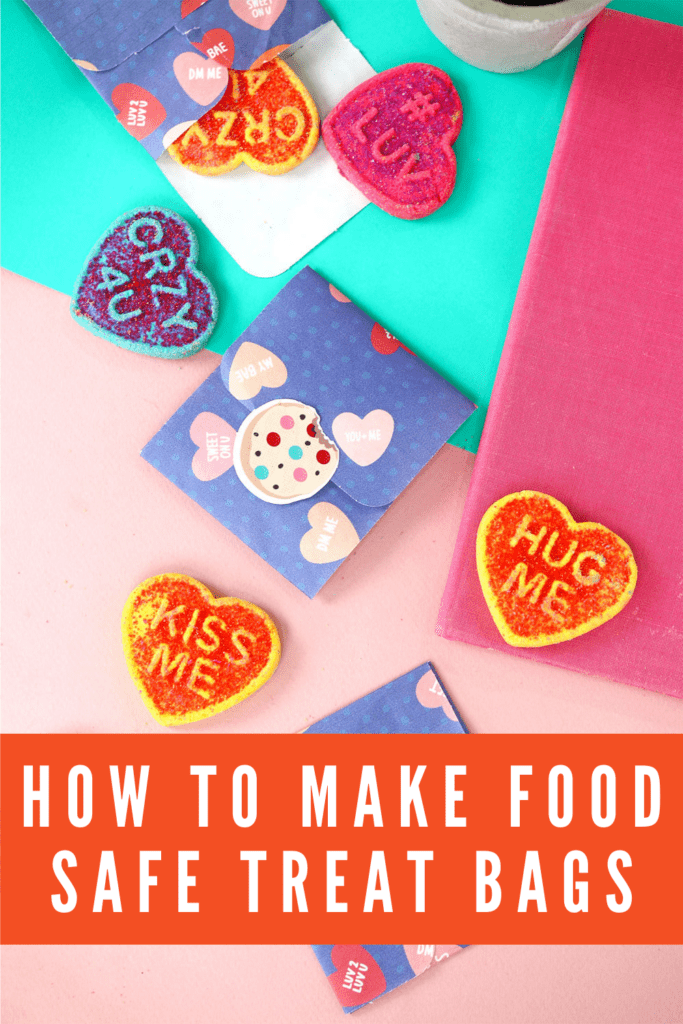
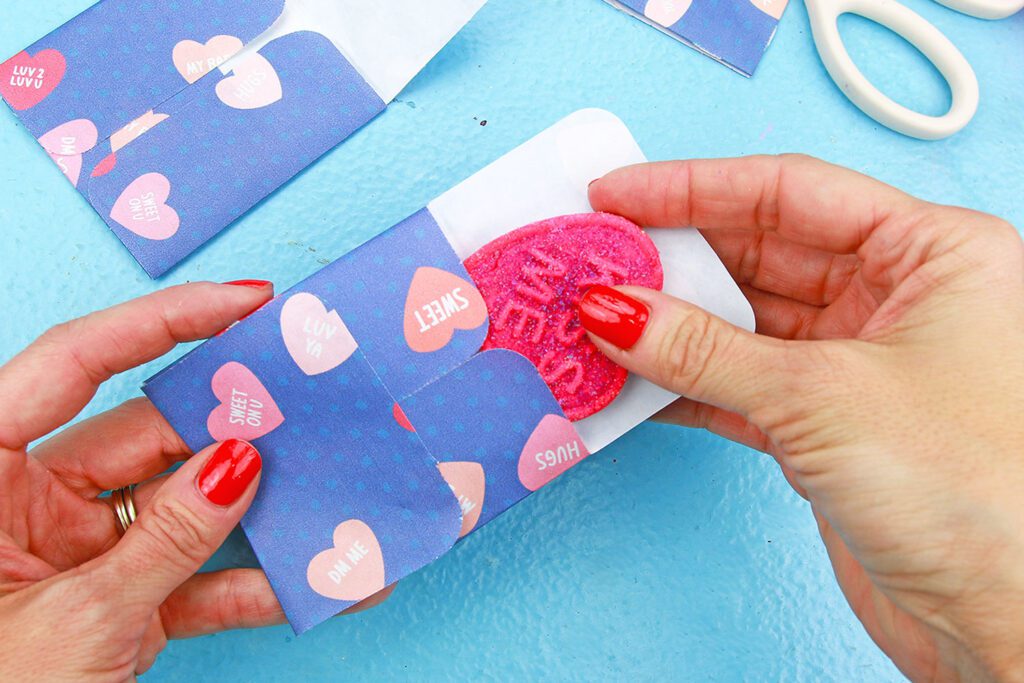
Whether you’re throwing a party or just want to send a friend something sweet, treat bags are a great way to house your goodies. A themed or decorative treat bag is the perfect way to really brighten someone’s day. Not only am I going to show you how to make your own DIY treat bags, but I’m also going to show you how to make them safe for food with only a few basic supplies and a printer!
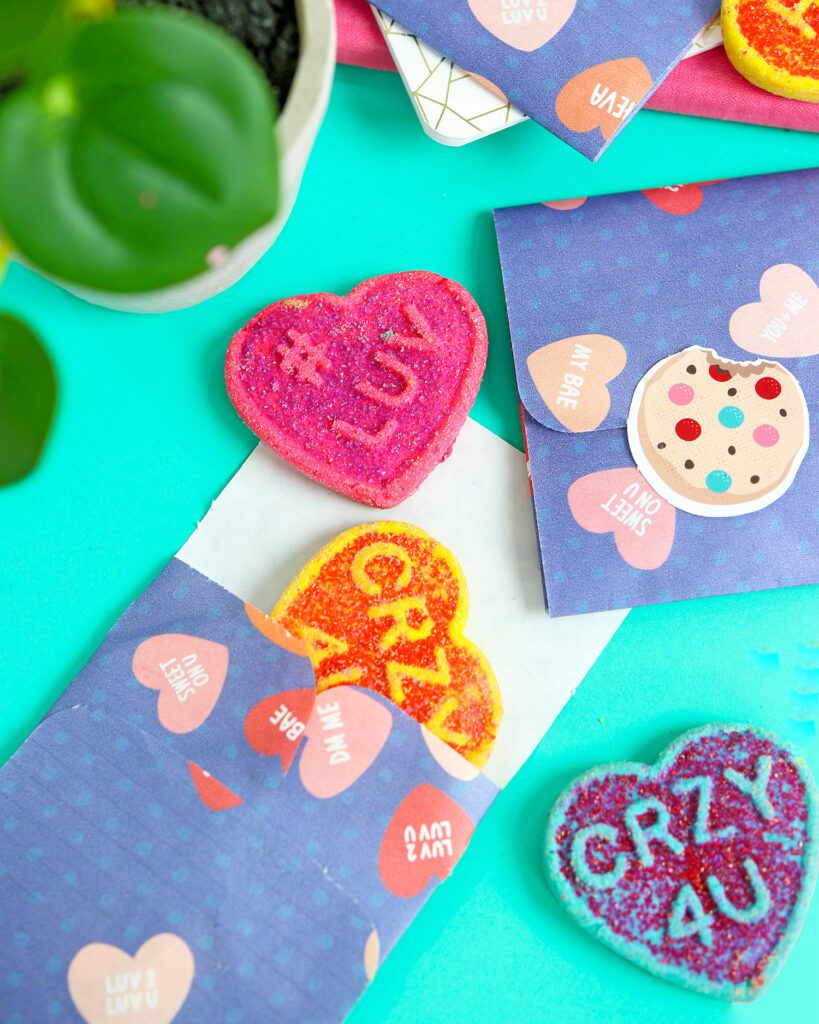
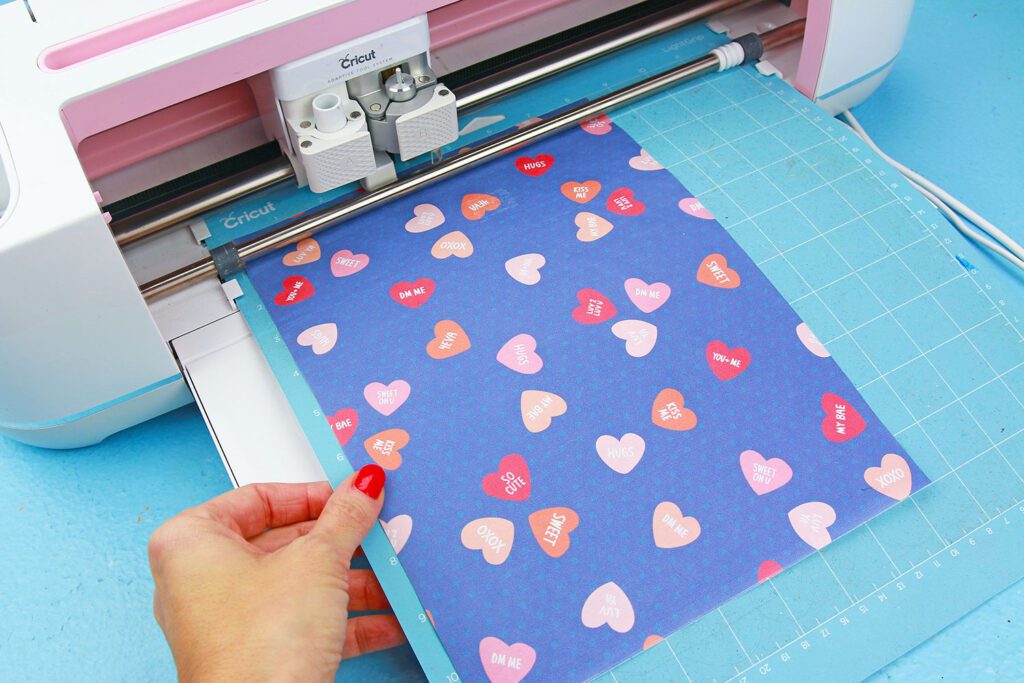
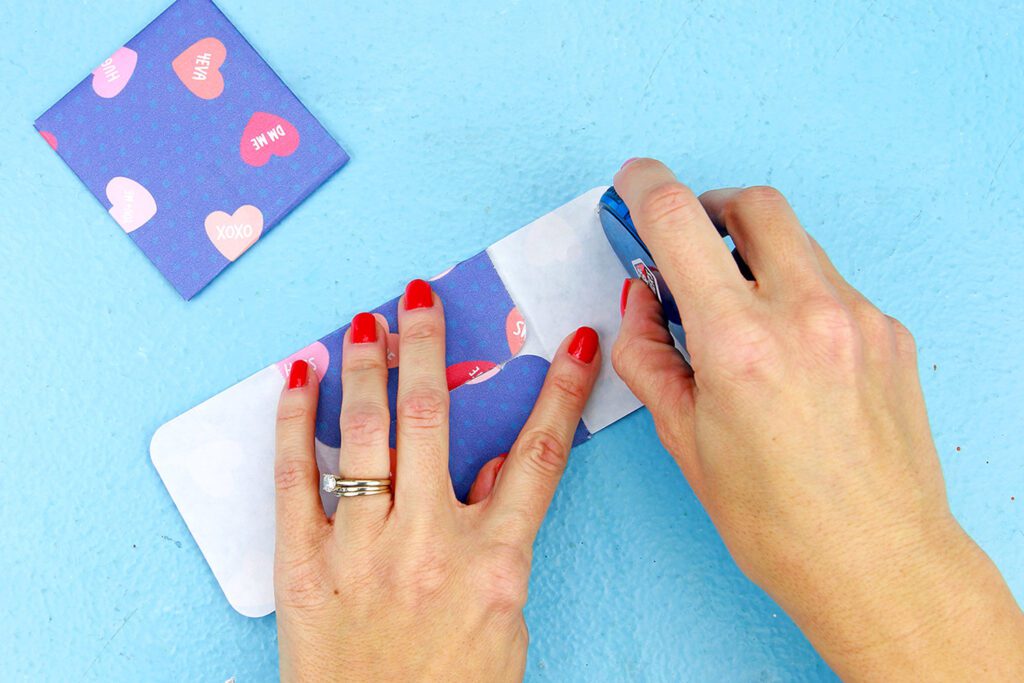
The real star of this project is freezer paper. Yep, the stuff you probably already have in your pantry. By printing on this paper (yes, you can run it through your printer)! It becomes a decorative sheet of paper that’s FOOD SAFE and can be transformed into a DIY treat bag opening! This really opens up countless options for customization for your next party or event. You could also pop one of these DIY treat bags into your kiddo’s lunch for an afternoon surprise. Check out the tutorial below to see how easy it is to transform freezer paper into DIY treat bags!
Materials for Treat Bags
- Freezer Paper – this is the star of the show! Since freezer paper is intended for the kitchen, this will allow us to create food safe treat bags.
- YayDay Patterned Paper of your choice (we used YayDay Sending Love Stationery Bundle)
- Electric Cutting Machine and Cutting Mat – like a Cricut (you could also use the WE R Memory Keepers Journal Pocket Punch Board
- Inkjet Printer (we used the Canon TS9521C All-In-One Wireless Crafting Photo Printer)
- Tape Runner
- Paper Trimmer
- Scissors
How to Make Food Safe Treat Bags

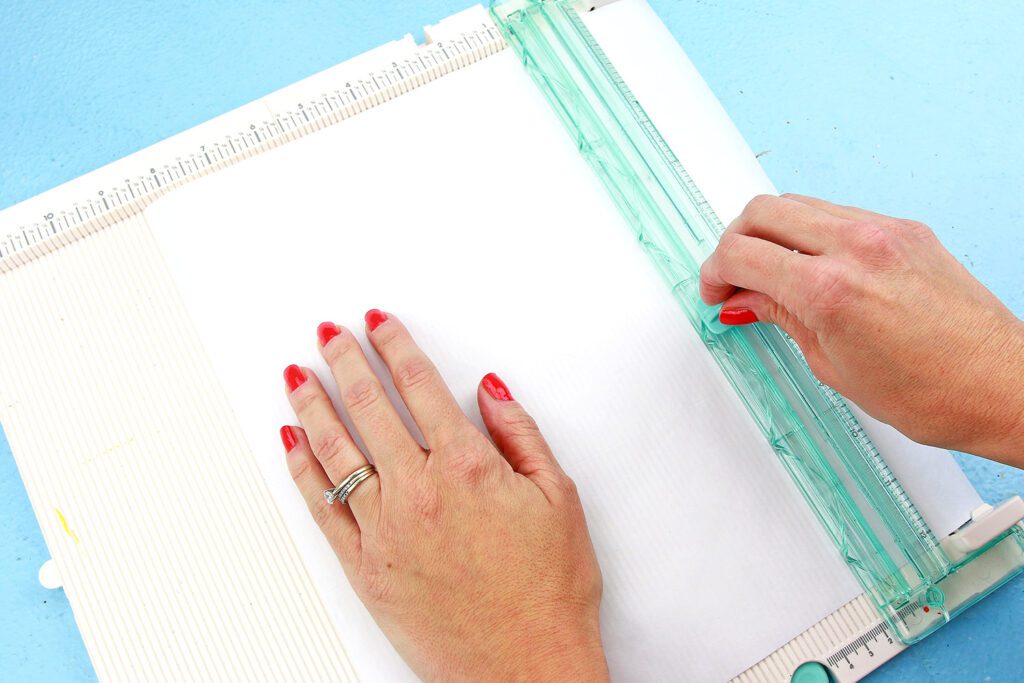
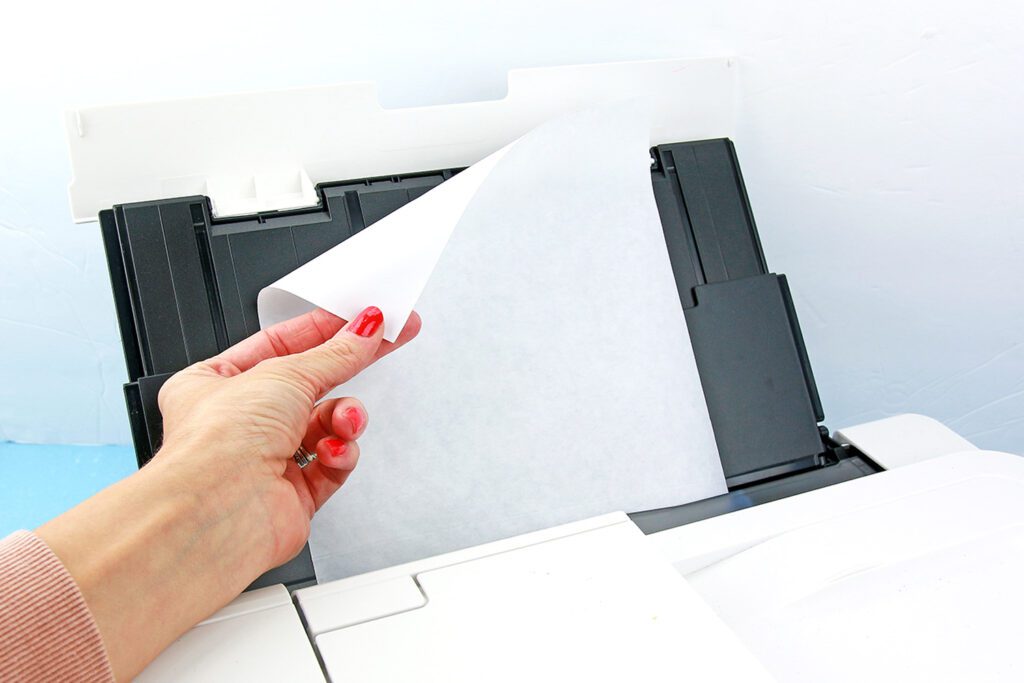
Step 1: To get started making your DIY treat bags, trim down the freezer paper to measure 8.5”x11”

Now that you know how to create food safe treat bags the door is open to endless possibilities! There are so many YayDay patterned papers to choose from to fit any occasion, holiday, or theme. Just think of all the fun you’re going to have making your own DIY treat bags!