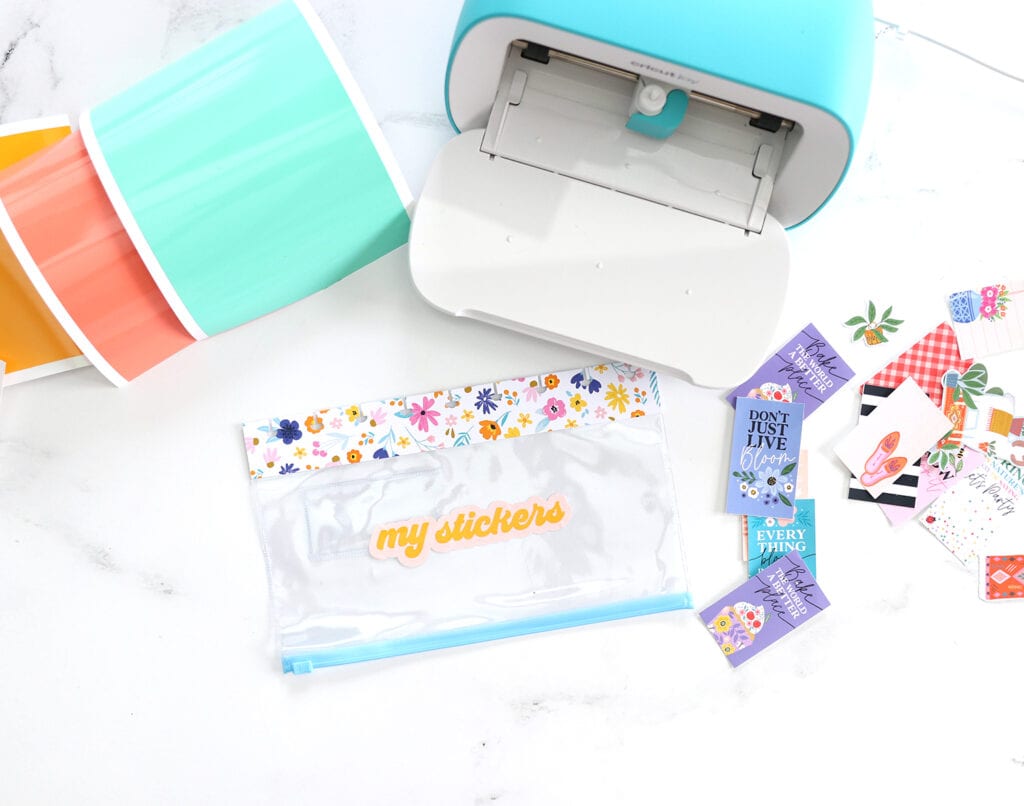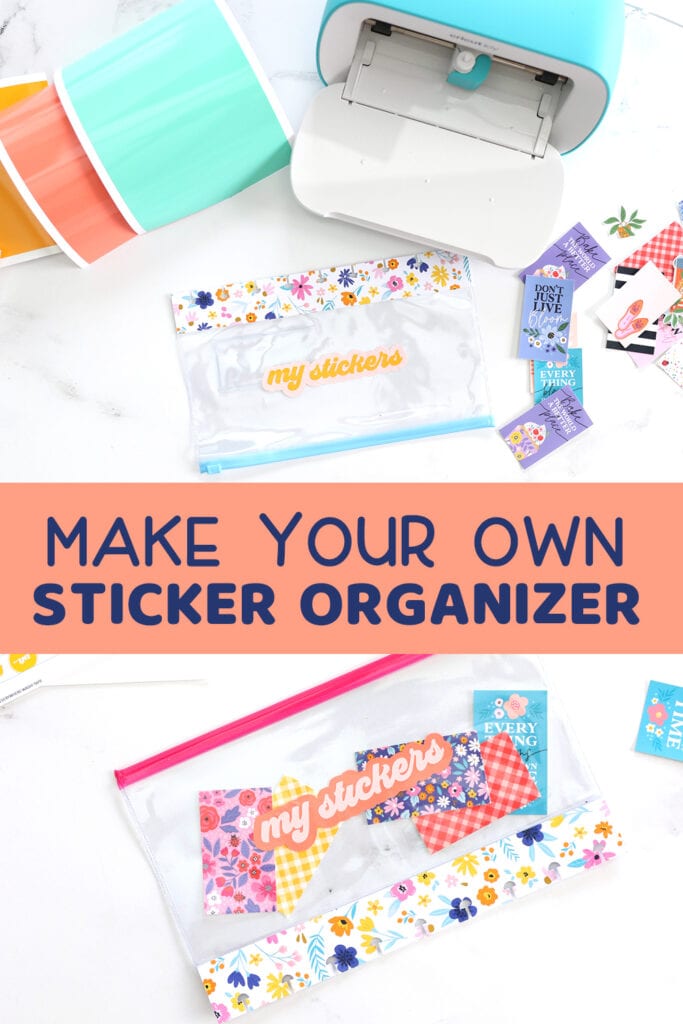
If you love to use planner stickers or you have a cart filled with Happy Planner sticker books, then you know how hard it can be to keep them organized and ready to use. With this DIY sticker organizer for your planner, you’ll have your favorite stickers on hand.

SUPPLIES TO MAKE A STICKER ORGANIZER
To create your own sticker organizer, you’ll need a few supplies that you can quickly order from Amazon!
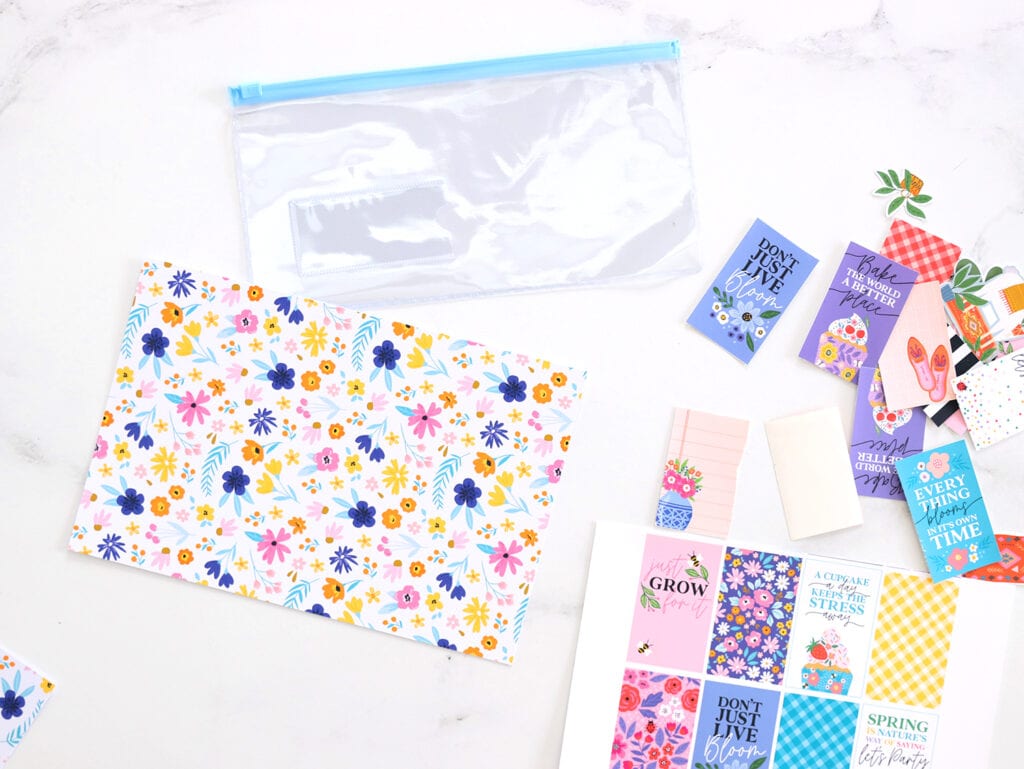
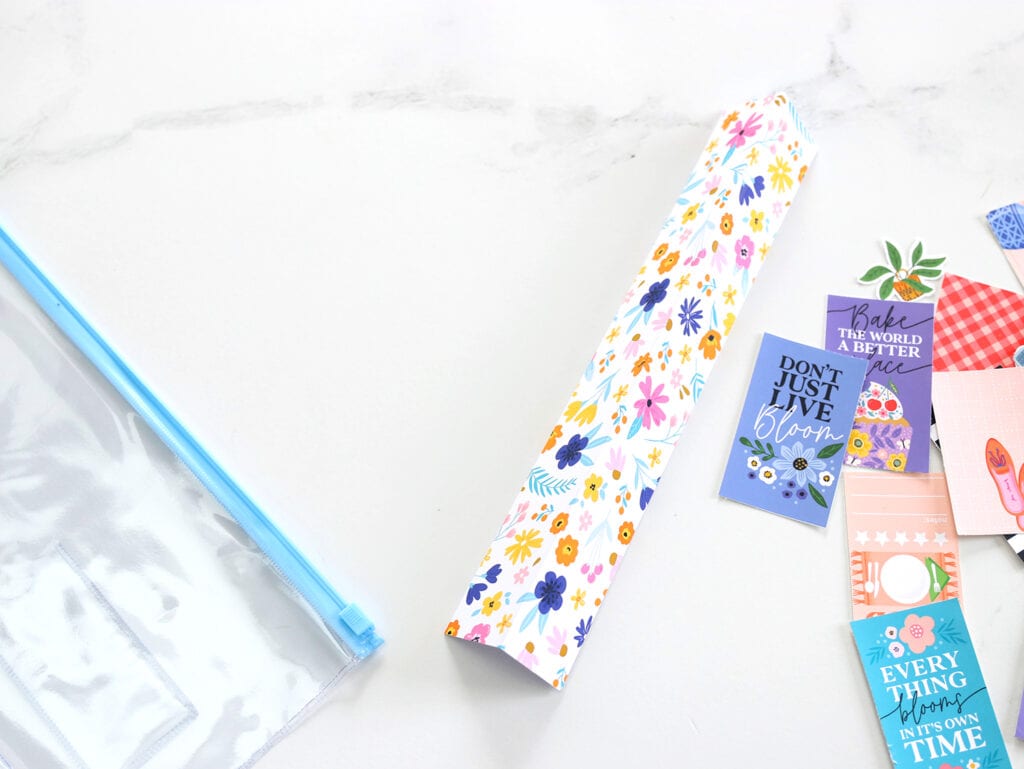
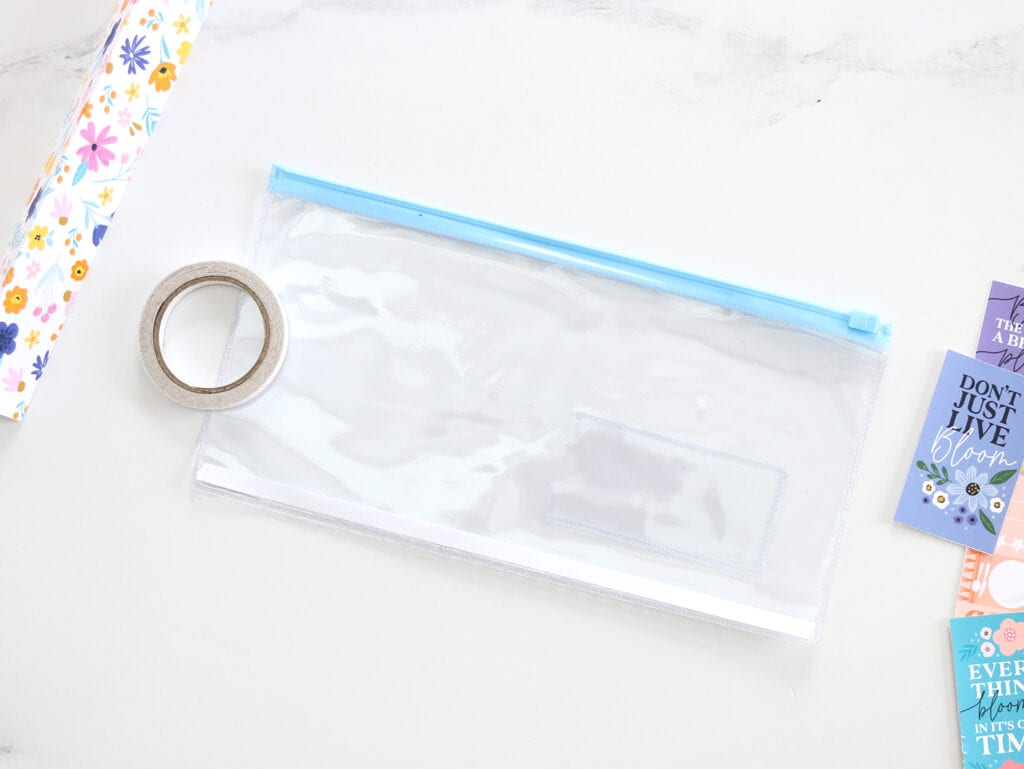
- Plastic Zipper Pouches – we used THESE which are perfectly sized for the Happy Planner Classic planner. If you have a different sized planner, you may want to use a smaller or larger plastic zipper pouch.
- Patterned Paper – we used a printable floral patterned paper from the YayDay Flowers Everywhere Stationery Bundle
- Double Sided Tape – THIS stuff is the best for this project since it’s really heavy duty and adheres very well! It also comes in a great bundle so you have whatever size you need!
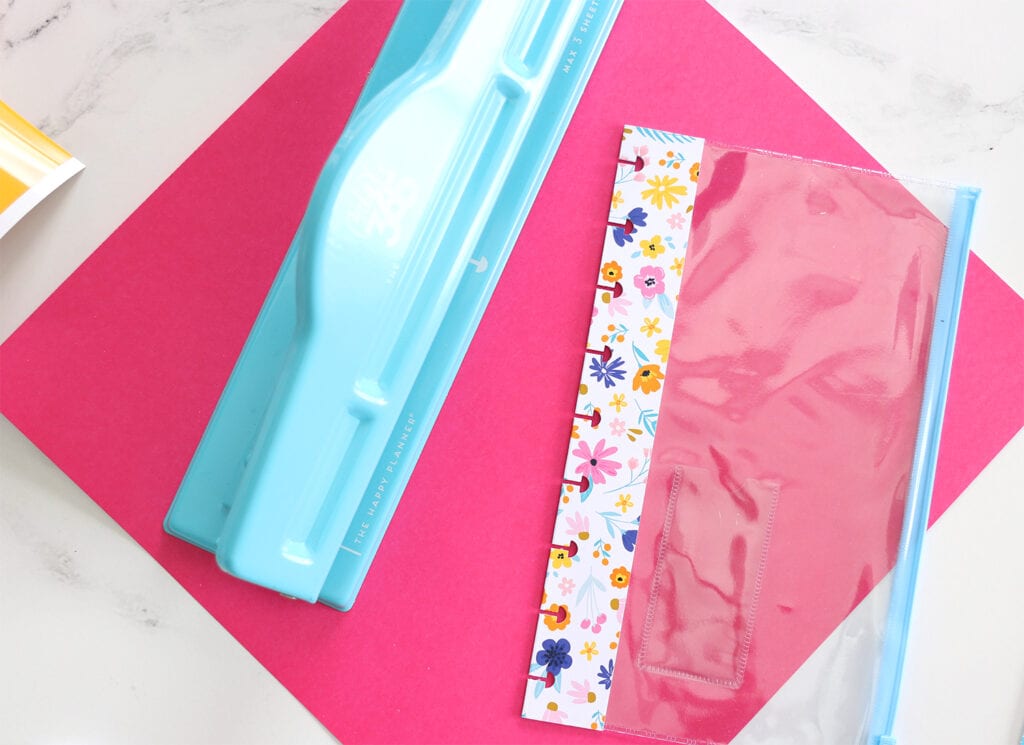
- Planner Punch – in this tutorial we used the Happy Planner Classic punch . If you have a different kind of planner, you can easily find a punch that works with other planner sizes.
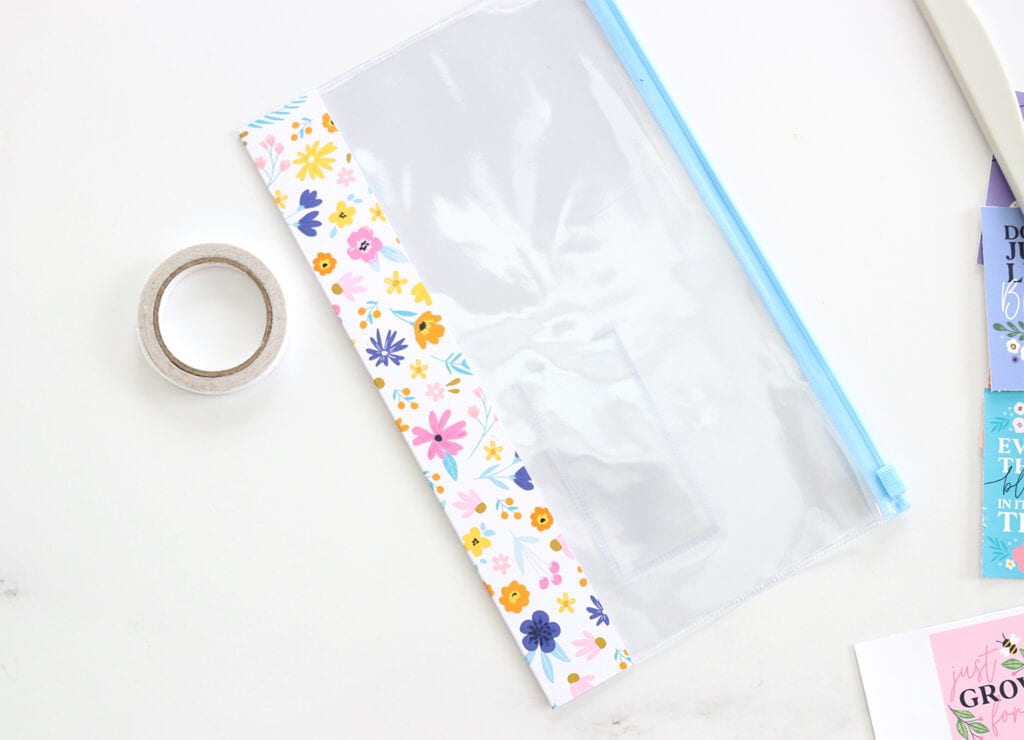
HOW TO MAKE A STICKER ORGANIZER
HOW TO MAKE PLANNER STICKERS
Now that you have created sticker organizer, you’re ready to fill it up with stickers! This organizer is great for keeping seasonal stickers on hand or a few pieces of notepaper. It’s also great as a pen or pencil holder.
If you’re wondering how to make your own planner stickers to fill up your new sticker organizer, we’ve got you covered! You can easily make your own stickers with Cricut or you can even create stickers with no machine at all! Just make sure you’re using the best sticker paper!