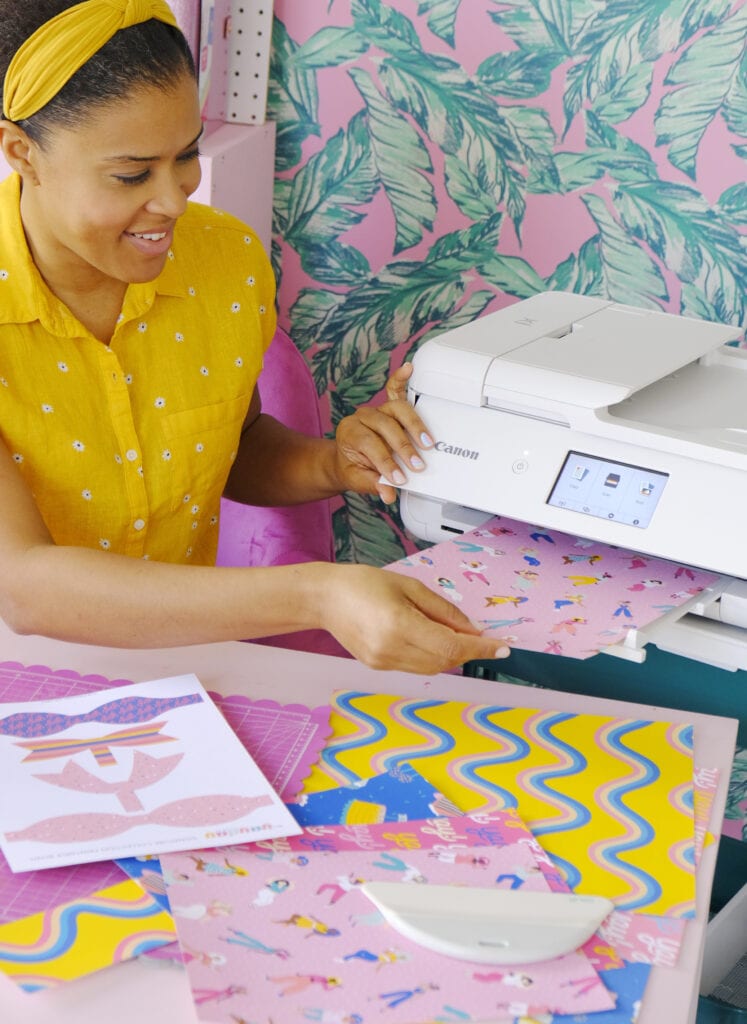
If your washi stash is out of control, I might just have the solution! With this tutorial, you’ll learn how to make washi tape with your printer! It’s super easy and you’re going to love this hack for making washi tape that is translucent just like the real thing!
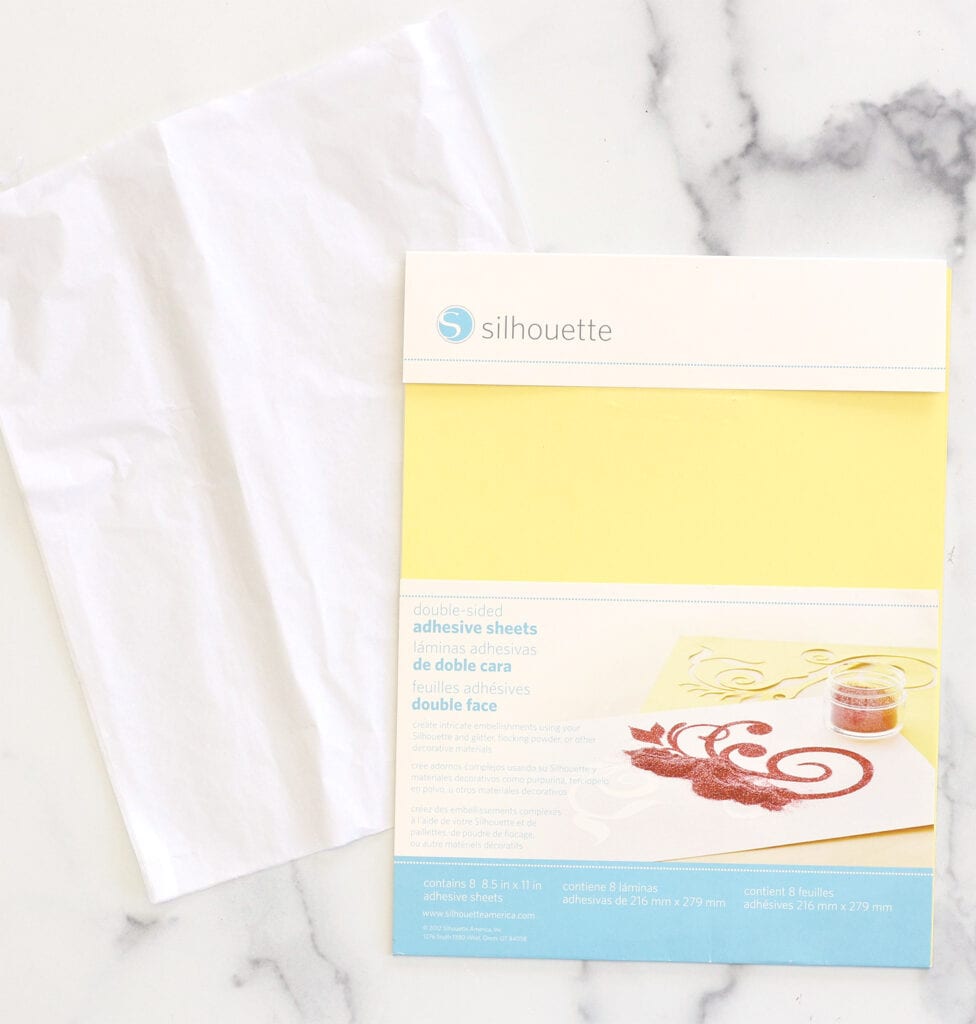
You’ll need:
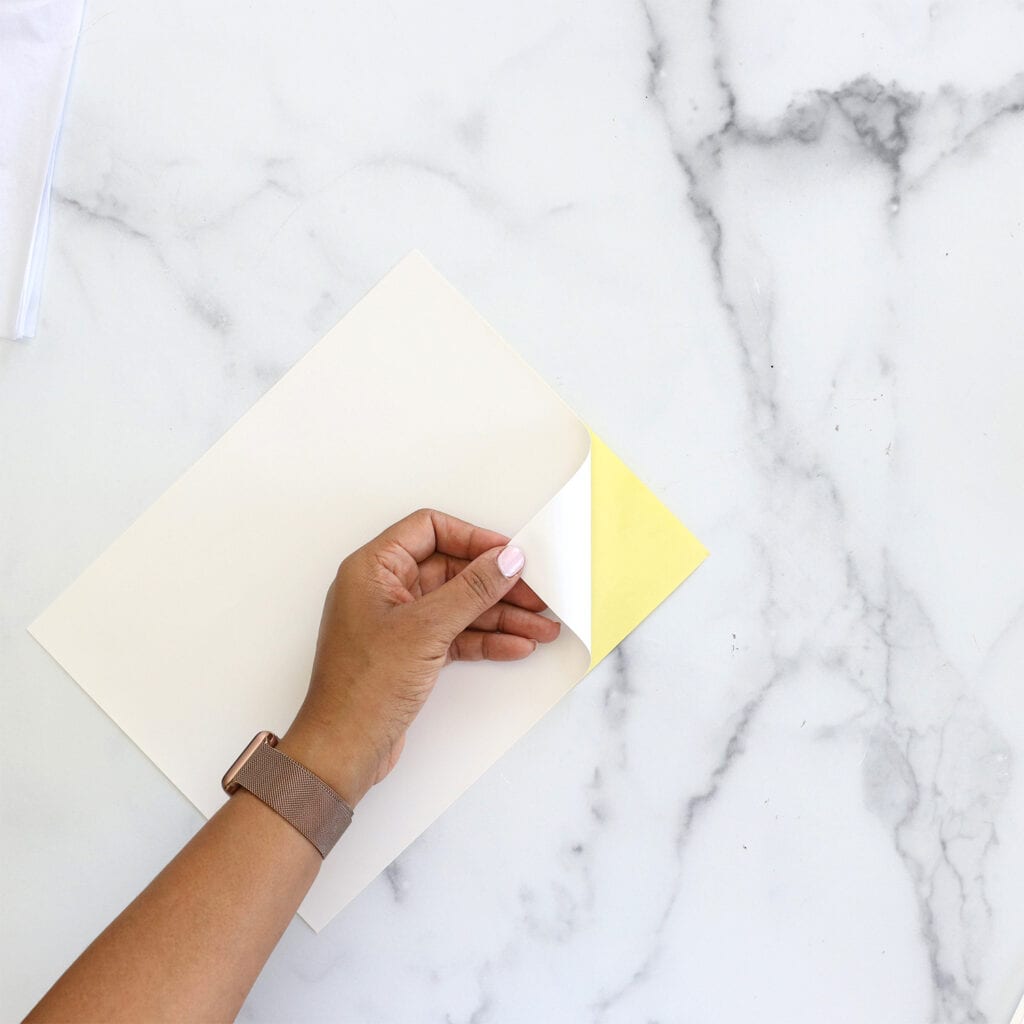
Peel back one side of the adhesive sheet revealing the sticky adhesive beneath.
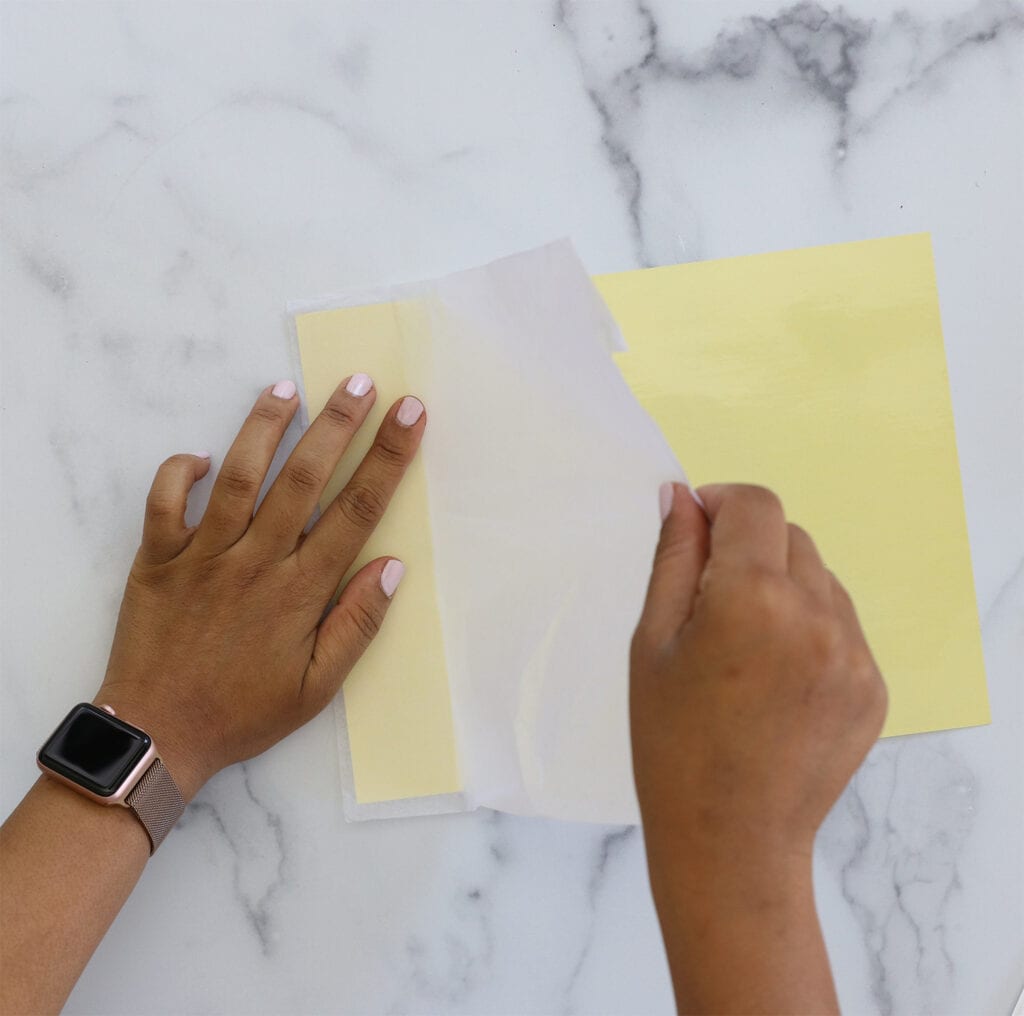
Gently apply the tissue paper to the exposed adhesive side of the adhesive sheet.

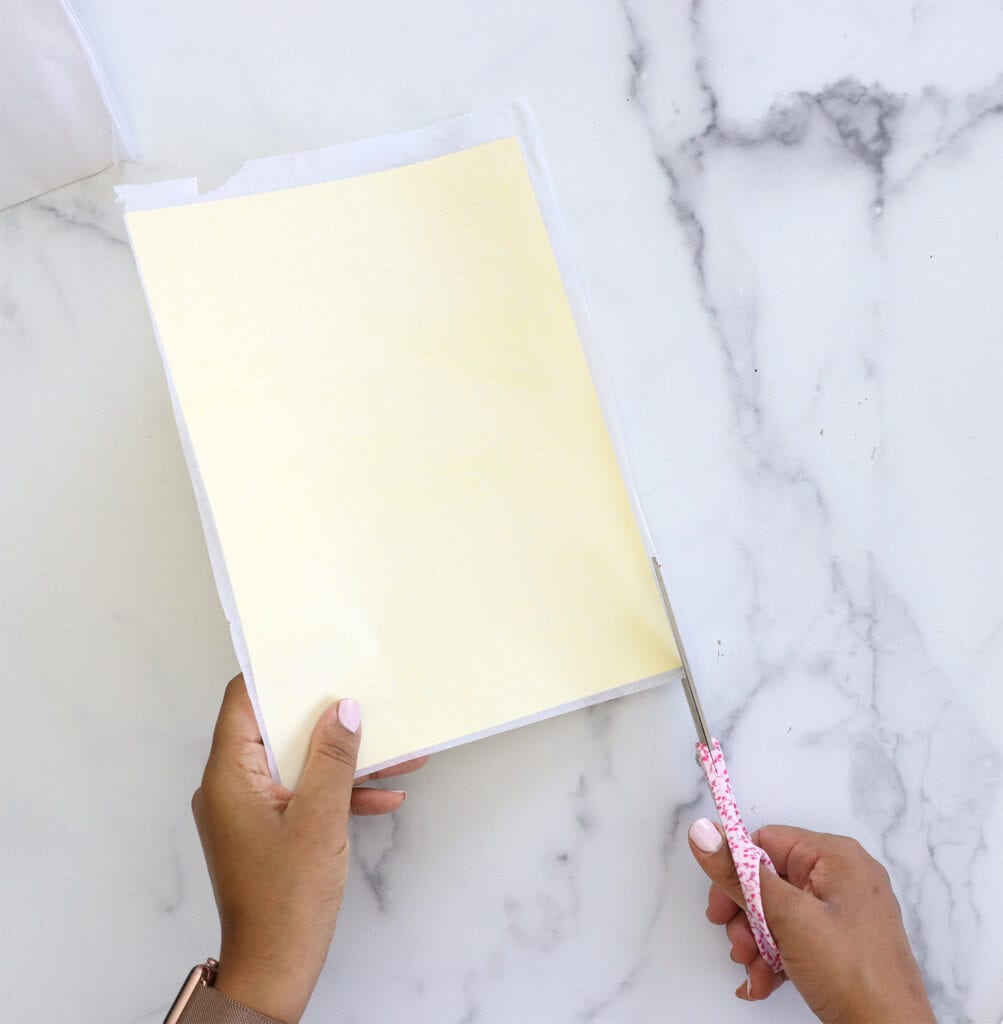
Use scissors to cut off any tissue paper that extends off the edges of the adhesive sheet.
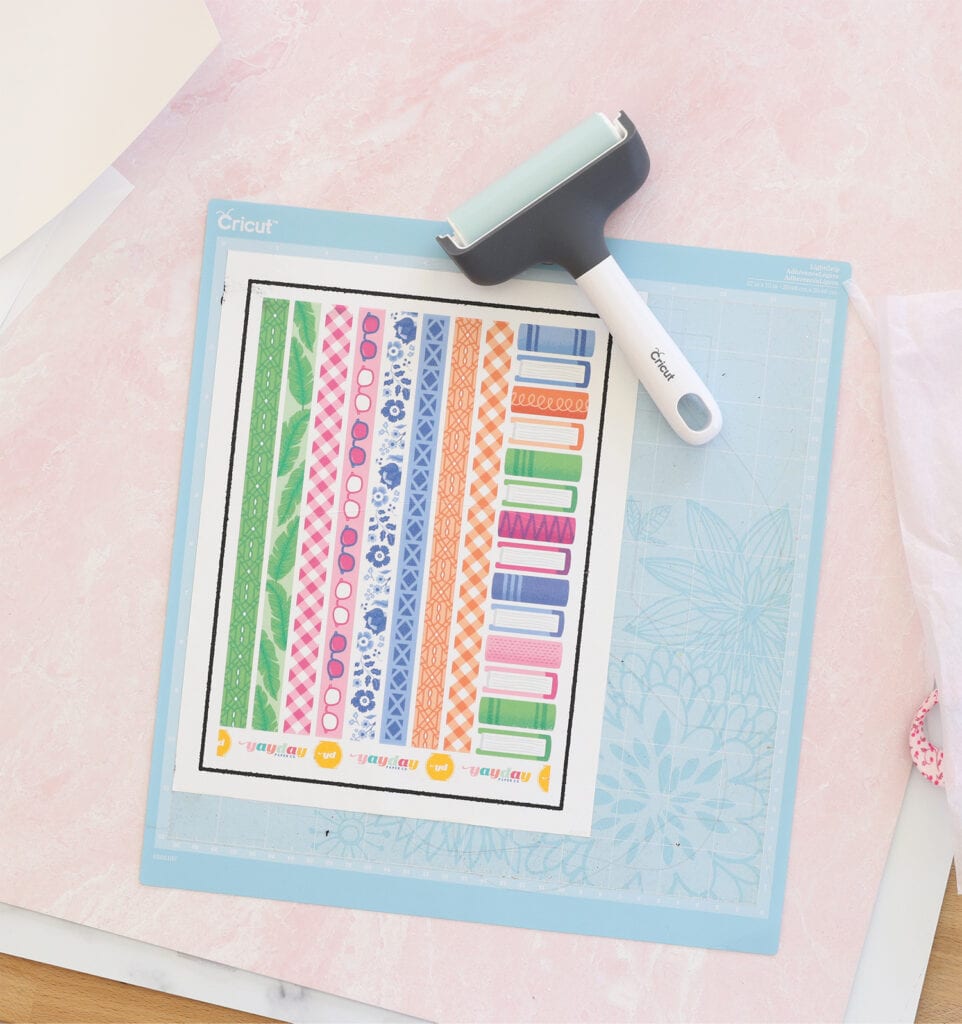
Each Yayday Paper Co. Planner bundle includes washi! Place the tissue paper into your printer and print out the washi tape as usual. You can also upload the Washi file into Cricut Design Space and print. If you are using Cricut Design Space, you’ll need to place the print onto a mat to prepare for cutting.
TIP: On the Cricut Explore, set the dial to “Paper” to get a perfect “kiss cut” for your washi.
If you want to learn how to print and cut with Cricut Explore, watch our tutorial HERE!
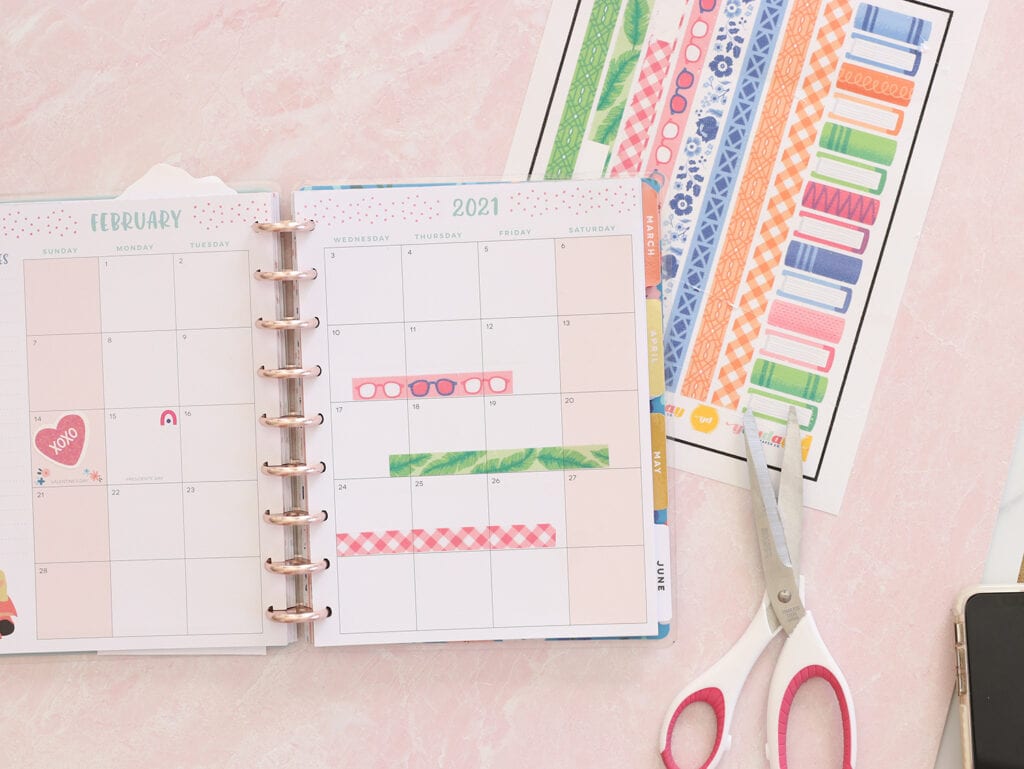
The washi used in this project is from our Prepster planner bundle which you can grab right now in the YayDay Paper Co. shop!
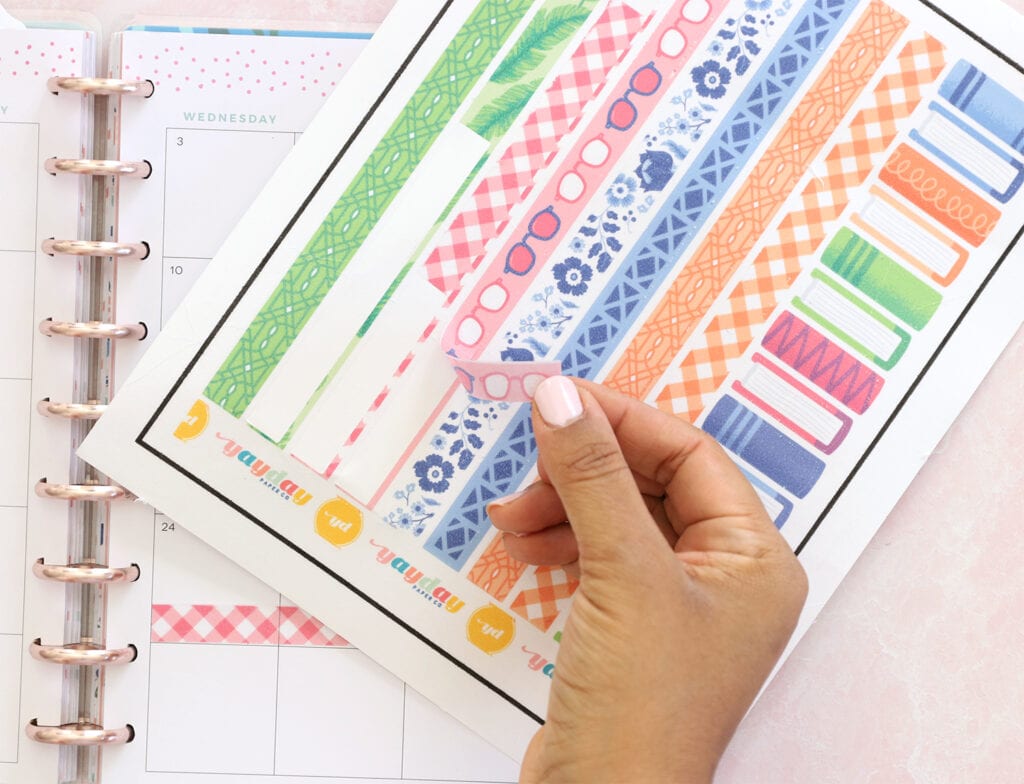
Once you’ve cut the washi, you can peel it off and use it in your planner or for any other projects!
Since the project is flat, you don’t need to worry about storing a bunch of rolls of washi! Print out as much as you want and you can easily stash them in your planner or notebook to have on the go!
Be sure to share how you are using your YayDay Paper Co. prints by tagging us on Instagram @YayDayPaper!