
Get creative with your YayDay Paper Co. prints and create your own customized fabric. The most popular question from YayDay Paper Co. members has been “How can I print on fabric?” Luckily, the answer is far simpler than you think. In this two part series, we will teach you exactly how to print you own fabric and get stellar results.
If done correctly, you can print you own fabric at home then turn it into whatever project you want. Of course, you are limited in size, since most home printers can only accommodate certain print sizes. Even with size limitations, printing your own fabric is awesome for making small sewn projects. You can even get fancy and personalize the fabric before printing! Add a name or monogram to your fabric design before you print it and the results are fabulous!
Watch our video on How to Customize your Prints in Canva
The first thing you’ll need to know about making your own fabric is the simple process of printing and preparing your fabric to be turned into a project. Here’s how it’s done:
STEP ONE:
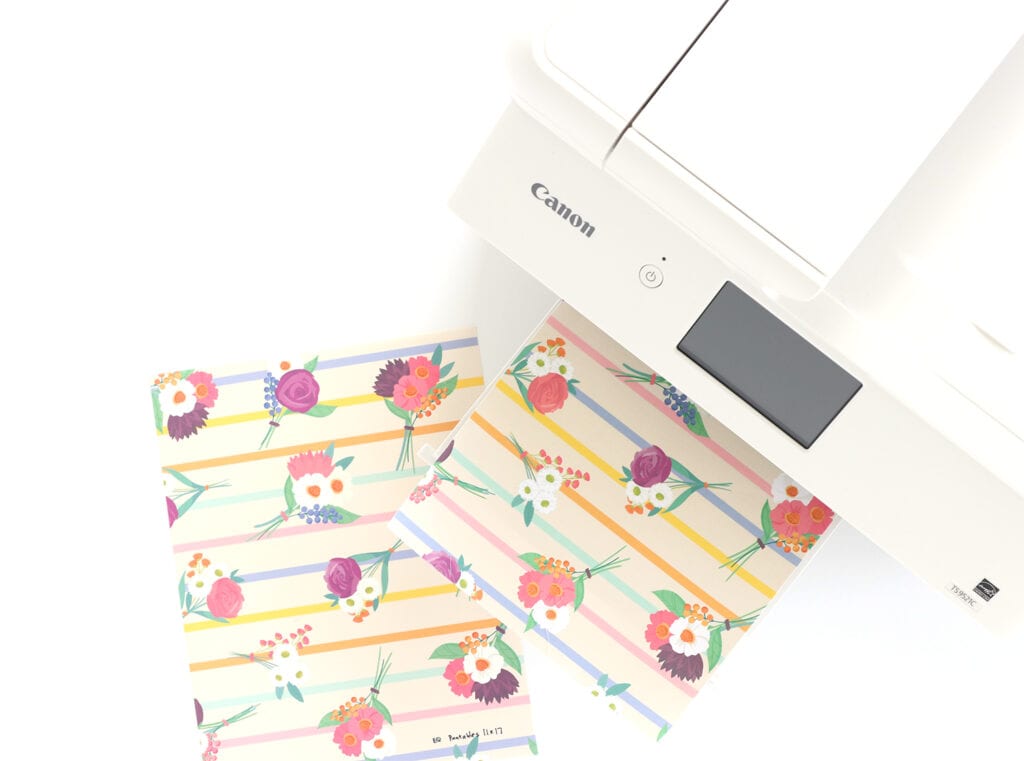
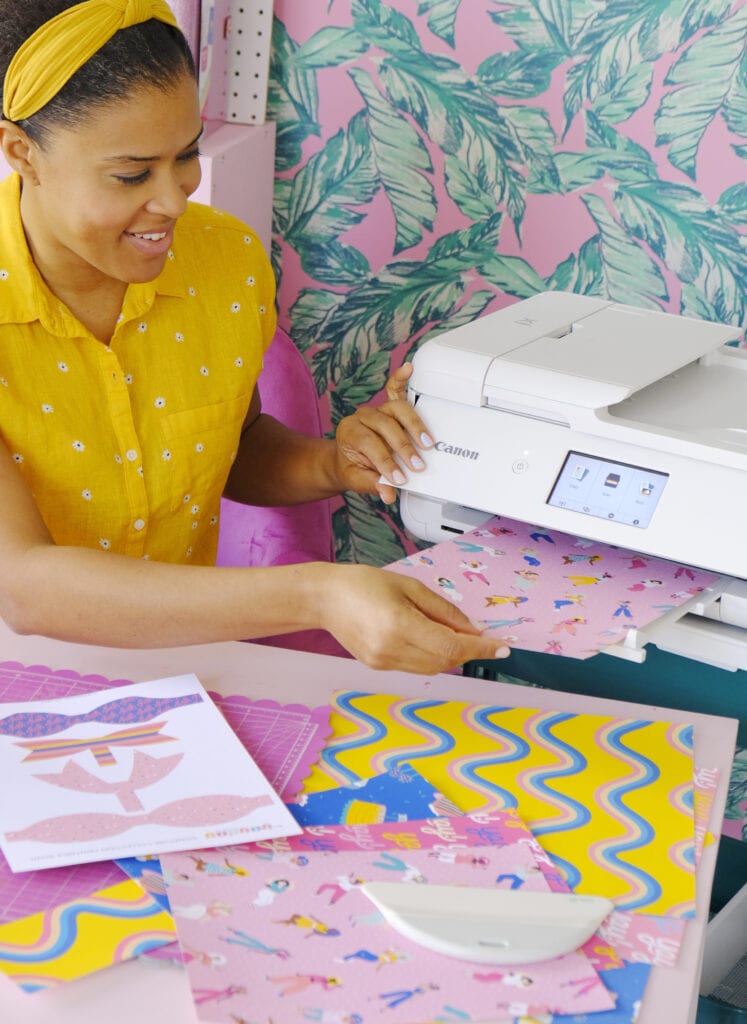
Print the pattern design directly onto the printable fabric material. Any of the YayDay Paper Co. pattern paper designs work great for this!
Important: When printing on fabric, use the “Normal” quality setting. Do not use the “Best” quality setting, as this can saturate the fabric with excess ink that will wash off during Step Four.
The printable fabrics in this two-part series were all printed on the Canon TS8320 Printer. In Part 2 of this series, we compare different brands of printable fabric material to show which performs best.
STEP TWO:
Allow the printed fabric to fully dry and cure. We recommend letting it sit for at least 30 minutes, though 24 hours is better.
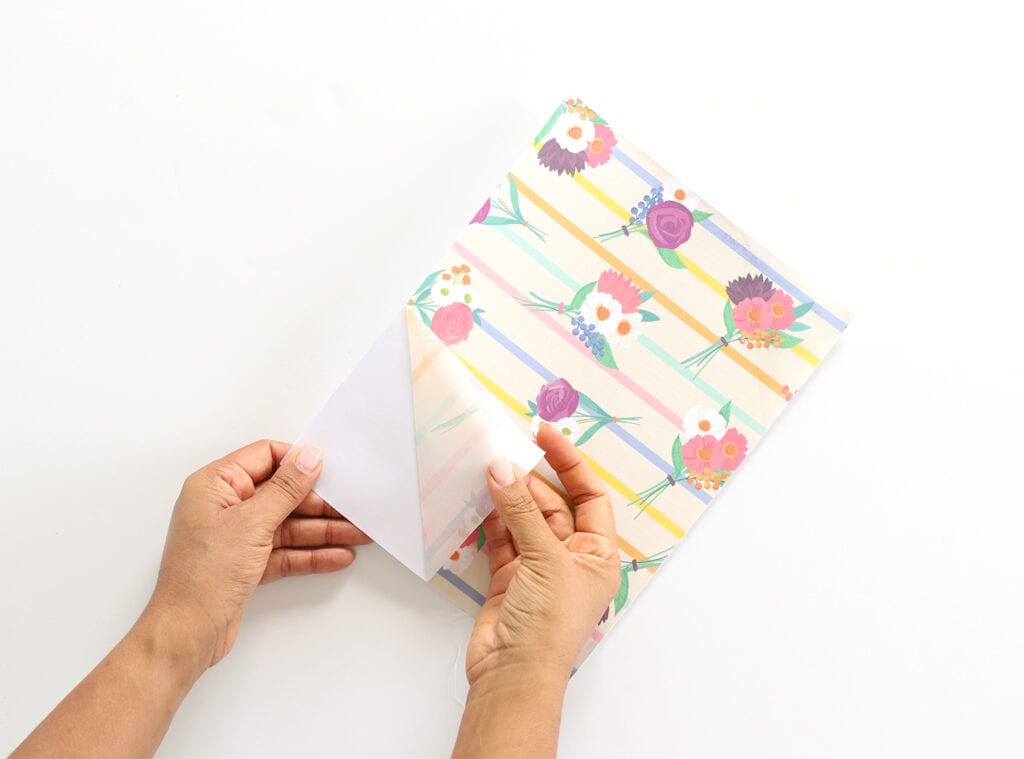
Peel the printable fabric away from the backing.
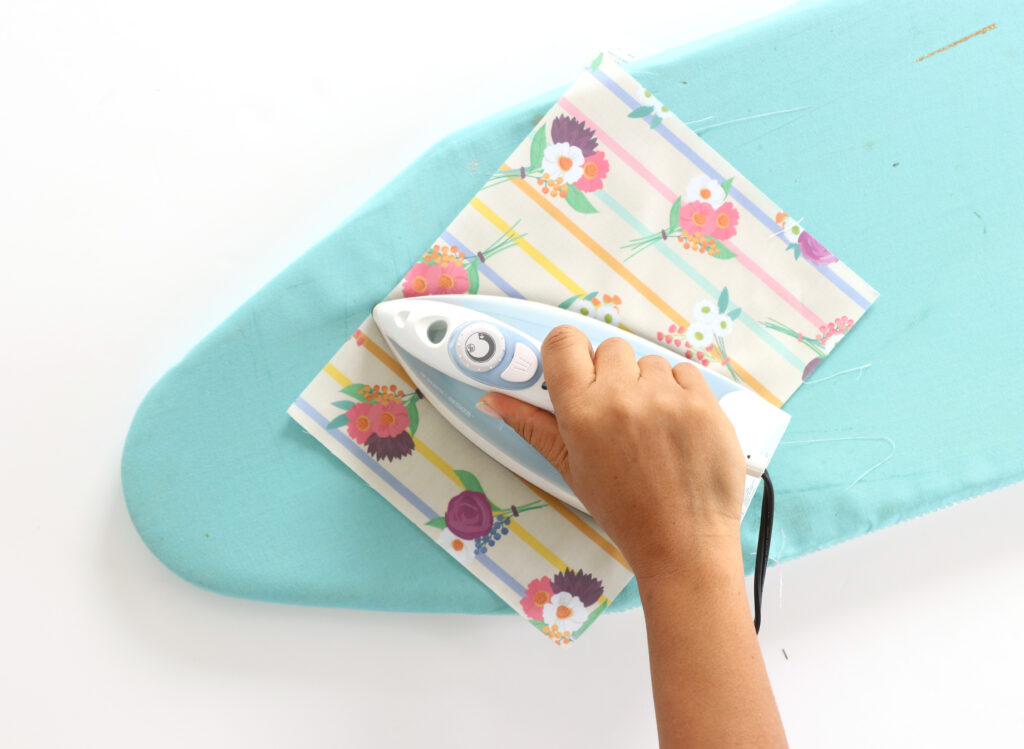
STEP THREE
Use a hot dry iron (no steam) to press and heat set the fabric.

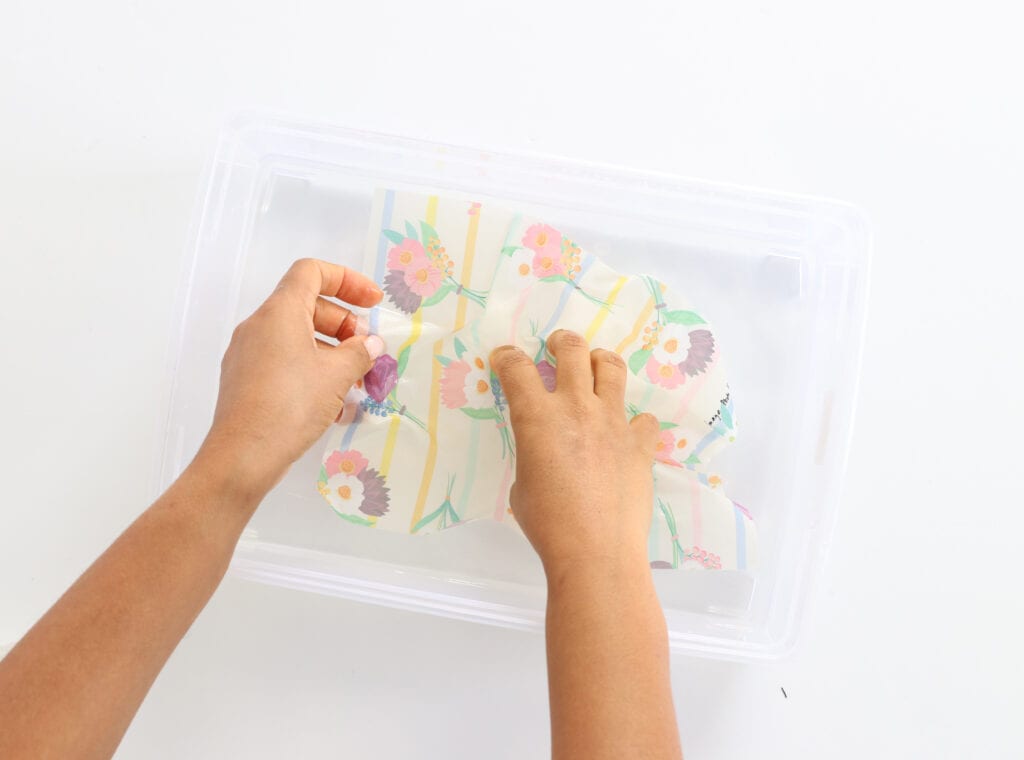
STEP FOUR
Fill a shallow tub or dish with cold water. Place fabric into the water and gently move fabric around in the water to rinse off any excess ink. During this step, you may notice that the water becomes murky. This is normal, since some excess ink is rinsing off the material.
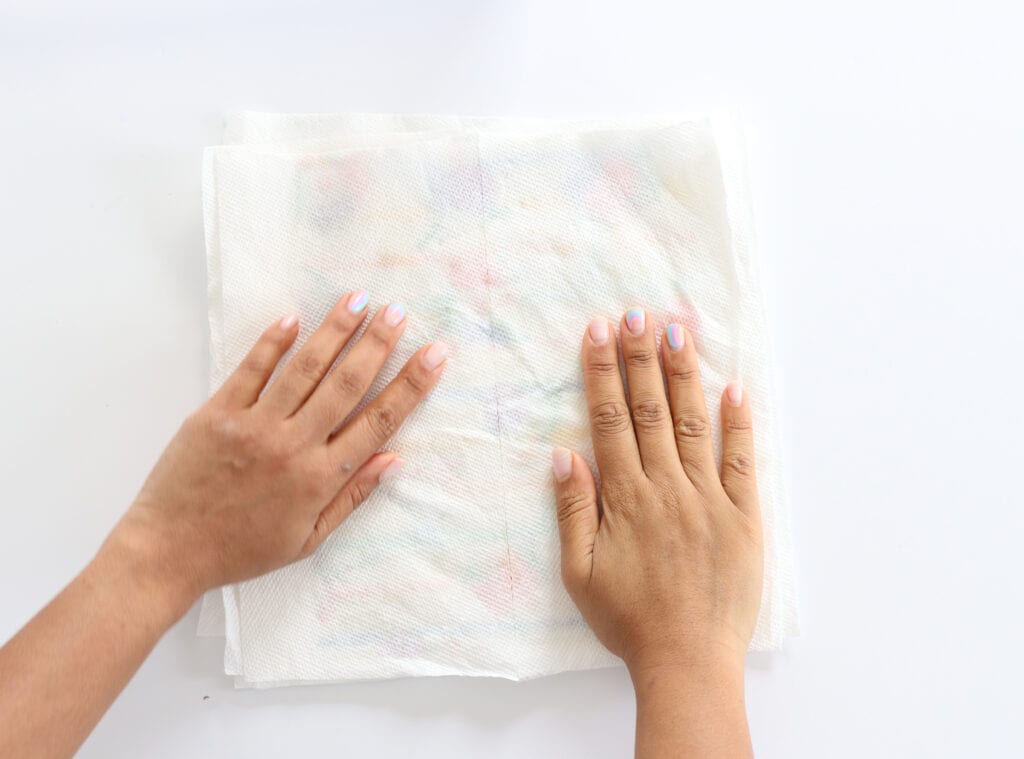
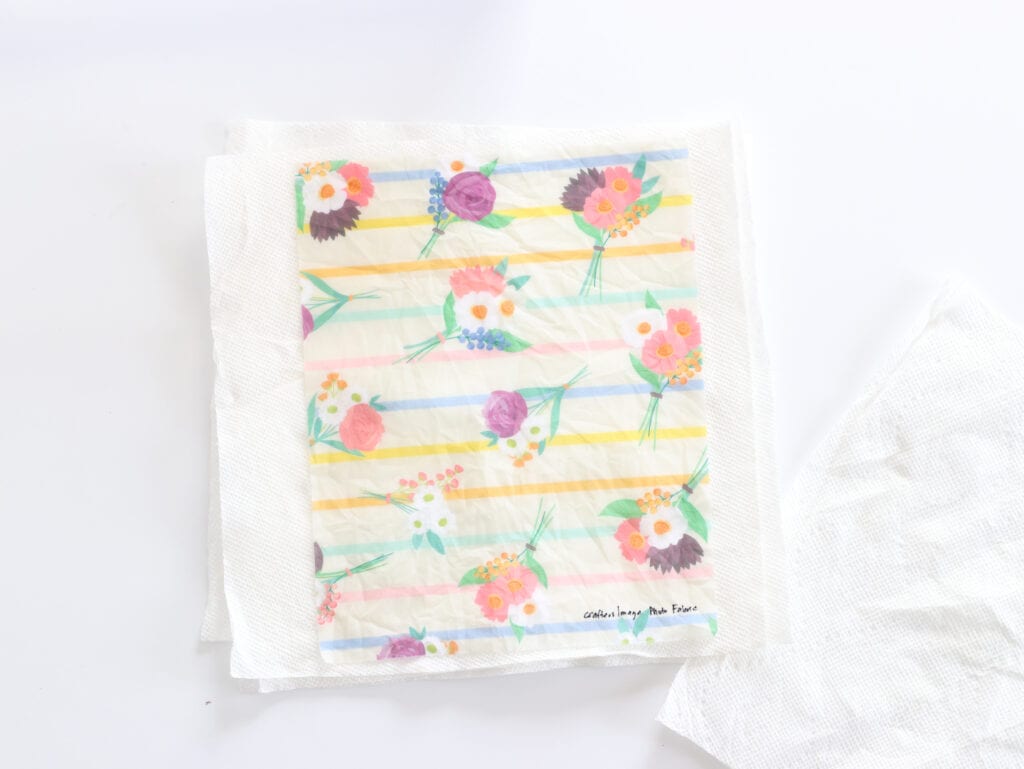
STEP FIVE
Place the wet fabric onto a bed of paper towels, then cover with another paper towel. Pat gently to remove excess moisture. Do not rub since this could cause ink to move or bleed. Allow the fabric to dry completely and then you’re ready to use it in your project!
Join us in Part 2 of this tutorial where you’ll learn exactly which printable fabric materials are the best and can stand up to a run through your washing machine!