
You are flip when you find out how easy it is to make your own sticky notes. It only takes two important tools – a roll of removable adhesive and of course, some really cute background patterns to give your sticky notes some personality.
For all you planner lovers and paper crafters, this is a fun quick project that you can make when you have a little down time. It’s super simple and a great way to use your YayDay Paper Co. prints – especially the pattern papers!
SUPPLIES
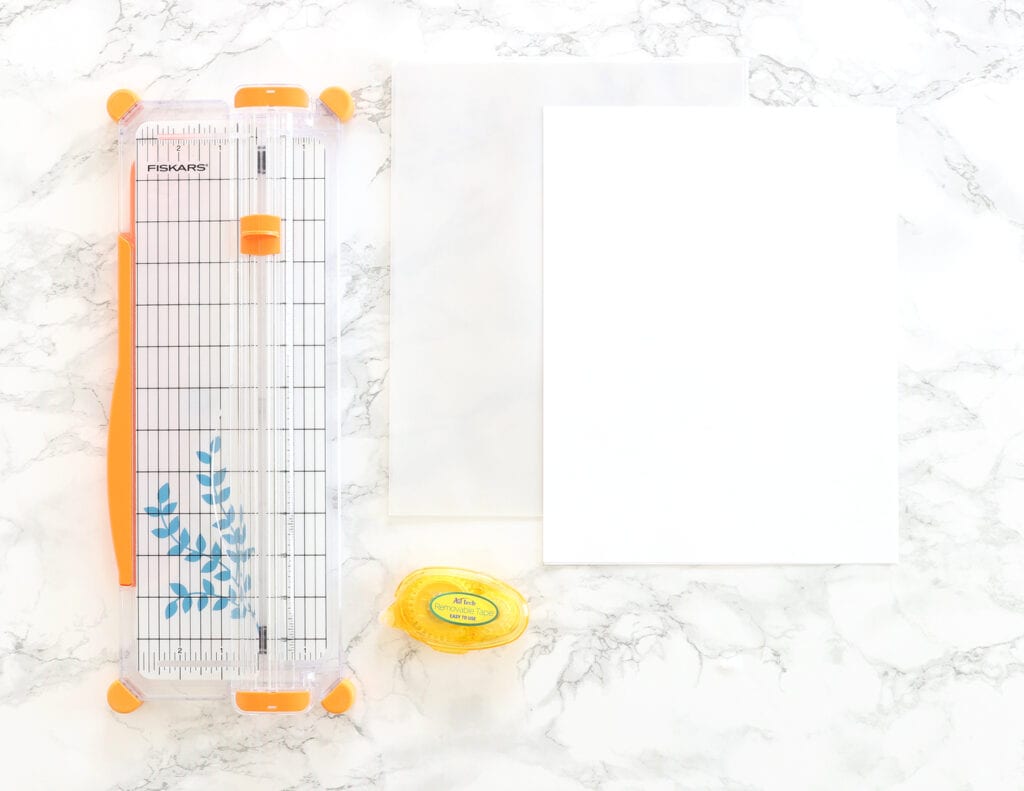
- Paper Trimmer – we LOVE LOVE the Fiskars SureCut Trimmer because of the little wire that tells you EXACTLY where you’re going to cut.
- Vellum or 32lb. printer paper
- Repositionable Adhesive Tape Runner
- A printer – for this project we used the HP Deskjet 3755
STEP ONE
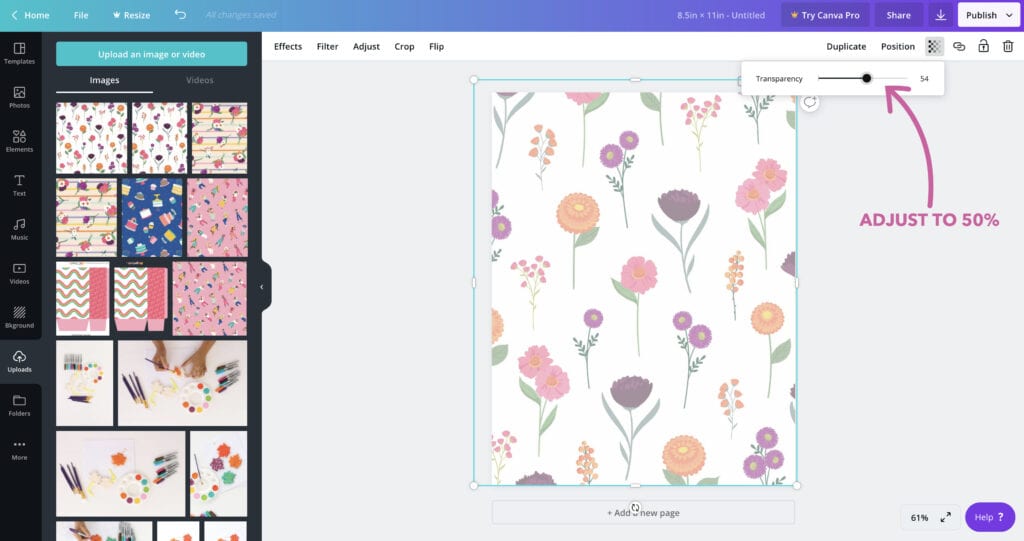
First you’ll need to adjust the opacity of the pattern paper. To do this:
- Use THIS site to convert the PDF pattern paper into a JPG
- Upload the JPEG into Canva
- Adjust transparency to 50%
- Download the file then open in Adobe Acrobat for printing.
STEP TWO:
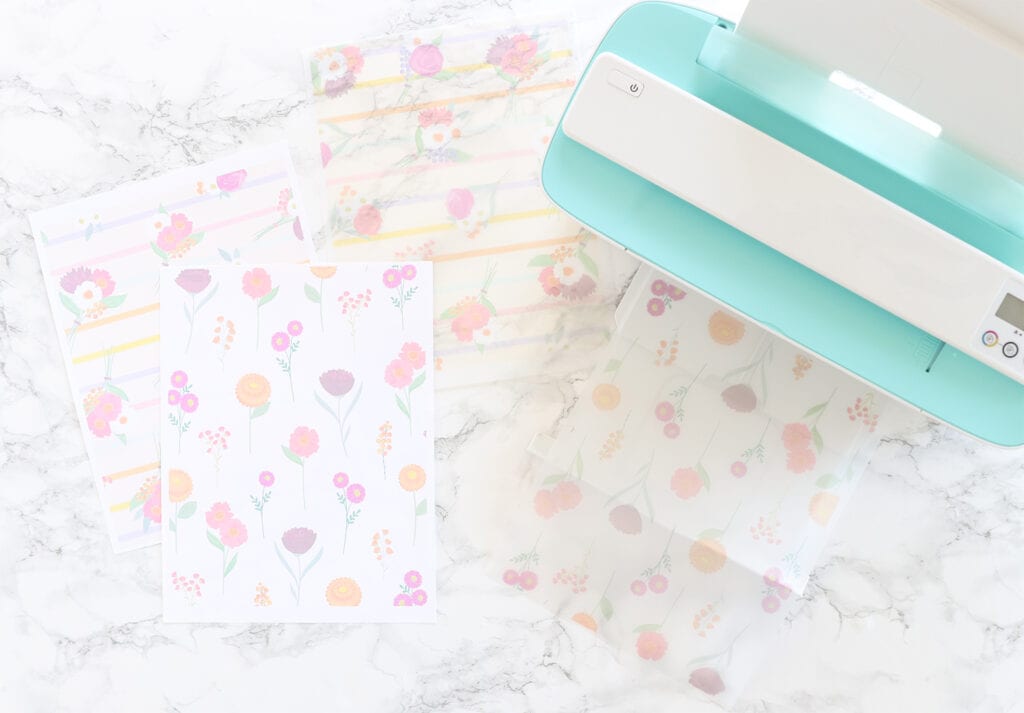
We printed onto vellum and 32lb printer paper using the HP Deskjet 3755. Don’t adjust your screen! The photo looks a little washed out…that’s because we adjusted the transparency so that it’s faded and gives our project a pretty background that you can still write on.
STEP THREE
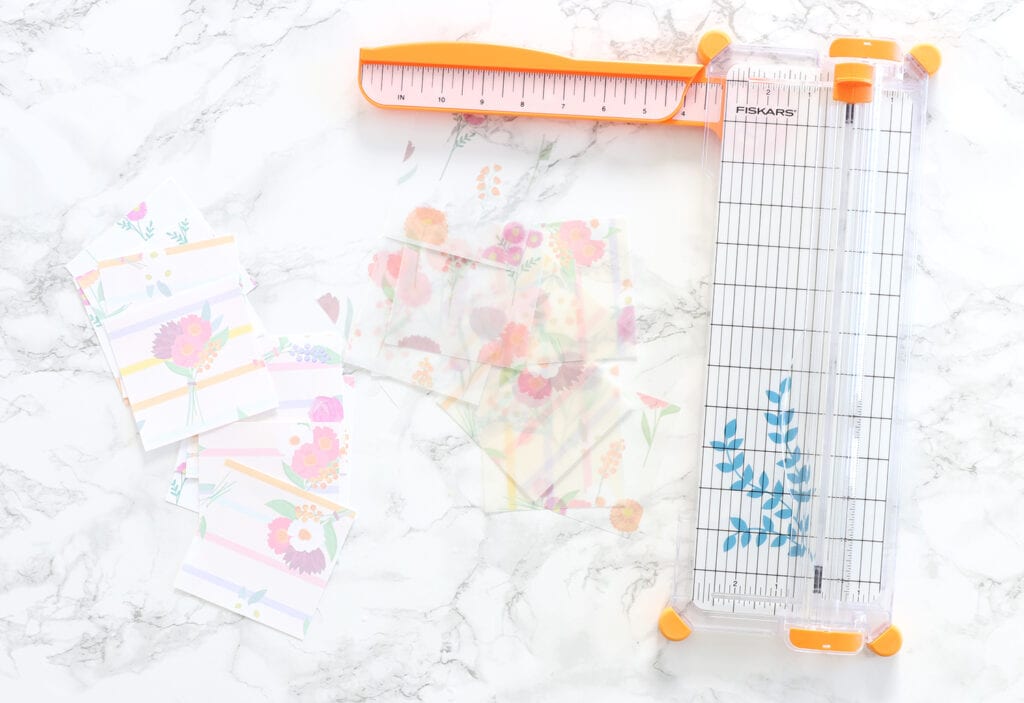
Use the paper trimmer to cut the papers into squares. A 3.5″ square works nicely for notes.
STEP FOUR:
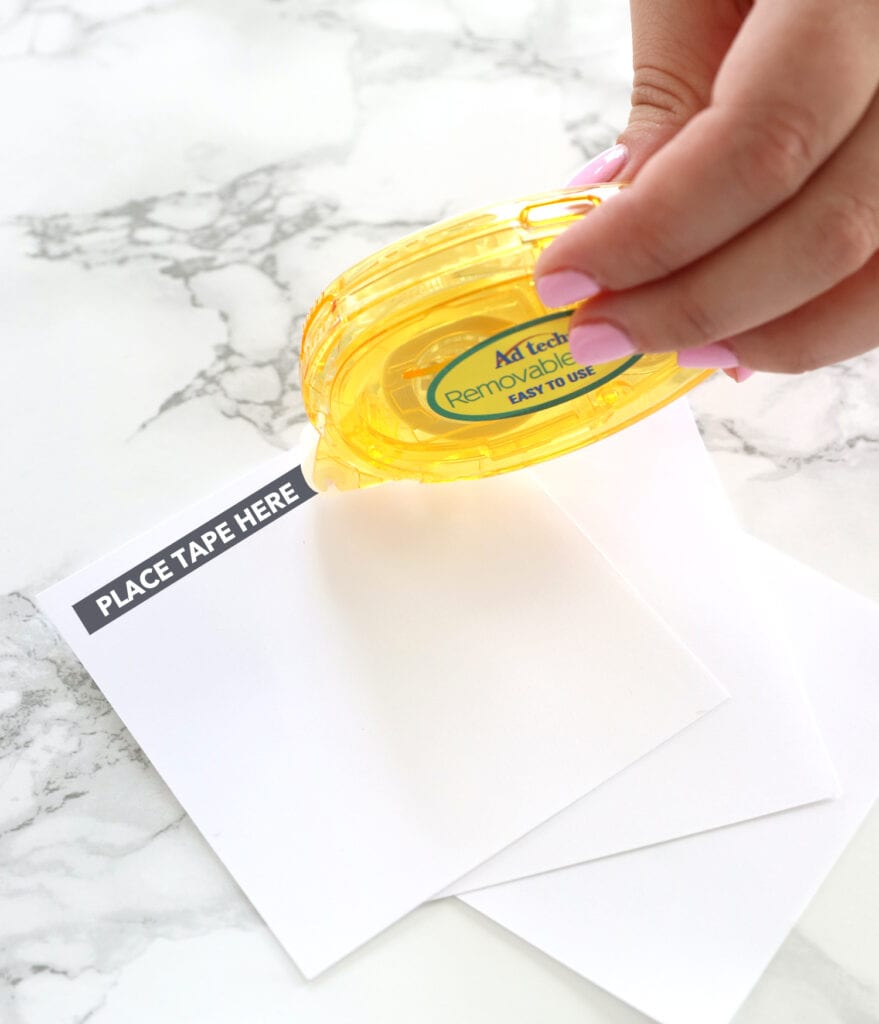
Flip over the notepapers and run the repositionable tape along the top. As you add the tape, stack the papers to create a notepad.
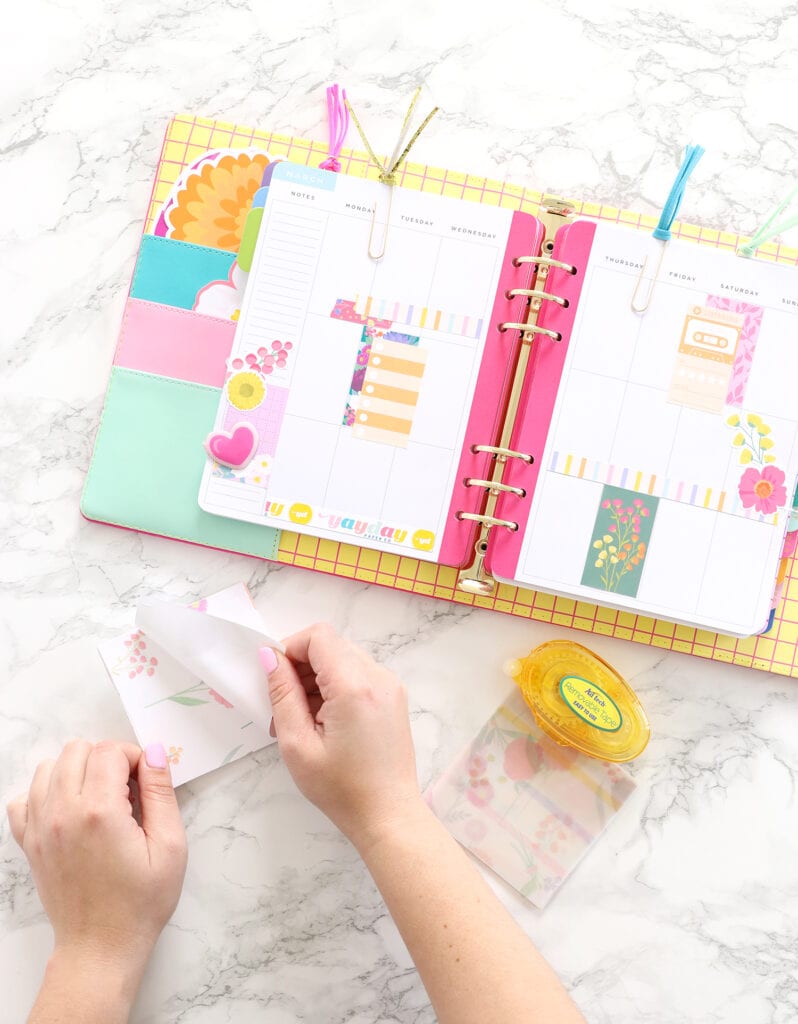
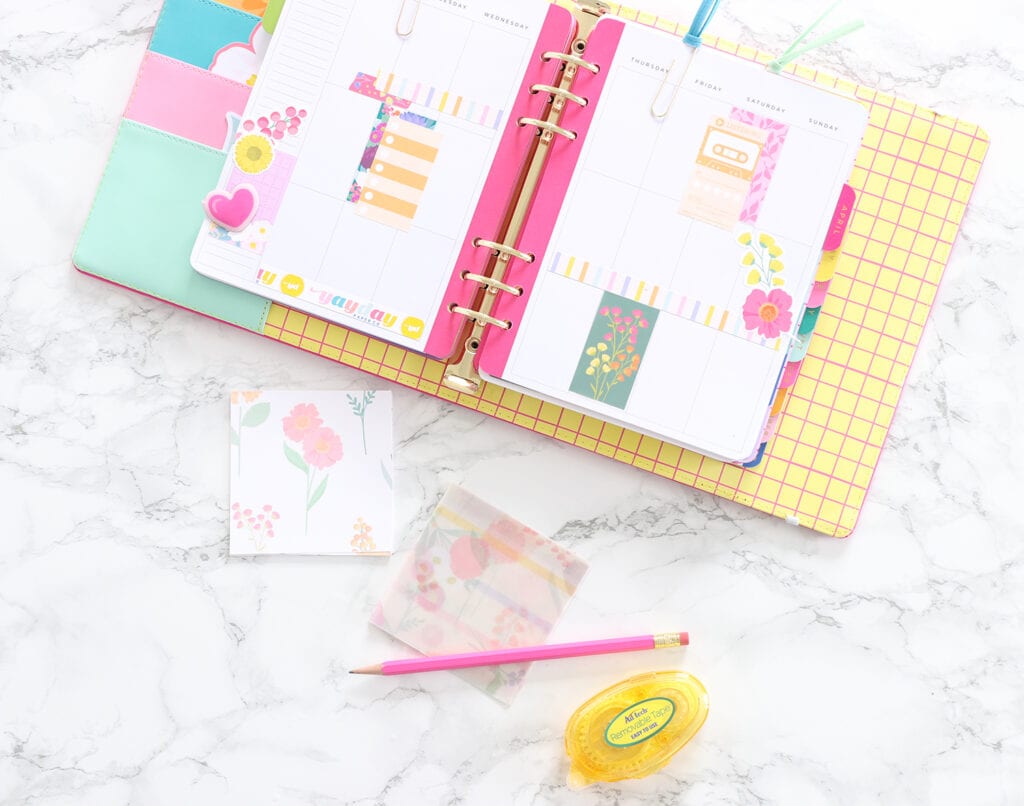
Keep the DIY sticky notes in your planner and grab one anytime you need to write a quick note to yourself.