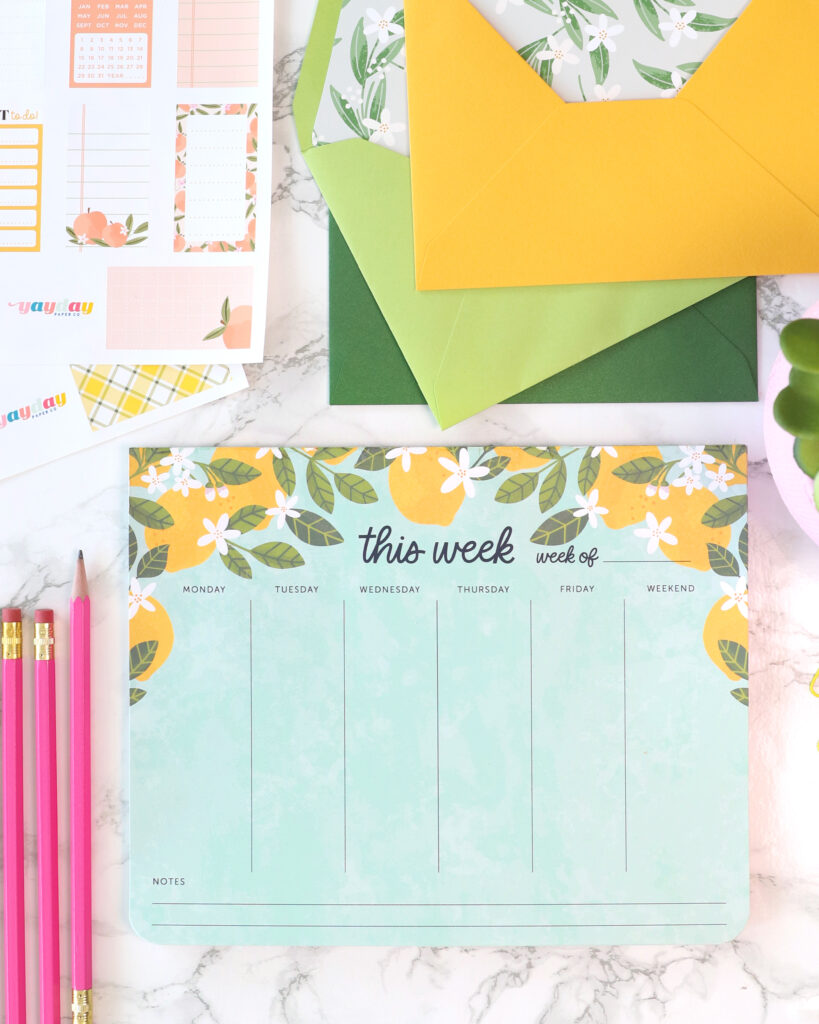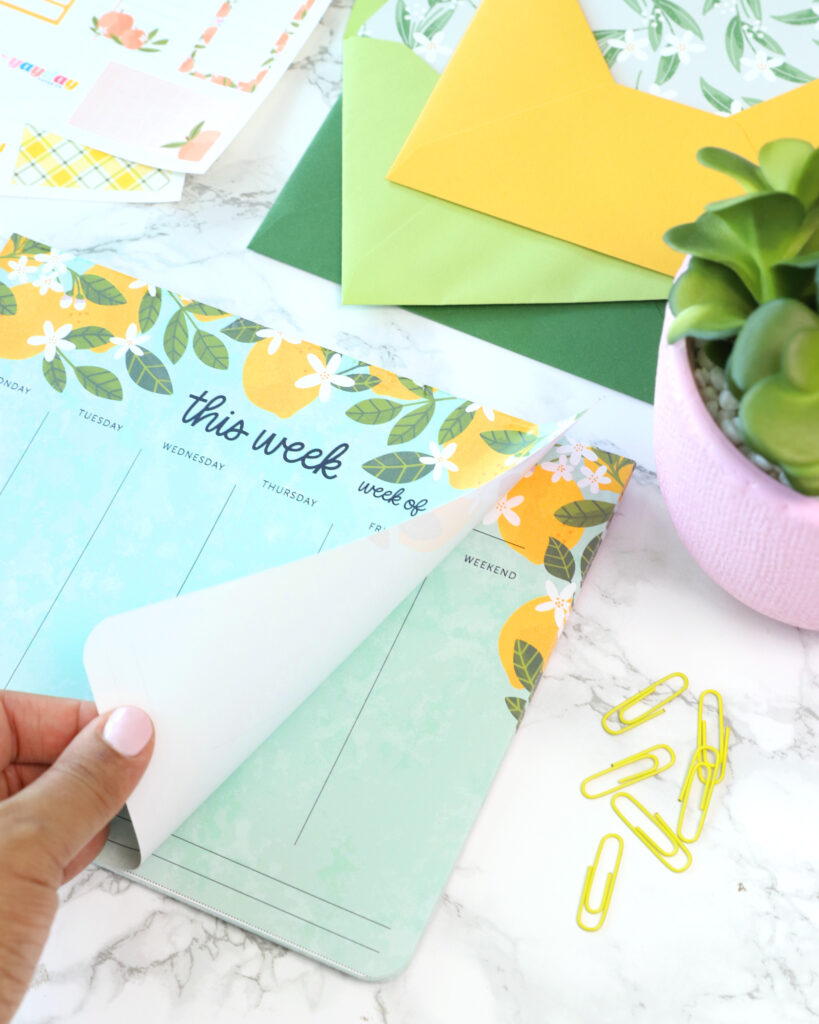
If you are a stationery lover, then you’re in the right place! Today’s tutorial will feed your paper-loving soul.
If paper is your favorite, then you know a thing or two about hoarding pretty notebooks and notepads, right?! You know the struggle of deciding when to actually crack it open and actually write on one of the pristine pages!
Well, with the help of the Fresh Squeezed collection, we’re making that decision easy for you! Print off as many as you want and create countless notepads for you or a friend!
It’s very easy to create your own tear-away notepad using the Fresh Squeezed To-Do List print. Here’s exactly how it’s done.
Supplies:
- Chipboard
- Fiskars Paper Trimmer
- Elmer’s School Glue
- Fresh Squeezed To-Do List Print
- Hammermill 32lb Premium Paper
- Binder Clips
- Foam Brush
A few tips for making your notepad come together perfectly:
- Use 5-7 binder clips to make sure the entire top edge is clipped together evenly
- Make sure to let the glue dry COMPLETELY!
- You can apply a few layers of glue to make sure your note pad sticks together
- Wondering what paper to print on for this project? We recommend Hammermill 32lb Premium Paper. It’s incredible…and affordable!


Looks easy enough, lol. Thank you 🙂 Did you round the corners?
Yes! I rounded the corners using the We R Memory Keepers Corner Chomper tool!
That is fabulous! Same question as Janet about the rounded corners.
This is so cute and so simple to do!